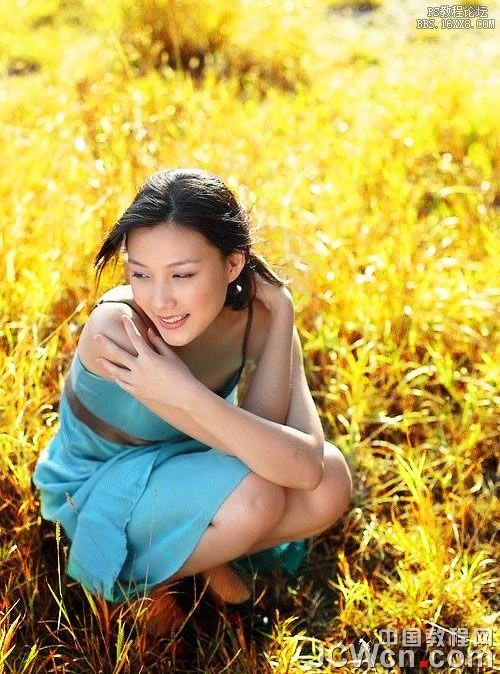
ps处理外景美女图片朦胧的淡黄色(7)
来源:photoshop联盟
作者:Sener
学习:2183人次
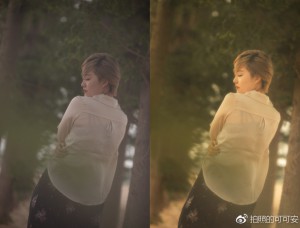
6、按Ctrl + J 把当前色彩平衡调整图层复制一层,不透明度改为:30%,效果如下图。

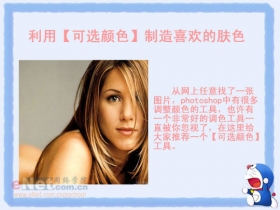
7、创建可选颜色调整图层,对红色,黑色进行调整,参数设置如图12,13,确定后把图层不透明度改为:30%,效果如图14。这一步增加图片的红色。


7、创建可选颜色调整图层,对红色,黑色进行调整,参数设置如图12,13,确定后把图层不透明度改为:30%,效果如图14。这一步增加图片的红色。
学习 · 提示
相关教程
关注大神微博加入>>


网友求助,请回答!