[非主流PS教程] 主流女生给衣服换色
来源:不详
作者:佚名
学习:630人次
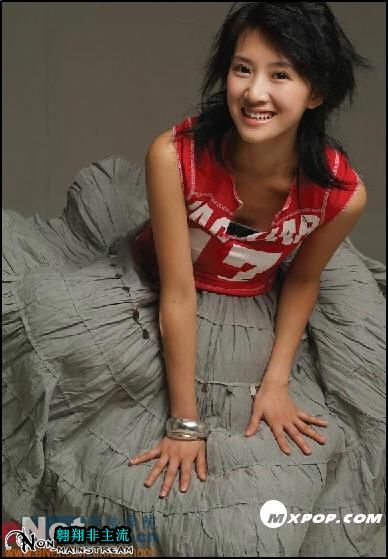
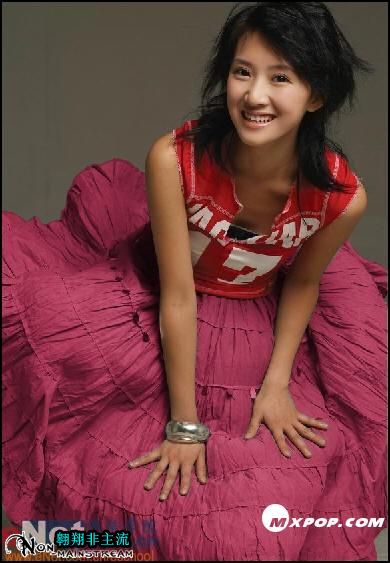
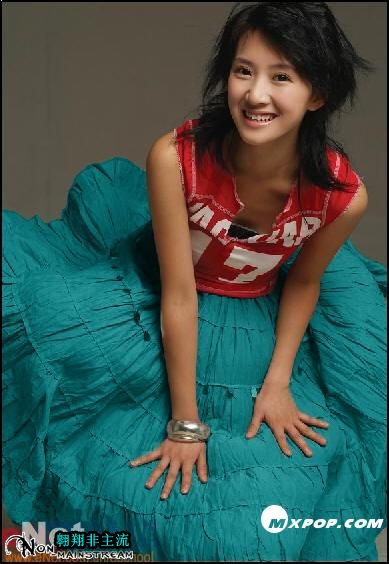
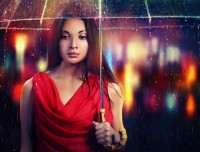
主流女生给衣服换色现在来为MM的裙子换个颜色吧。 原图

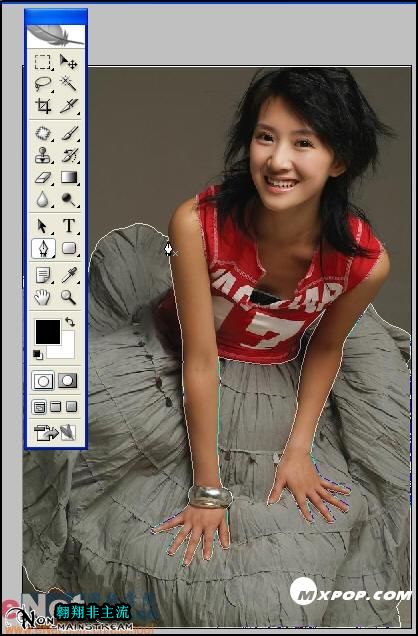
一般在提到换颜色时大家最快想到的一定是使用“色相/饱和度”或者“替换颜色”命令,这两种方法确实是很快捷,但是在改变颜色后图像的层次会发生改变。我们今天就来学习一种高级的替换颜色技术。我们先在photoshop中打开要修改的照片,然后选择钢笔工具,把要替换颜色的区域抠出来。
图1
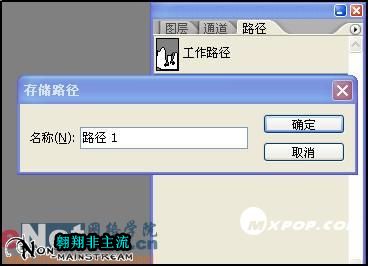
接下来换到路径调版,单击右上角的小三角,然后在菜单中选择“存储路径,”之后会弹出来一个对话框,只要单击“确定”就可以了。
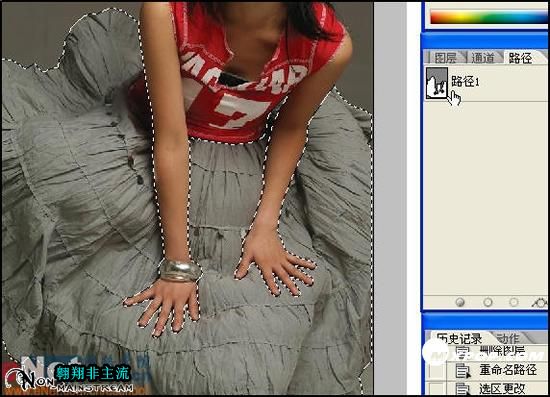
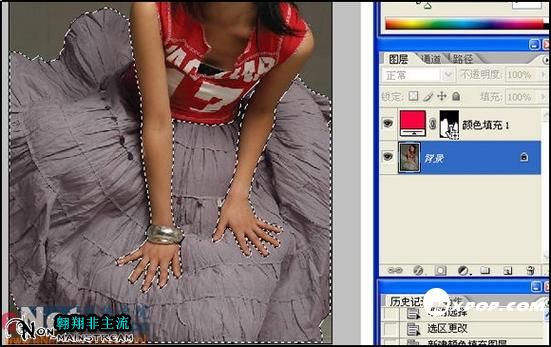
现在我们按住Ctrl键单击路径1,把裙子部分全部选中。
单击图层调版标签,打开图层调版。

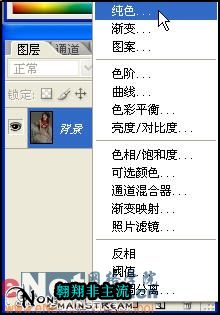
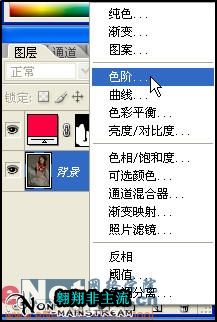
单击图层调版底部的创建新的填充和调整图层按钮,在弹出的菜单中选择“纯色”。
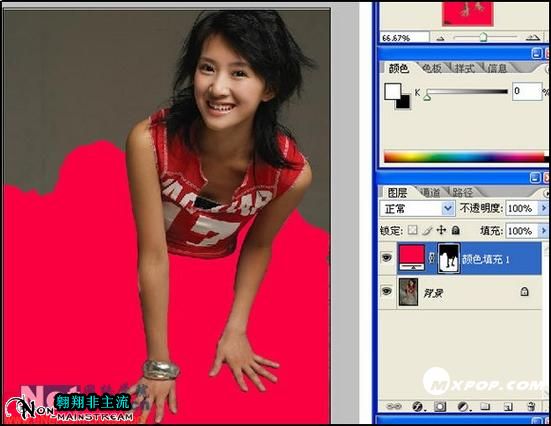
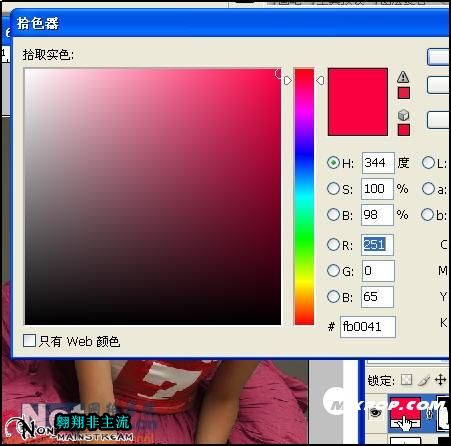
现在来为MM的裙子条一个好看的颜色吧。在拾色器中我们可以选择任意颜色,只要搭配起来好看就行了。这里我们就选一个红色吧。
现在我们将图层的混合模式改为“色相”。
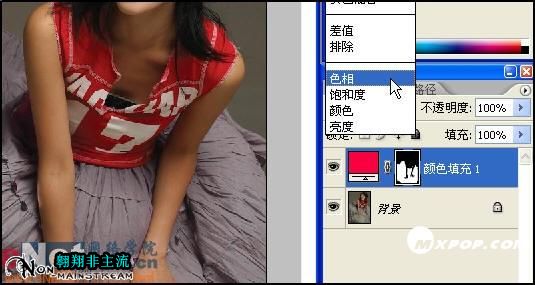
可是这样设置以后,刚才的红色淡到几乎看不见了。所以我们还要继续调整。按住Ctrl键,单击纯色调整图层蒙版,然后选择背景图层。再单击图层调版底部的创建新的填充和调整图层按钮,在弹出的菜单中选择“色阶”。
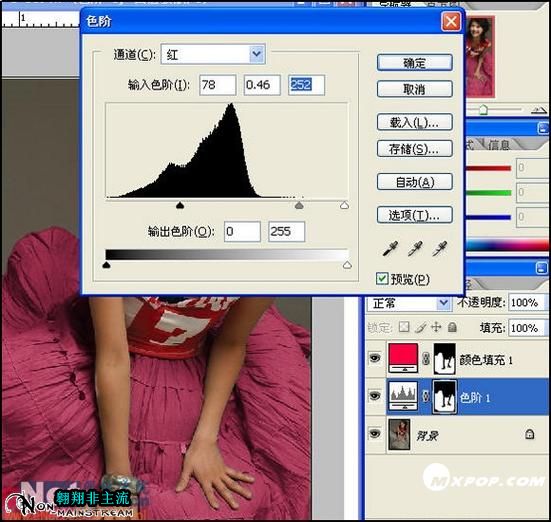
然后选择红色通道,在色阶对话框中向右拖动中间的滑块,再将左边的也向右拖动,最后再将右边的滑块向左拖动一点,到合适的位置单击“确定”。
现在就完成了。效果不错吧。完成图1
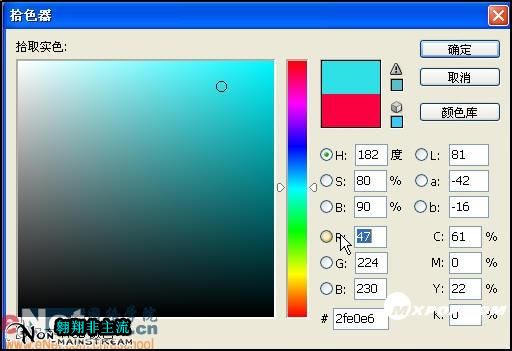
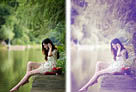
突然感觉红色的裙子不太好看,我还想继续改变颜色。可是再重做一遍太麻烦了吧。别担心,我有办法。只要双击颜色调整图层图标,在打开的混色器里选择一个喜欢的颜色就可以了。
==============================
好了,现在又换上了蓝色的裙子。不错吧。 完成图2
 1.jpg (40.98 KB)
2007-6-27 09:11
一般在提到换颜色时大家最快想到的一定是使用“色相/饱和度”或者“替换颜色”命令,这两种方法确实是很快捷,但是在改变颜色后图像的层次会发生改变。我们今天就来学习一种高级的替换颜色技术。我们先在photoshop中打开要修改的照片,然后选择钢笔工具,把要替换颜色的区域抠出来。
图1
接下来换到路径调版,单击右上角的小三角,然后在菜单中选择“存储路径,”之后会弹出来一个对话框,只要单击“确定”就可以了。
现在我们按住Ctrl键单击路径1,把裙子部分全部选中。
单击图层调版标签,打开图层调版。
单击图层调版底部的创建新的填充和调整图层按钮,在弹出的菜单中选择“纯色”。
现在来为MM的裙子条一个好看的颜色吧。在拾色器中我们可以选择任意颜色,只要搭配起来好看就行了。这里我们就选一个红色吧。
现在我们将图层的混合模式改为“色相”。
可是这样设置以后,刚才的红色淡到几乎看不见了。所以我们还要继续调整。按住Ctrl键,单击纯色调整图层蒙版,然后选择背景图层。再单击图层调版底部的创建新的填充和调整图层按钮,在弹出的菜单中选择“色阶”。
然后选择红色通道,在色阶对话框中向右拖动中间的滑块,再将左边的也向右拖动,最后再将右边的滑块向左拖动一点,到合适的位置单击“确定”。
现在就完成了。效果不错吧。完成图1
突然感觉红色的裙子不太好看,我还想继续改变颜色。可是再重做一遍太麻烦了吧。别担心,我有办法。只要双击颜色调整图层图标,在打开的混色器里选择一个喜欢的颜色就可以了。
==============================
好了,现在又换上了蓝色的裙子。不错吧。 完成图2
1.jpg (40.98 KB)2007-6-27 09:11
学习 · 提示
相关教程
关注大神微博加入>>


![[非主流PS教程] 非主流PS美化教程:个性MM非主流照片](http://pic.16xx8.com/article/UploadPic/2008/1/13/200811374937342.jpg)
网友求助,请回答!