ps流光字
来源:网络
作者:很不懂撒
学习:41058人次
流光字以前也有很多教程,做法都差不多,喜欢的同学可以跟着做一下!
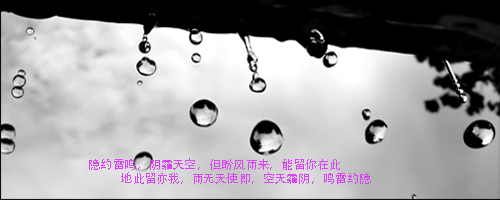
效果图:

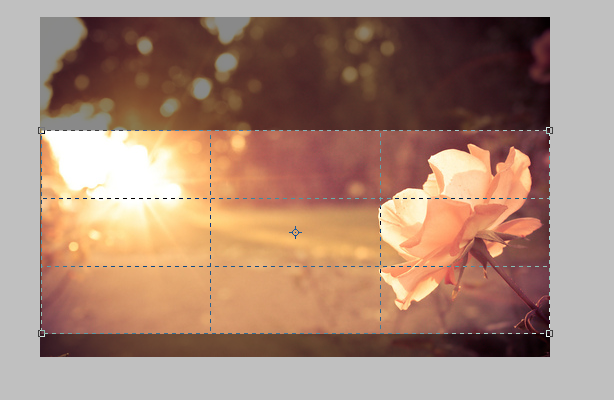
好吧 第一步先打开自己喜欢的图片 适当裁剪
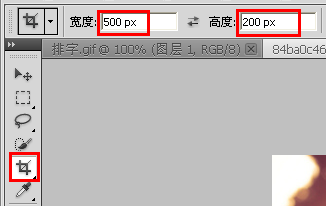
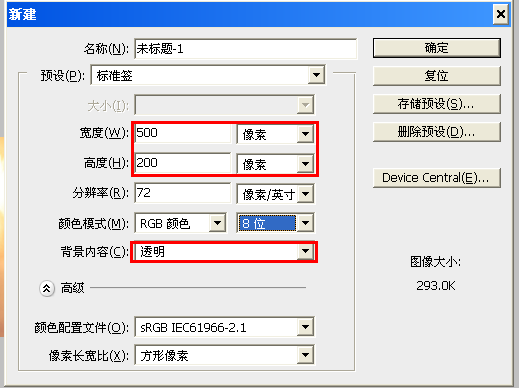
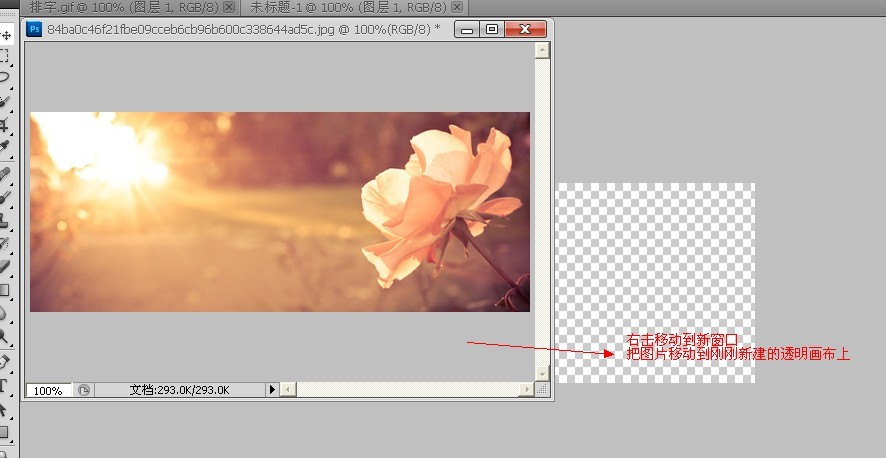
第二步,新建一个500*200的透明画布 把刚刚裁剪好的图按住shift键拖进来
第三步,这个时候我喜欢加上框 选择编辑菜单--描边--大小1px 然后新建一个图层打字
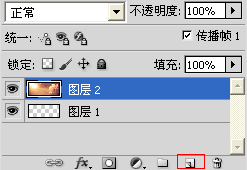
打好字,放在你喜欢的位置

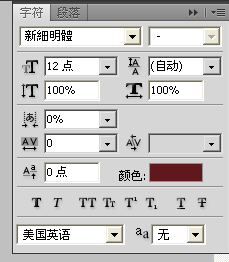
这里我选的是新细明体12号 无效果
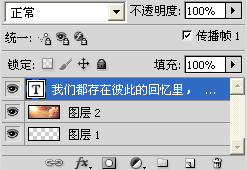
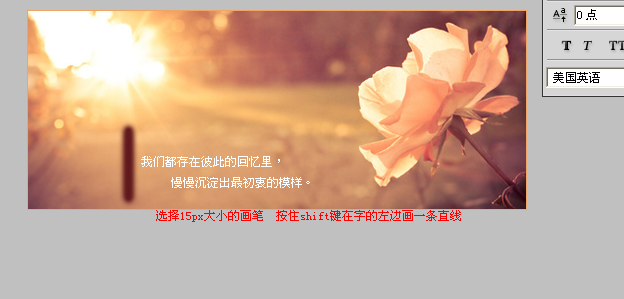
第四步,同样新建一个图层,选择你想要的流光颜色,用画笔工具在字体左边画一条直线

学习 · 提示
关注大神微博加入>>


网友求助,请回答!