Photoshop调出美女图片淡淡的青绿甜美色(2)
来源:PS联盟
作者:Sener
学习:444人次
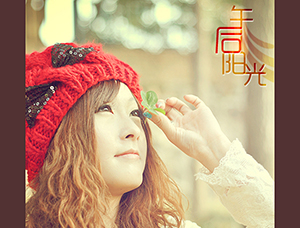
1、打开原图素材,创建通道混合器调整图层,对红,绿,蓝进行调整,参数设置如图1
- 3,效果如图4,这一步操作是给图片添加一些淡绿底色。
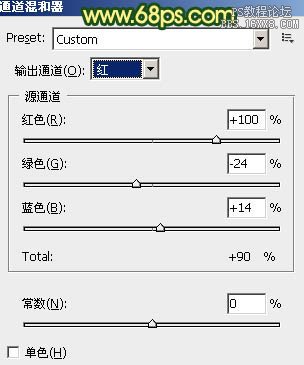
<图1>
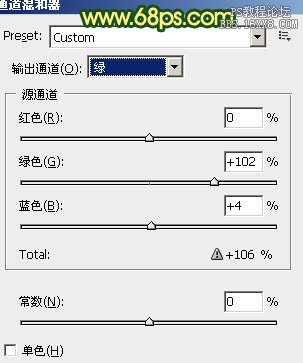
<图2>
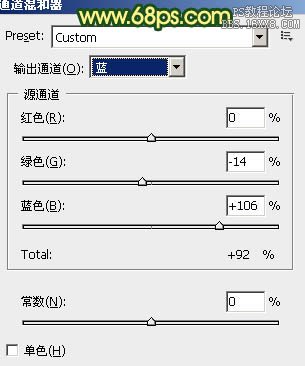
<图3>
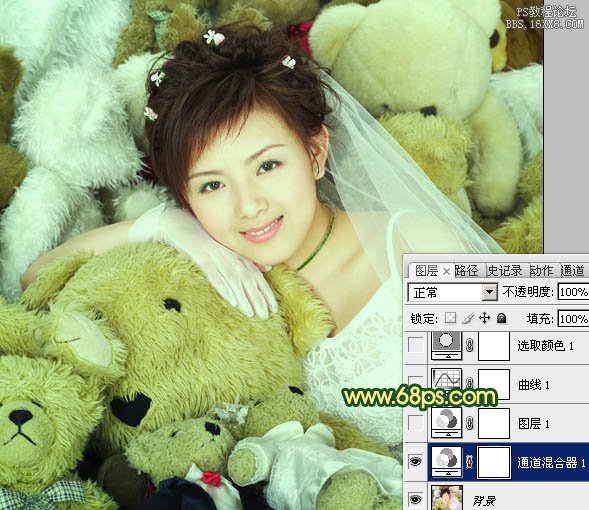
<图4>
<图1>
<图2>
<图3>
<图4>
学习 · 提示
相关教程
关注大神微博加入>>


网友求助,请回答!