照片调色之低调华丽MM
来源:不详
作者:佚名
学习:545人次
照片调色之低调华丽MM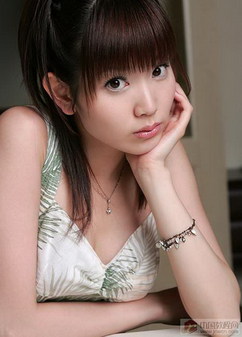

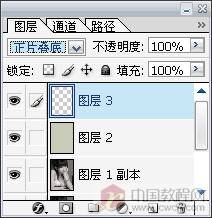
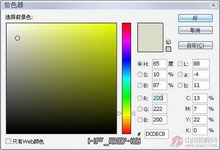
3、新建一层,选一种自己 喜欢的中性色,然后填充。并把混合模式设为“正片叠底”。 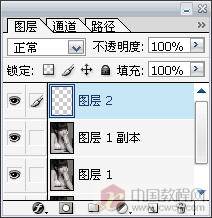


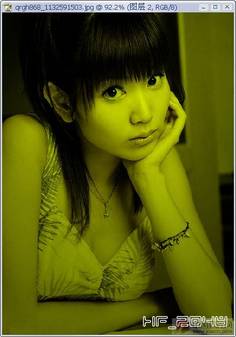

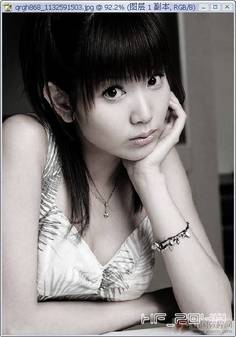
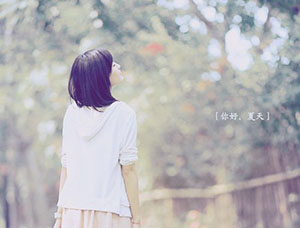
让我们先看原图及最后的效果图:
步骤:
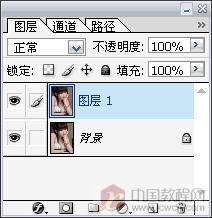
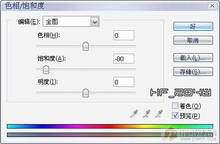
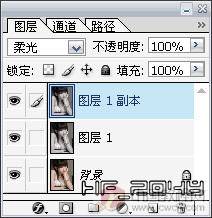
1、打开原图,按Ctrl J复制一层,然后按Ctrl U,执行“色相-饱合度”,降低饱合度。
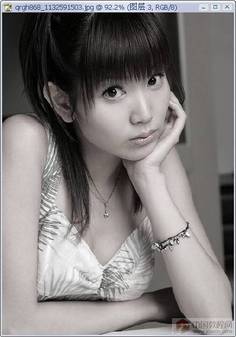
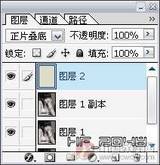
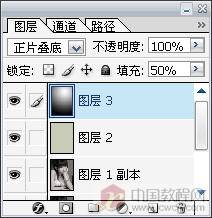
4、再新建一层并把混合模式设为"正片叠底",然后选择"渐变工具",渐变类型选"放射渐变",在人物脸部处拖动,使脸部保持不变,周围变暗。这时可以看到周围太暗,这就需要降低图层的不填充度了,我们降到50%就差不多了。
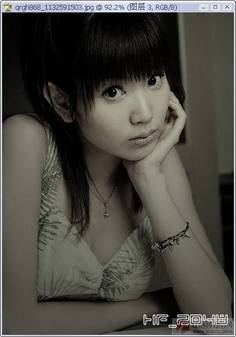
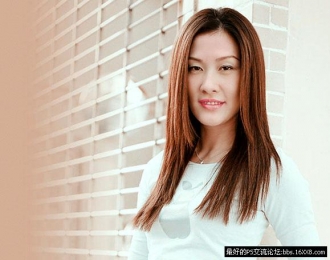
5、最终效果:
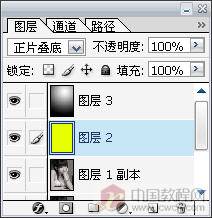
补充:如果你不太喜欢这种低调的中性色,那你也可以选择一种亮点的色调。比如选黄色,只需在图层2上填充黄色就可以看到效果了。
学习 · 提示
相关教程
关注大神微博加入>>


网友求助,请回答!