Photoshop教程:打造靓丽MM完美的黄色艺术照
来源:不详
作者:佚名
学习:609人次
Photoshop教程:打造靓丽MM完美的黄色艺术照作者:似水无痕 来源:eNet硅谷动力
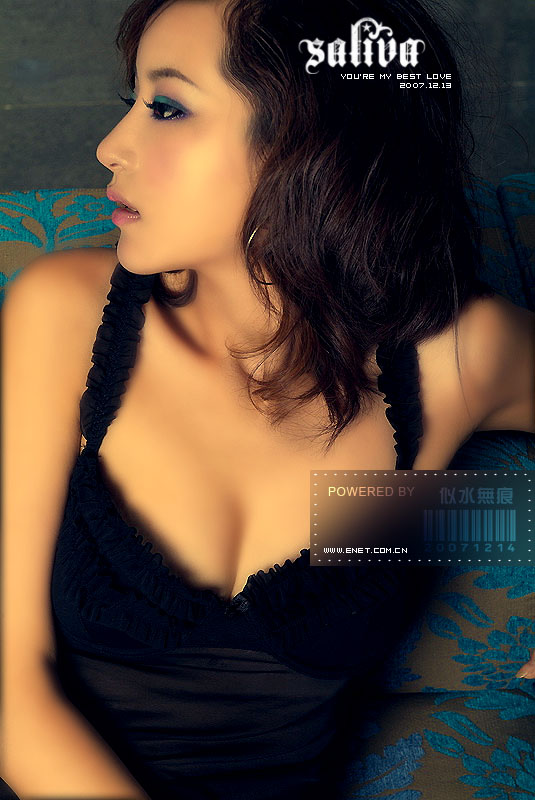
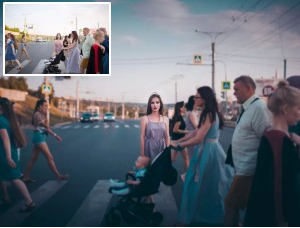
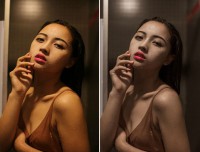
【简 介】摄影师把照片拍好了,接下来我们要怎么处理呢……原图:

效果图:
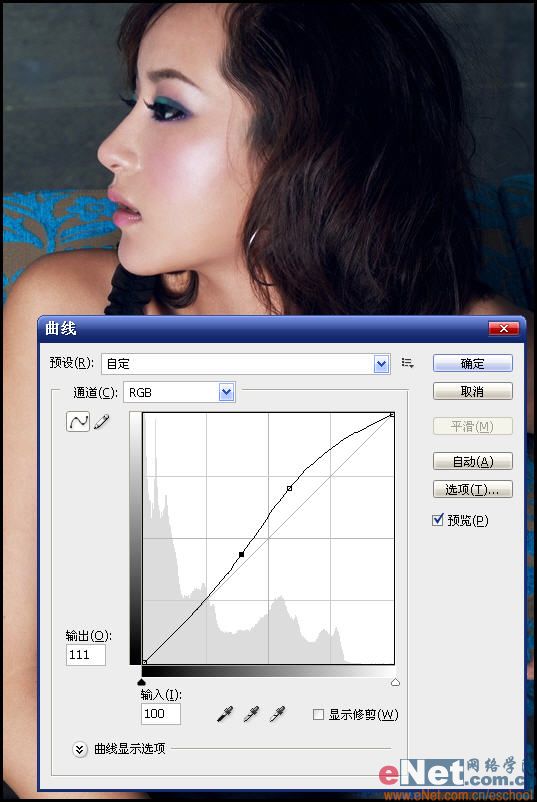
先用曲线工具提高一下画面的整体亮度
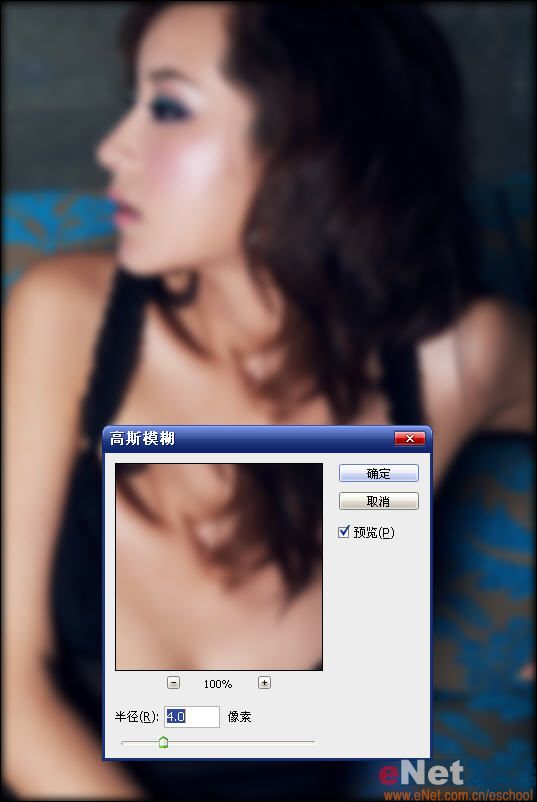
接下来磨皮,高斯模糊,数值4.0
新建快照
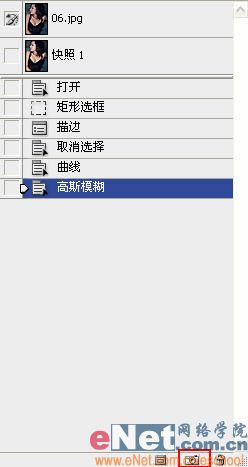
勾选快照,在用历史画笔工具在06.JPG MM的皮肤上涂抹,这样使皮肤变得更加光滑白皙。

锐化

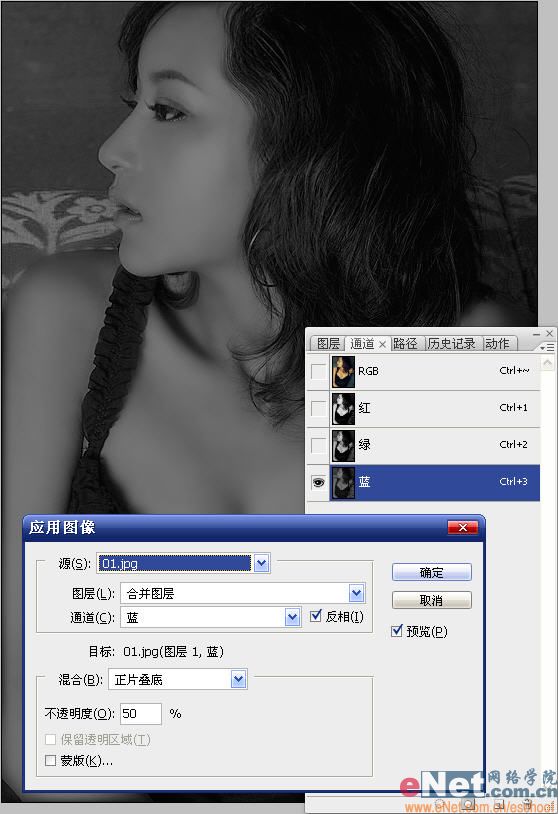
选中蓝色通道,然后“应用图像”,如图设置
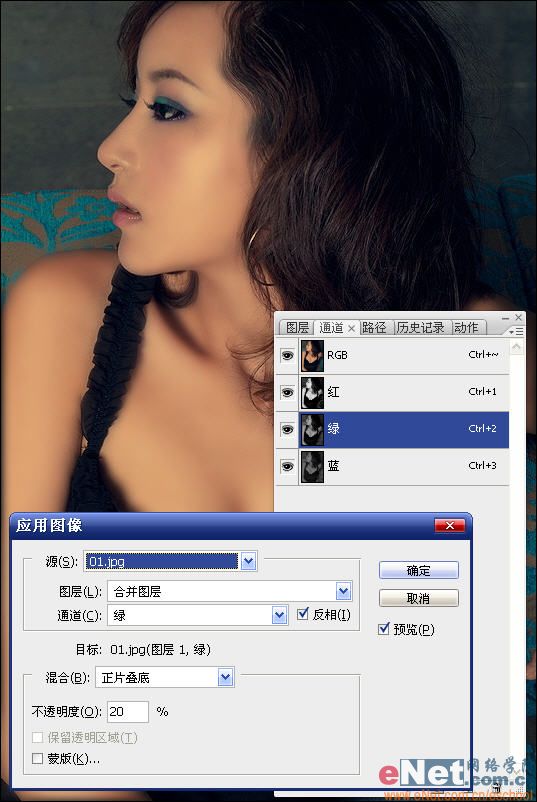
然后选中绿色通道,然后“应用图像”,如图设置
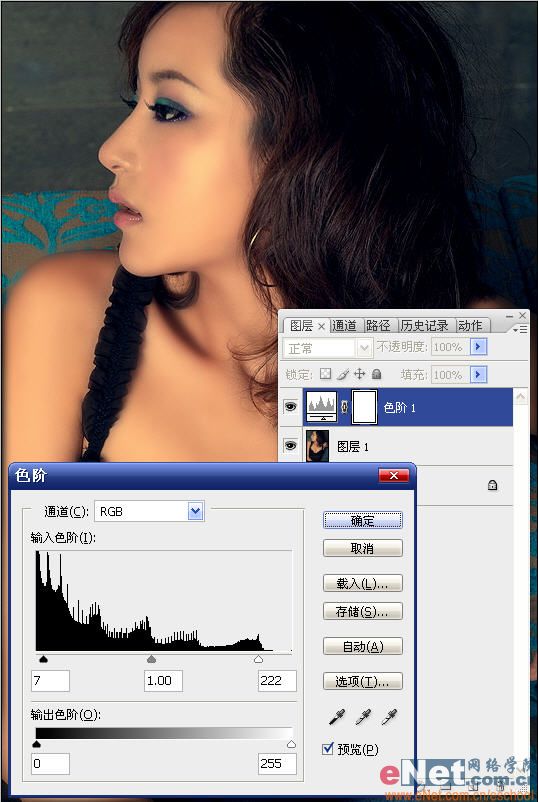
调整色阶,提高对比度
调节可选颜色,黄色设置如图所示

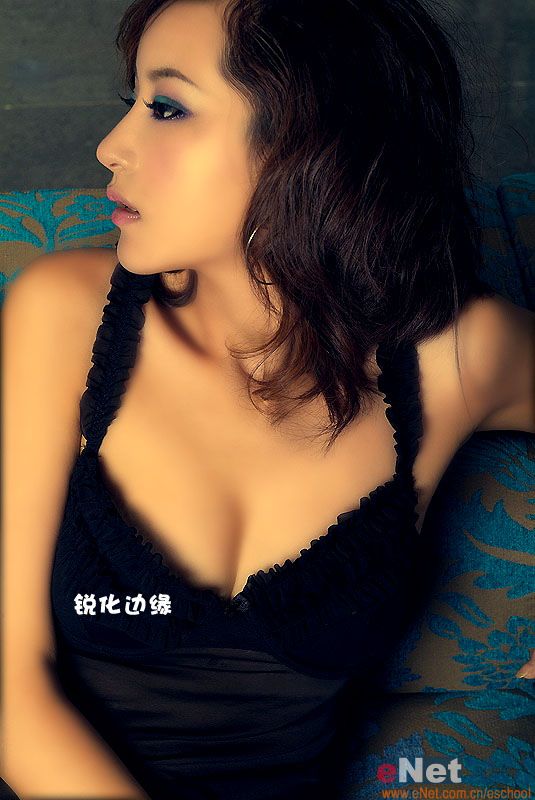
锐化边缘
最终效果:
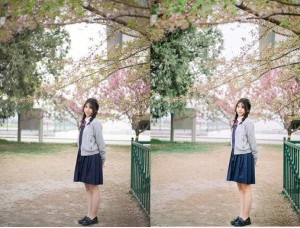
【简 介】摄影师把照片拍好了,接下来我们要怎么处理呢……原图:
效果图:
先用曲线工具提高一下画面的整体亮度
接下来磨皮,高斯模糊,数值4.0
新建快照
勾选快照,在用历史画笔工具在06.JPG MM的皮肤上涂抹,这样使皮肤变得更加光滑白皙。
锐化
选中蓝色通道,然后“应用图像”,如图设置
然后选中绿色通道,然后“应用图像”,如图设置
调整色阶,提高对比度
调节可选颜色,黄色设置如图所示
锐化边缘
最终效果:
学习 · 提示
相关教程
关注大神微博加入>>


网友求助,请回答!