ps制作非主流边框
来源:不详
作者:佚名
学习:1128人次
ps制作非主流边框原图:


 原图.jpg (85.62 KB)
2007-11-23 13:11
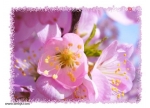
效果图:
 最终效果图.jpg (157.73 KB)
2007-11-23 13:11
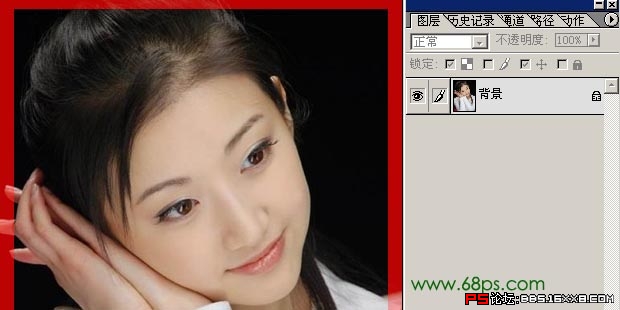
1、打开素材图,用矩形选框工具,画一个选区,如下图
 1.jpg (58.81 KB)
2007-11-23 13:11
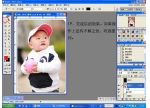
2、按住Q键,进入快速蒙版,如图
 2.jpg (78.89 KB)
2007-11-23 13:11
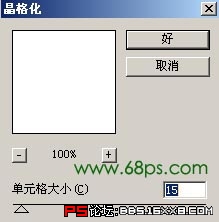
3、执行滤镜-像素化-晶格化,单元格大小:15,如图
 3-1.jpg (22.66 KB)
2007-11-23 13:11
 3-2.jpg (72.82 KB)
2007-11-23 13:11
4、执行滤镜-像素化-碎片,效果如图
 4.jpg (63.95 KB)
2007-11-23 13:11
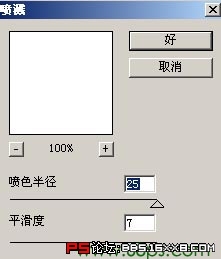
5、执行滤镜-画笔描边-喷溅,喷色半径:25,平滑度:7,如图
 5-1.jpg (21.59 KB)
2007-11-23 13:11
 5-2.jpg (78.6 KB)
2007-11-23 13:11
6、执行滤镜-扭曲-挤压,数量:100,如图8,效果如图
 6-1.jpg (45.12 KB)
2007-11-23 13:11
 6-2.jpg (71.14 KB)
2007-11-23 13:11
7、执行滤镜-扭曲-旋转扭曲,角度:999,如图
 7-1.jpg (36.52 KB)
2007-11-23 13:11
 7-2.jpg (83.03 KB)
2007-11-23 13:11
8、按住Q键退出快速蒙版,按住Shift Alt i反选,再按删键清除,如图
 8-1.jpg (91.65 KB)
2007-11-23 13:11
 8-2.jpg (86.34 KB)
2007-11-23 13:11
9、点击编辑-描边,参数自定义,选择自己喜欢的颜色描边,完成效果如图
 9.jpg (157.73 KB)
2007-11-23 13:11
[ 本帖最后由 枫叶飘落 于 2007-11-23 22:08 编辑 ]
原图.jpg (85.62 KB)2007-11-23 13:11
效果图:
最终效果图.jpg (157.73 KB)2007-11-23 13:11
1、打开素材图,用矩形选框工具,画一个选区,如下图
1.jpg (58.81 KB)2007-11-23 13:11
2、按住Q键,进入快速蒙版,如图
2.jpg (78.89 KB)2007-11-23 13:11
3、执行滤镜-像素化-晶格化,单元格大小:15,如图
3-1.jpg (22.66 KB)2007-11-23 13:11
3-2.jpg (72.82 KB)2007-11-23 13:11
4、执行滤镜-像素化-碎片,效果如图
4.jpg (63.95 KB)2007-11-23 13:11
5、执行滤镜-画笔描边-喷溅,喷色半径:25,平滑度:7,如图
5-1.jpg (21.59 KB)2007-11-23 13:11
5-2.jpg (78.6 KB)2007-11-23 13:11
6、执行滤镜-扭曲-挤压,数量:100,如图8,效果如图
6-1.jpg (45.12 KB)2007-11-23 13:11
6-2.jpg (71.14 KB)2007-11-23 13:11
7、执行滤镜-扭曲-旋转扭曲,角度:999,如图
7-1.jpg (36.52 KB)2007-11-23 13:11
7-2.jpg (83.03 KB)2007-11-23 13:11
8、按住Q键退出快速蒙版,按住Shift Alt i反选,再按删键清除,如图
8-1.jpg (91.65 KB)2007-11-23 13:11
8-2.jpg (86.34 KB)2007-11-23 13:11
9、点击编辑-描边,参数自定义,选择自己喜欢的颜色描边,完成效果如图
9.jpg (157.73 KB)2007-11-23 13:11
[ 本帖最后由 枫叶飘落 于 2007-11-23 22:08 编辑 ]
学习 · 提示


相关教程
关注大神微博加入>>


网友求助,请回答!