PS抽出滤镜快速抠图:长发模特美女
来源:未知
作者:bbs.16xx8.com
学习:3513人次
作者:佚名 出处:ps5.cc
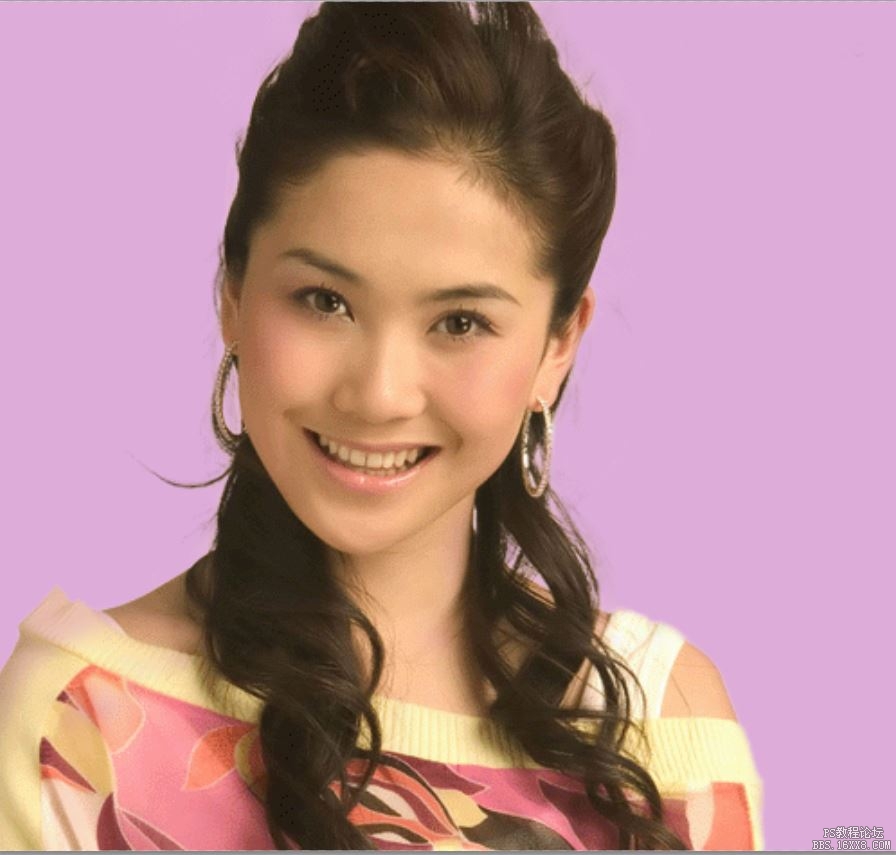
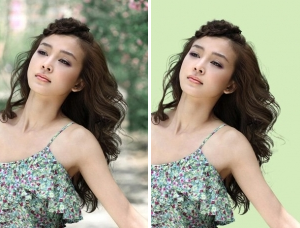
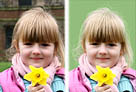
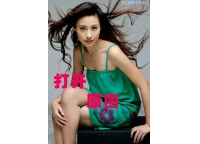
原图
效果

教程步骤
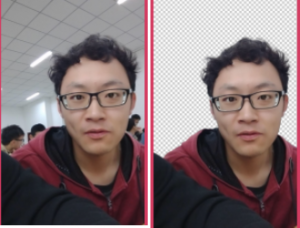
第一步:在Photoshop中打开素材图片。
第二步:选择“边缘高光器工具”,画笔大小40。
第三步:用“边缘高光器工具”沿着图像边缘苗一条曲线。
第四步:选择“填充工具”,在轮廓内点击填充。
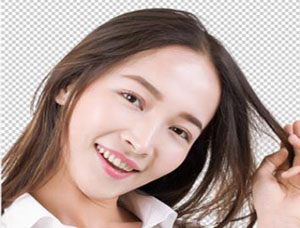
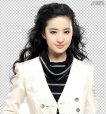
第六步:最后点击预览,效果还不错,点击好,抠图完成。最终效果如下:
学习 · 提示
相关教程
关注大神微博加入>>

网友求助,请回答!