PS打造美丽蝴蝶化石
来源:不详
作者:佚名
学习:306人次
作者:王伟光 教程来源:eNet
先看一下效果: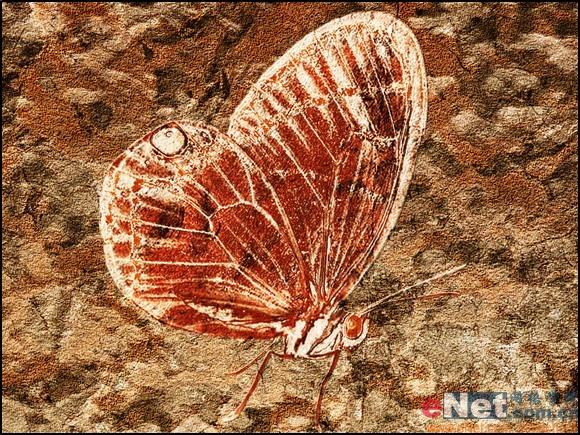 效果图
效果图本新闻共10
制作工具:Photoshop CS
制作过程:
1、新建一个文件然后在背景层上新建一层,填充白色,确定前景色和背景色为黑色和白色,执行菜单栏中的“滤镜”“渲染”“云彩”命令,得到效果如图1所示。
 图1 云彩效果
2、接着执行菜单栏中的“滤镜”“模糊”“高斯模糊”命令,设置模糊半径为5,如图2所示,画面效果如图3所示。
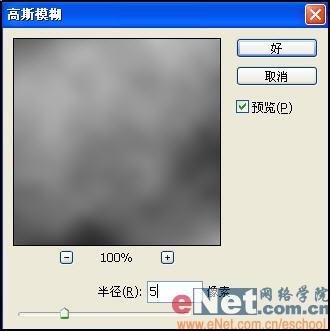 图2 高斯模糊
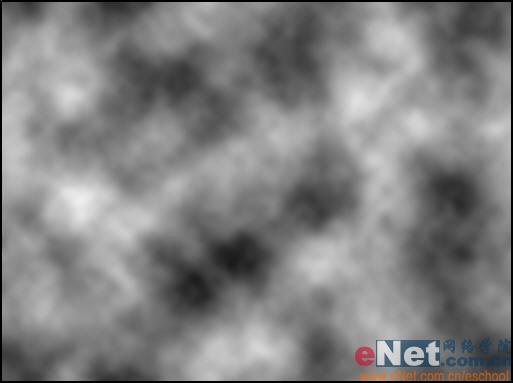 图3 模糊效果
本新闻共10
3、执行菜单栏中的“滤镜”“素描”“基底凸现”命令,设置细节为13,平滑度为3,光照方向为下,如图4所示,图像效果如图5所示。
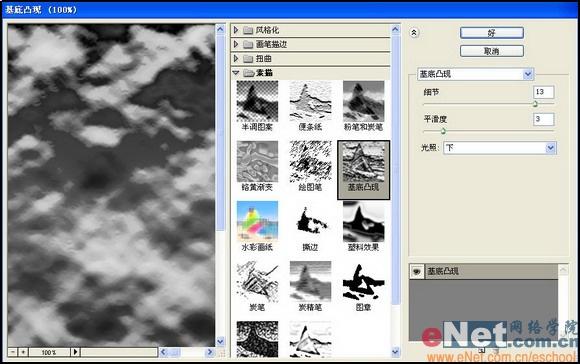 图4 光照设置
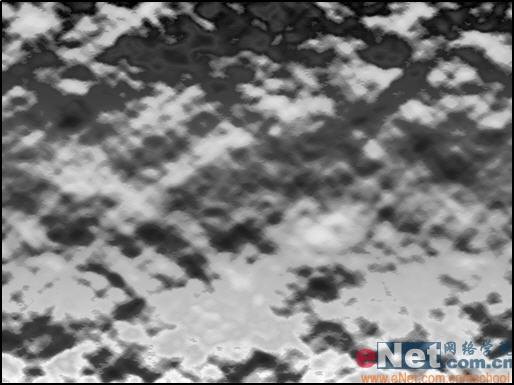 图5 光照效果
 4、执行菜单栏中的“滤镜”“纹理”“龟裂缝”命令,设置裂缝间距为12,深度为6,亮度为9,如图6所示,图像效果如图7所示。
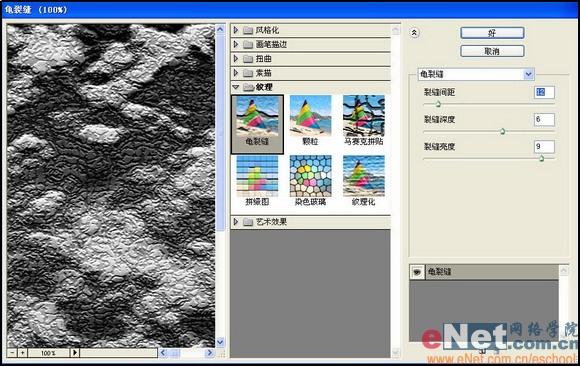 图6 龟裂缝设置
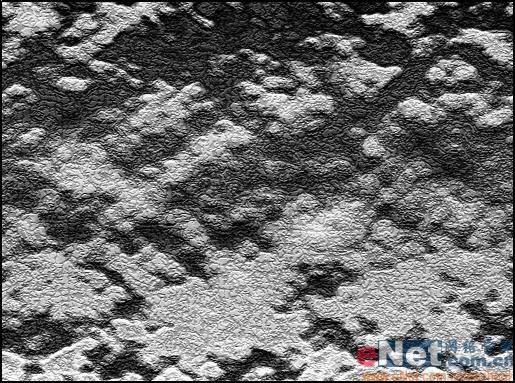 图7 龟裂缝效果
本新闻共10
5、在该图层上新建一个图层,填充白色,执行菜单栏中的“滤镜”“杂色”“添加杂色”命令,设置数量为340,高斯分布,勾选单色,如图8所示,效果如图9所示。
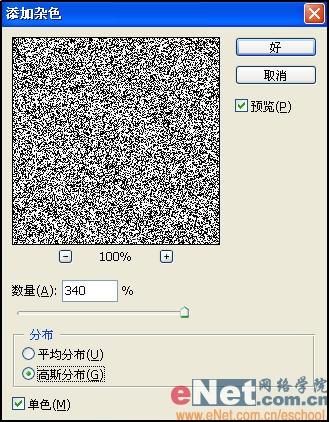 图8 添加杂色
学习 · 提示
相关教程
关注大神微博加入>>


网友求助,请回答!