ps打造梦幻的蓝青色外景婚片(3)
来源:photoshop联盟
作者:Sener
学习:10642人次
5、创建可选颜色调整图层,对红、洋红、黑色进行调整,参数设置如图14 - 16,效果如图17。这一步减少图片的红色增加蓝色。
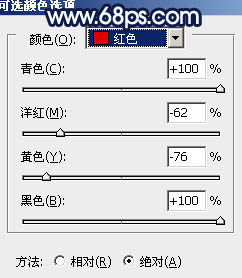
<图14>
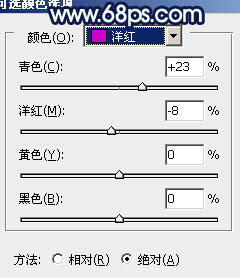
<图15>

<图16>
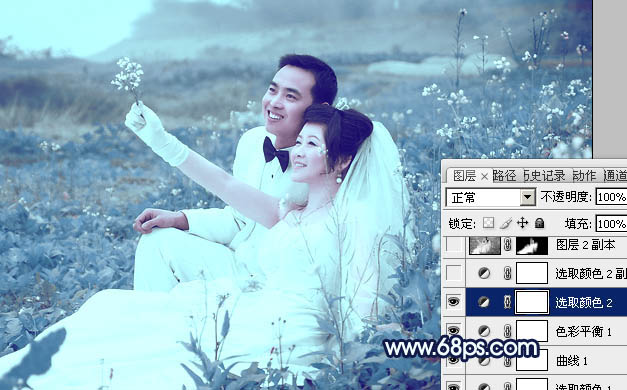
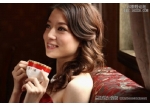
<图17>
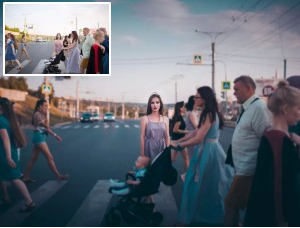
6、按Ctrl + J 把当前可选颜色调整图层复制一层,效果如下图。
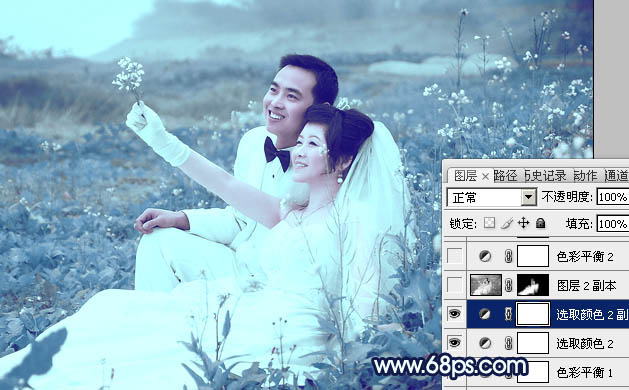
<图18>
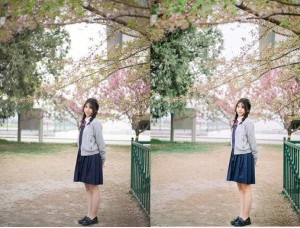
7、把背景图层复制一层,按Ctrl + Shift + ] 置顶,按Ctrl + Shift + U 去色,按住Alt键添加图层蒙版,用白色画笔把下图选区部分擦出来,混合模式改为“正片叠底”,不透明度改为:60%,这一步增加图片的细节。
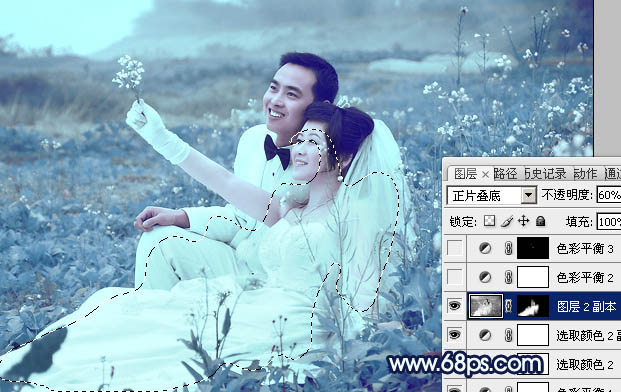
<图19>
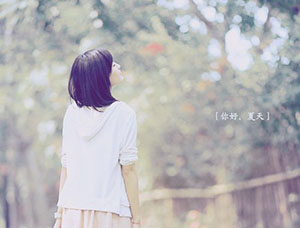
8、创建色彩平衡调整图层,对阴影,高光进行调整,参数设置如图20,21,效果如图22。这一步增加暗部及高光部分的蓝色。
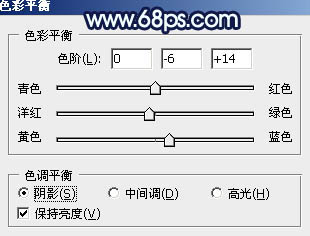
<图20>
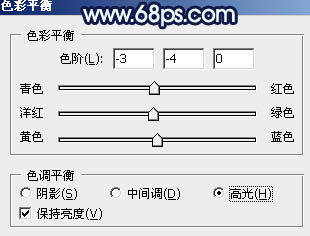
<图21>
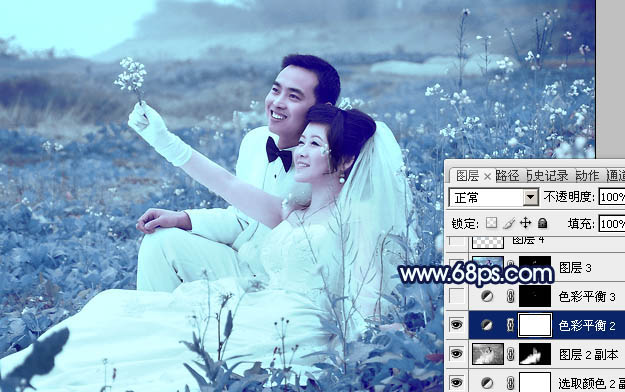
<图22>
<图14>
<图15>
<图16>
<图17>
6、按Ctrl + J 把当前可选颜色调整图层复制一层,效果如下图。
<图18>
7、把背景图层复制一层,按Ctrl + Shift + ] 置顶,按Ctrl + Shift + U 去色,按住Alt键添加图层蒙版,用白色画笔把下图选区部分擦出来,混合模式改为“正片叠底”,不透明度改为:60%,这一步增加图片的细节。
<图19>
8、创建色彩平衡调整图层,对阴影,高光进行调整,参数设置如图20,21,效果如图22。这一步增加暗部及高光部分的蓝色。
<图20>
<图21>
<图22>
学习 · 提示
- 发评论 | 交作业 -
最新评论
cliff1592017-09-13 12:50
看着这数据有点头痛,因为只知道填写数字,不知道它们代表什么。最后做出来的婚纱纹理不清晰,也不知道那里做错了。人物边沿的景物也处理得不好。第一次做。有点头痛。我的作业:
回复
相关教程
关注大神微博加入>>


网友求助,请回答!