photoshop鼠绘教程:红辣椒(2)
来源:未知
作者:空来风
学习:598人次

图15
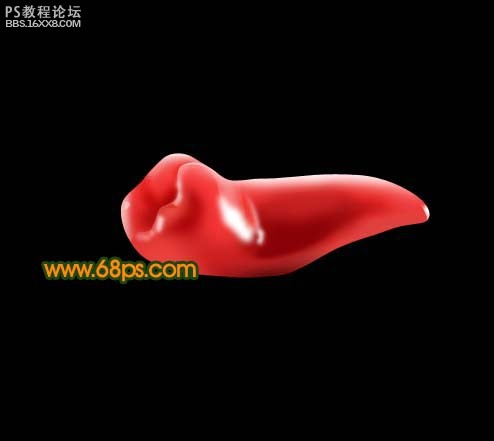
图16
11、新建一个图层,用钢笔工具勾出下图所示的选区,然后拉上绿色到深绿色的线性渐变。

图17
, 12、锁定图层后,开始涂高光和暗调部分,如图18,19,20。
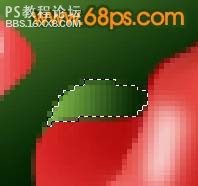
图18
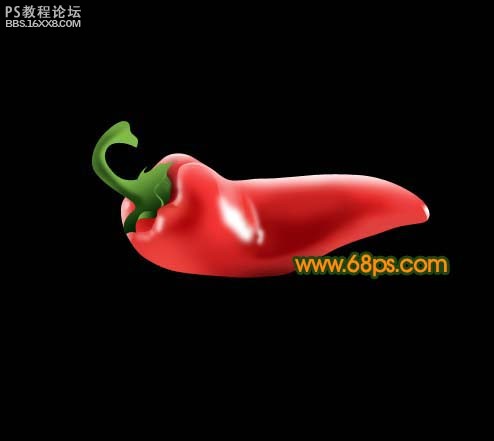
图19

图20
13、最终整体调整下细节,加上其它背景,完成最终效果。
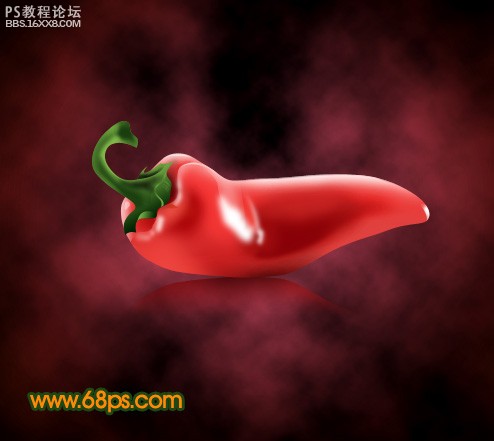
图21
学习 · 提示
相关教程
关注大神微博加入>>


网友求助,请回答!
相关教程


