PS合成被水淹没的城市教程
来源:网络
作者:admin
学习:6493人次
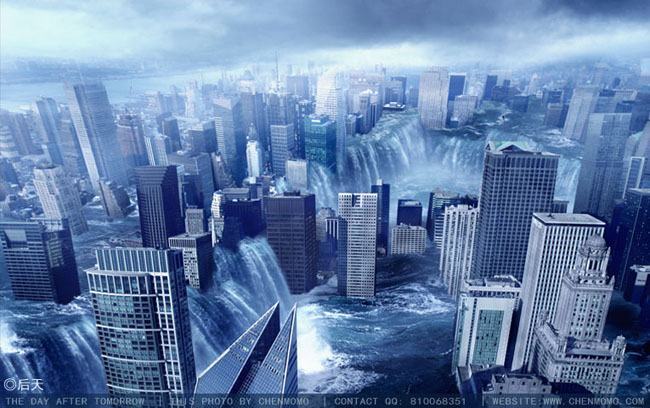
教程的创意思路非常不错。用到的素材也较少仅有一些城市建筑和水纹图片。处理的时候重点是把水纹等放到到建筑的空隙里面,然后再刻画明暗,调整颜色即可。
最终效果
1、新建文档,设定好尺寸,然后把背景填充成你所需要的最终色彩。

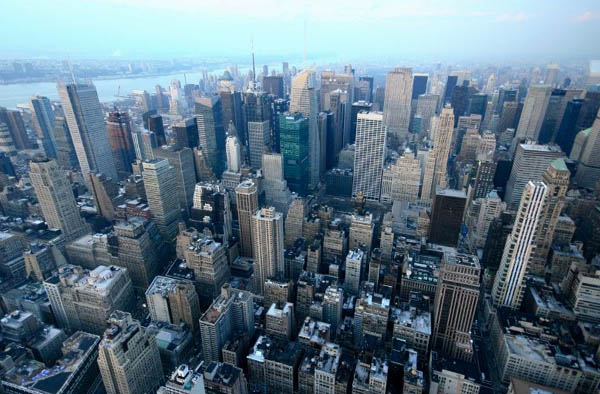
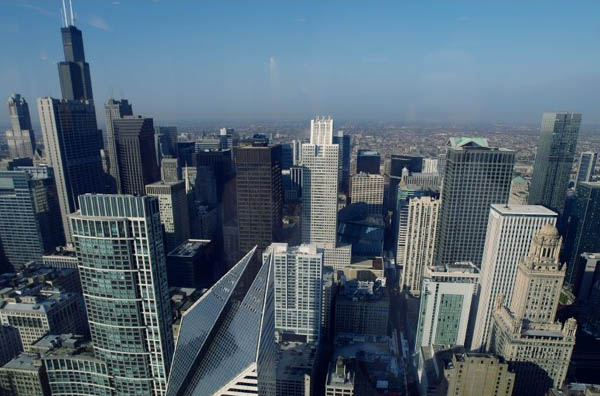
2、将事先找好的城市素材拉进来。
3、按照楼层的纹理将其扣出来,留下后面填充瀑布的空地。
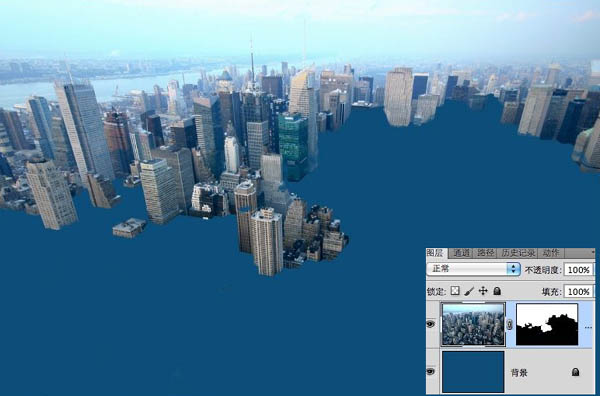
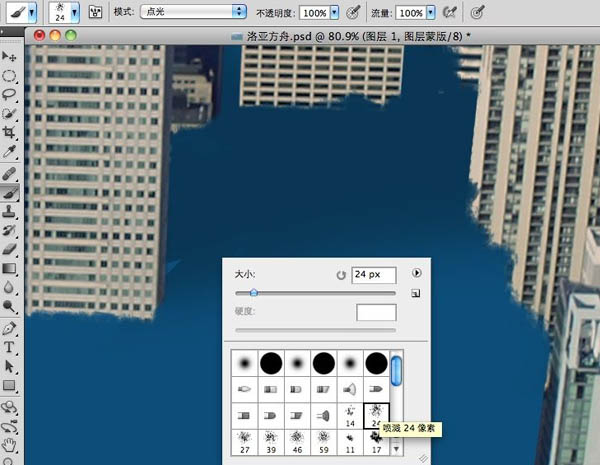
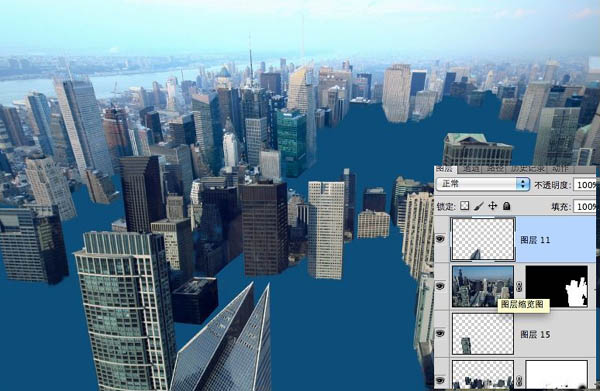
4、强调一下,在扣出来后最好用笔刷将楼层断面刷一下,这样可以达到逼真的水面效果。
5、拖入第二幅两层图片,然后设置前景,和第一次扣出楼层一样。
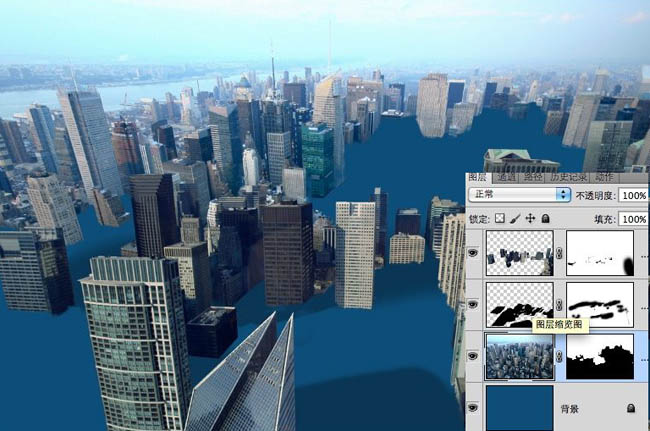
6、扣出来后,将对前景进行加阴影处理。复制-变型-填黑-透明。
学习 · 提示
相关教程
关注大神微博加入>>


网友求助,请回答!