PS变形工具和图层混合模式为陶瓷花瓶添加精美图案
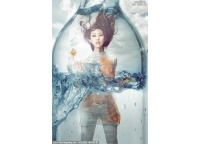
本例教程主要为大家介绍如何使用Photoshop中的变形工具和图层混合模式为陶瓷花瓶添加精美的图案,效果如下图所示。

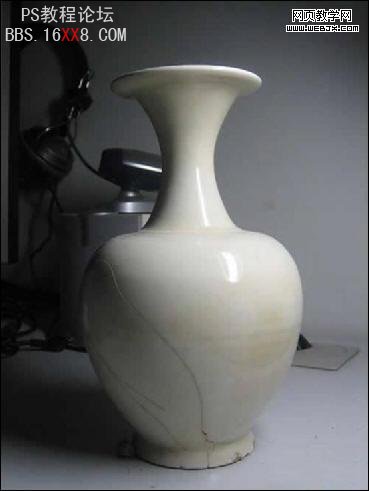
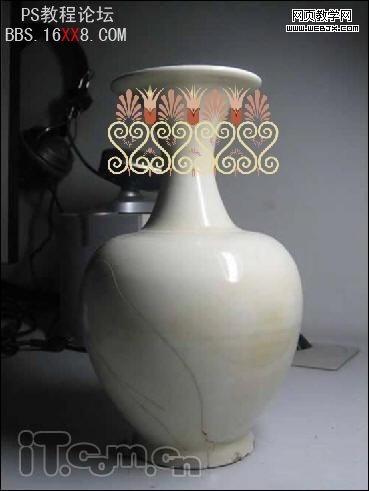
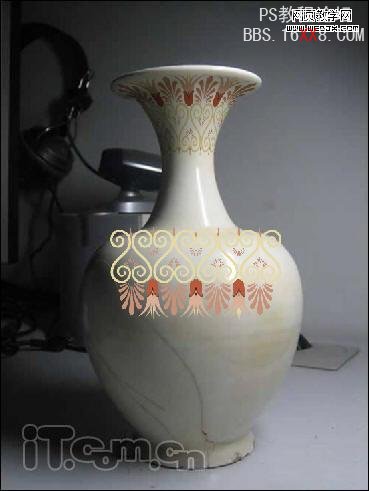
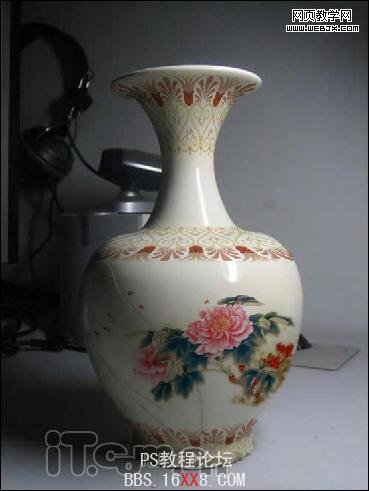
原图:
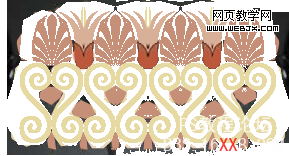
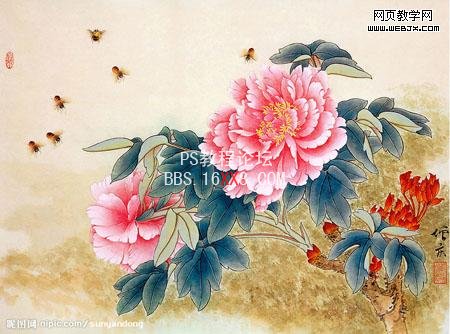
素材图片:
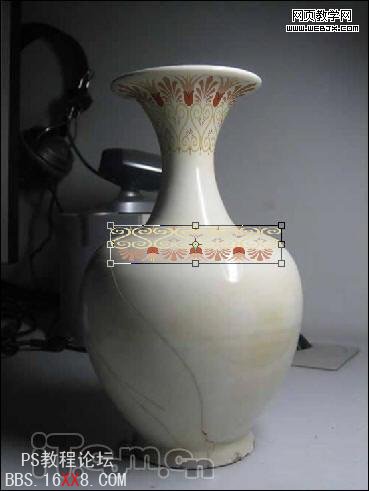
1、首先把素材图片复制到花瓶中,如图所示。
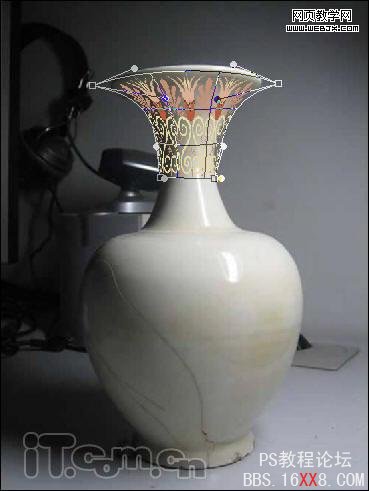
2、选择“编辑—变换—变形”命令,然后调整各个支点,使花纹的形状与花瓶的颈部相似,按下Enter键确定,如图所示。
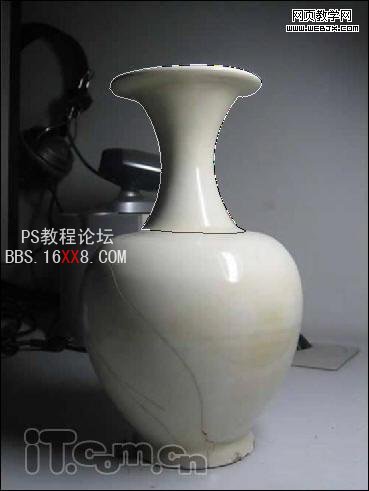
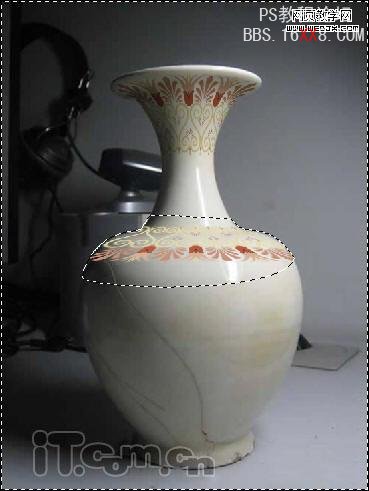
3、在图层面板中取消图层1的“眼睛”,然后使用钢笔工具画出花瓶瓶颈的路径,如图所示。
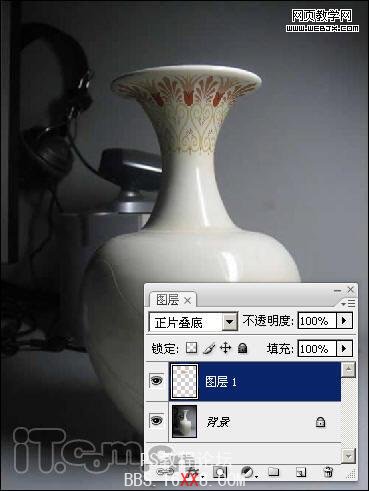
4、按下Ctrl+Enter把路径变为选区,再按下Ctrl+Shift+I进行反选,然后打开图层1的“眼睛”,按下Delete键删除选区的内容,并设置图层1的混合模式为“正片叠底”,如图所示。
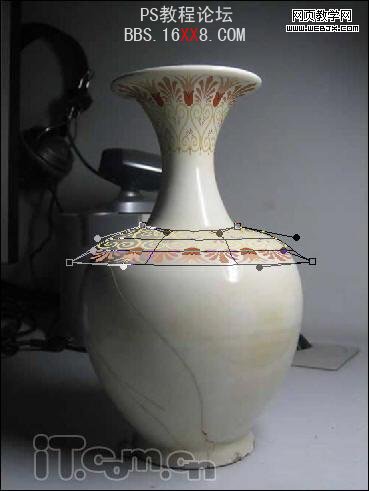
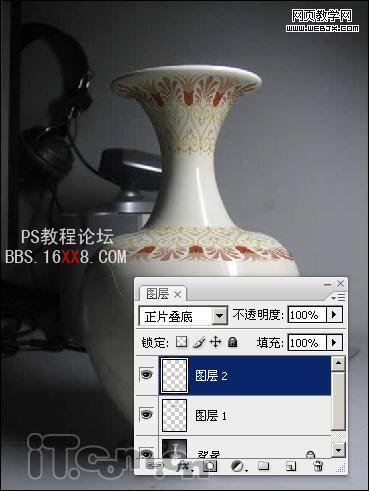
5、再次复制花纹图案得到图层2,然后选择“编辑—变换—垂直翻转”,如图所示。
6、按下Ctrl+T调整高度,如图所示。
7、参考前面变形的方法,选择“编辑—变换—变形”命令,调整图案的形状,如图所示。
8、使用钢笔工具,画出花瓶的路径,如图所示。
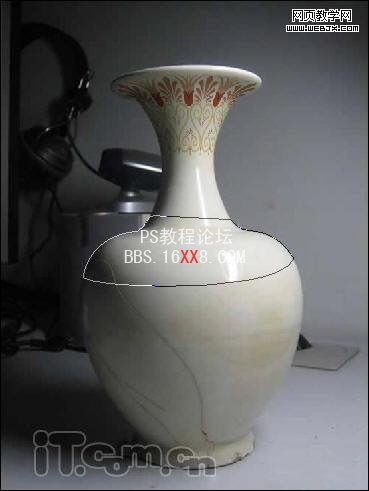
9、按下Ctrl+Enter载入选区,再按下Ctrl+Shift+I反选,然后按Delete清除图层2选区内的内容,如图所示。
10、设置图层2的混合模式为“正片叠底”,如图所示。
使用相同的方法,为花瓶的底部添加花纹图案,如图所示。
11、复制素材2到图片中,并调整大小和位置,如图所示。
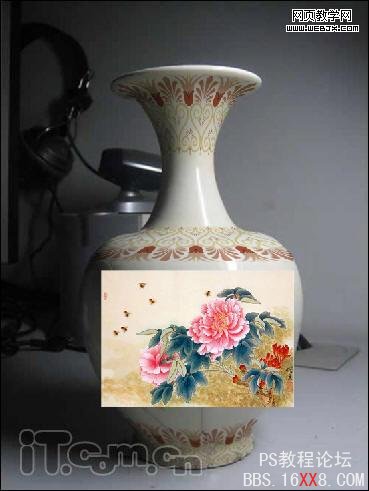
12、选择“编辑—变换—变形”命令,调整图案的形状与花瓶的瓶身相似,如图所示。
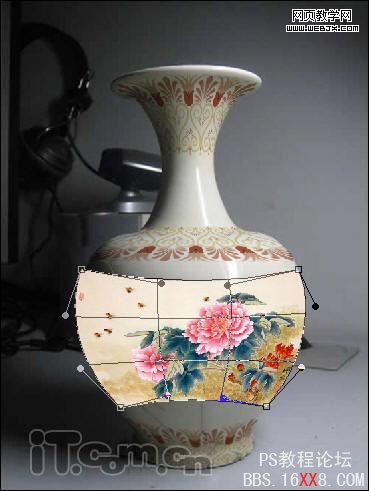
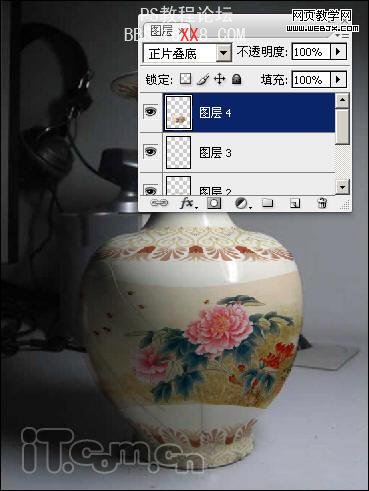
13、设置图层4的混合模式为“正片叠底”,如图所示。
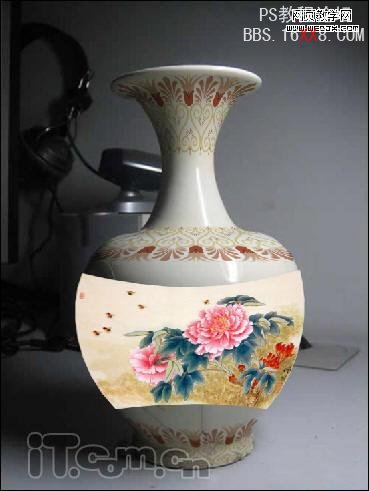
14使用魔棒工具选择图案中多余的颜色,并按下Delete键清除,如图所示。

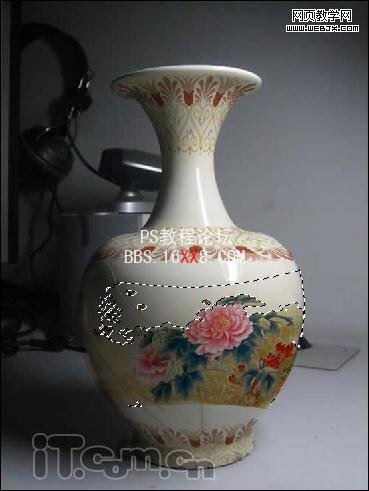
大家在使用魔棒工具选取后,可以使用“选择—选取相似”命令然后设置一下羽化效果,这相选取的选区的效果比较好。

最终效果如图所示。
学习 · 提示
相关教程