柔和效果教程
来源:不详
作者:佚名
学习:160人次
柔和效果教程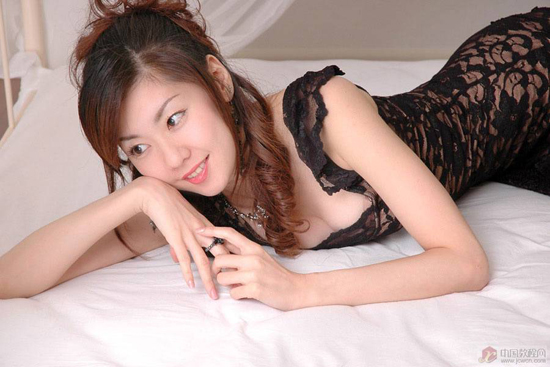

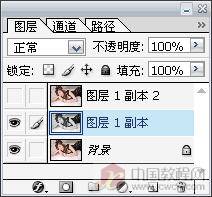
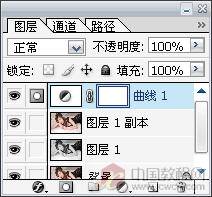
4.新建一层,按Ctrl Shift Alt E,盖印可见层。然后按Ctrl J复制一层。 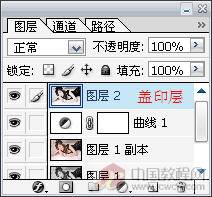
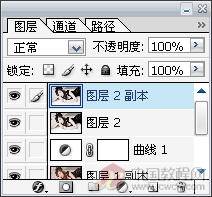
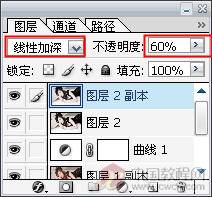
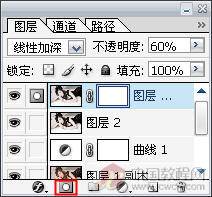
5.对图层2副本执行“滤镜/模糊/高斯模糊”,并把混合模式设为“线性加深”,不透明度设为60%。 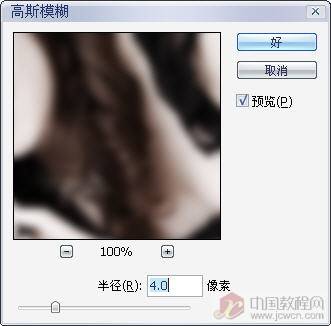
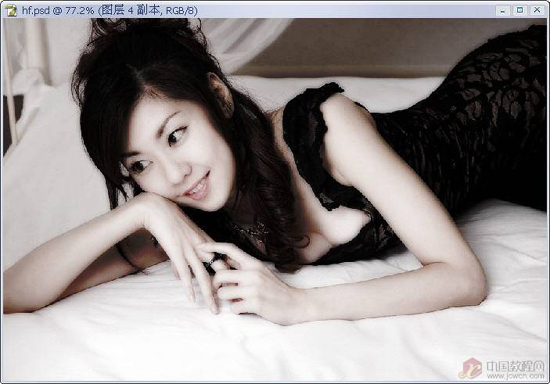
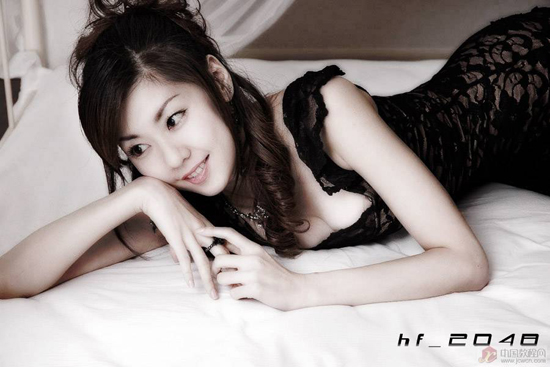

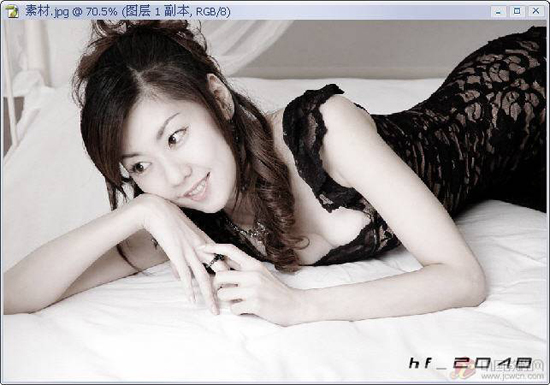
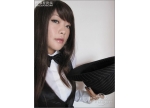
今天练习怎样把颜色鲜艳的图片变得柔和,看上去更舒服
先看原图和效果图:
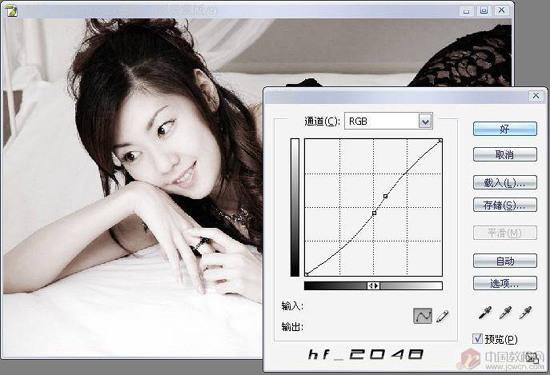
步骤:
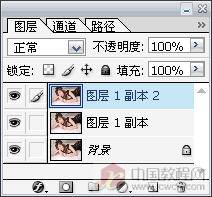
1.打开图片,按Ctrl J两次,复制两层, 然后隐藏副本2。
选中副本1,按Ctrl Shift U,去色。
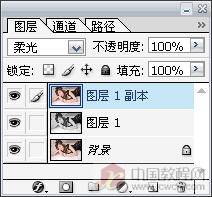
2.选中副本2,并把混合模式设为柔光。
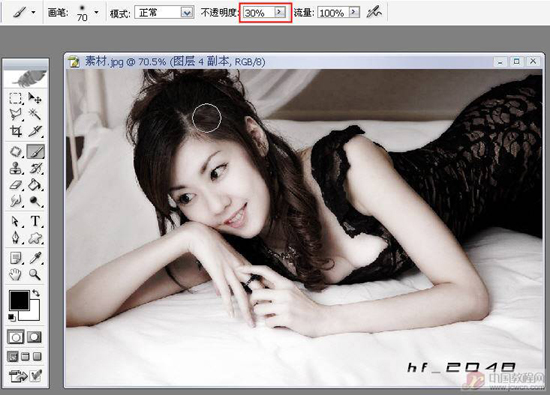
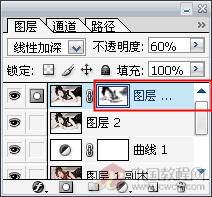
6.对图层2副本添加一个蒙板,并用黑色画笔,在需要还原的的方进行涂抹。涂抹时画笔的硬度设为最底,不透明度设为30%。我这里对头发和衣服涂抹了下
学习 · 提示
相关教程
关注大神微博加入>>


网友求助,请回答!