Photoshop教程:简单打造梦幻效果
来源:不详
作者:佚名
学习:179人次
Photoshop教程:简单打造梦幻效果Photoshopjiao cheng :jian dan da zao meng huan xiao guo
作者:鸿雁南飞 教程来源:中国教程网论坛
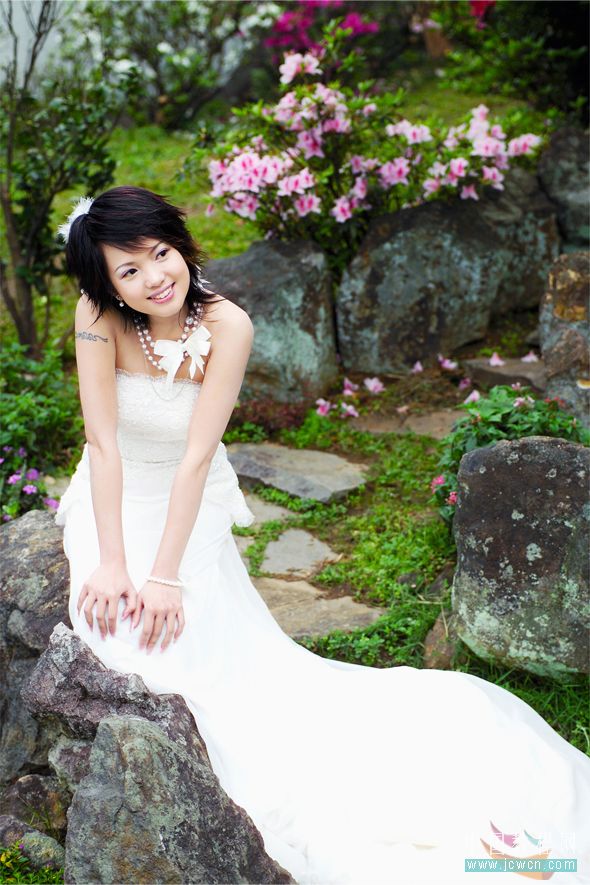
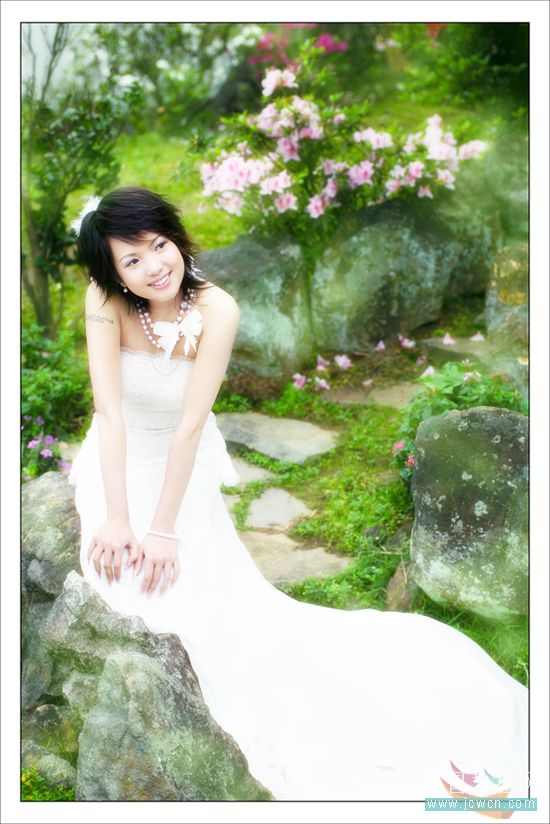
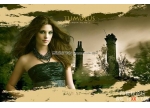
原图和效果图

本新闻共4
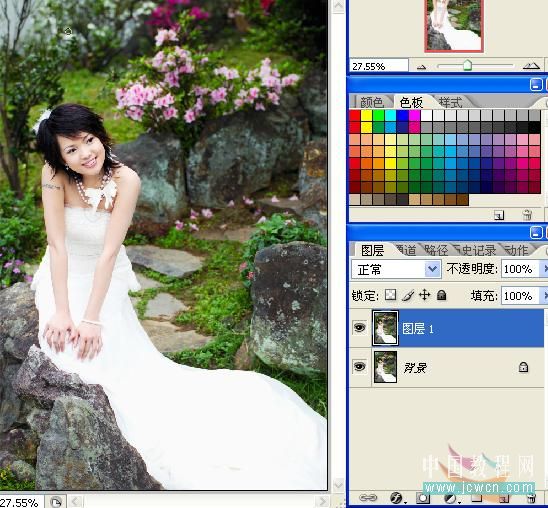
打开图像Ctrl j复制一层
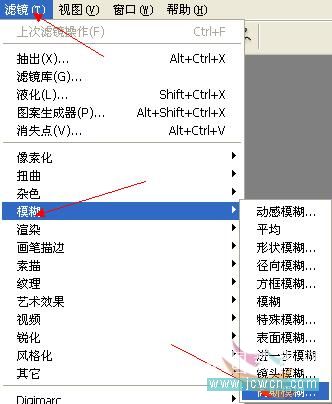
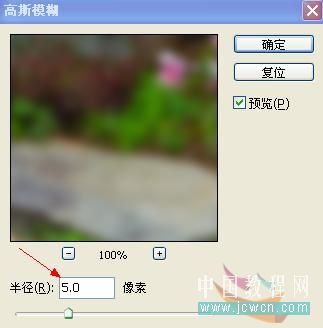
滤镜.模糊.高斯模糊
数值5~8
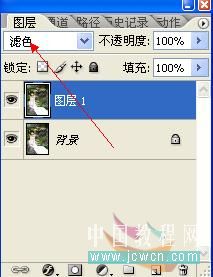
图层混合模式:滤色
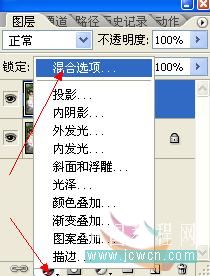
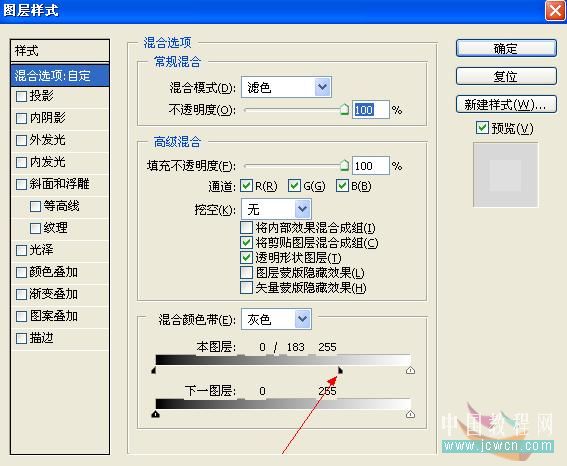
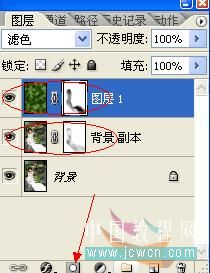
图层面板右下角的混合选项
本新闻共4
按住Alt键向右拉动黑色三角滑块
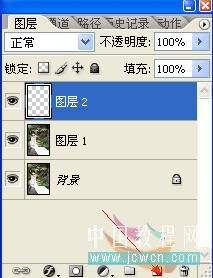
新建一层
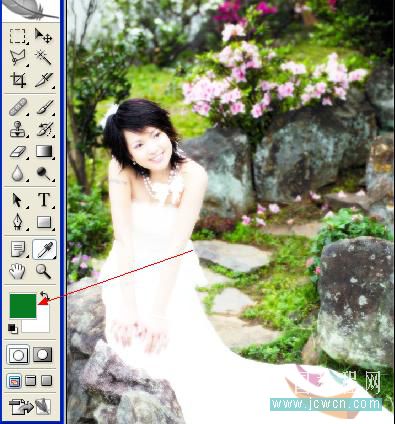
设置前景色为深绿色.背景色为白色
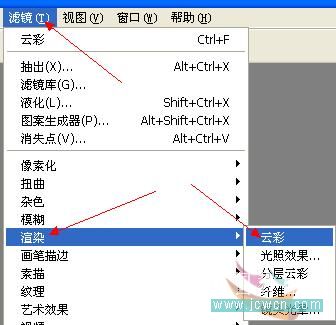
滤镜.渲染.云彩
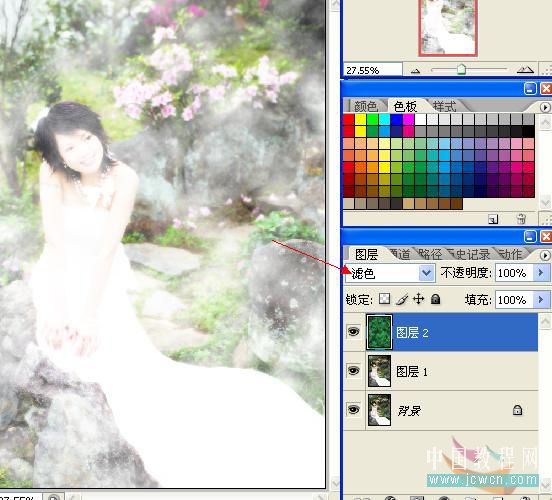
设置图层混合模式为:滤色
本新闻共4
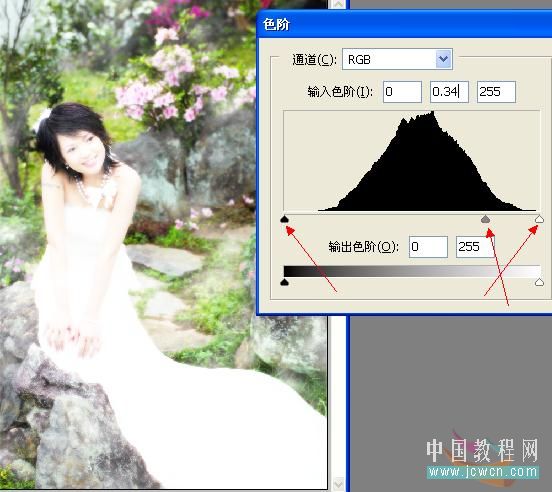
Ctrl L色阶调整.观看左边图像拉动滑块
为背景副本和图层1添加蒙板
设置前景色为黑色用柔角画笔在蒙板上涂抹出不需要模糊的地方
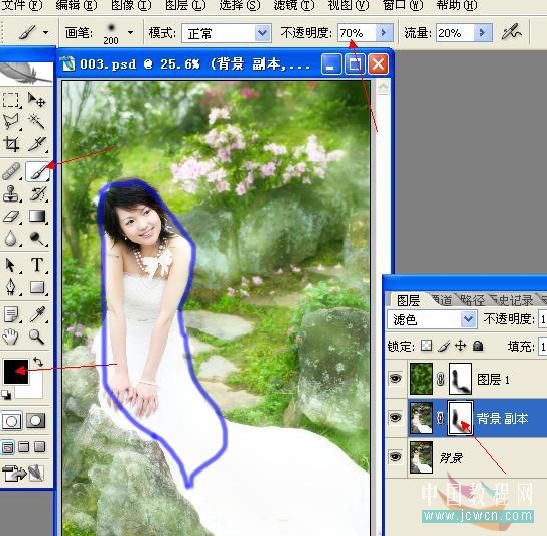
最后盖印图层,再为相片加个白色的边框.完成
与本文相关讨论请去这里与作者交流:http://bbs.jcwcn.com/viewthread.php?tid=111894
本新闻共4简单的,我们教你,深奥的,你来分享,非主流照片|qqkongjian|feizhuliu|tupian|luntan|psjiaocheng|bishua|ruanjian|chajian|xiazai|psxiazai|qqkongjiandaima
作者:鸿雁南飞 教程来源:中国教程网论坛
原图和效果图
本新闻共4
打开图像Ctrl j复制一层
滤镜.模糊.高斯模糊
数值5~8
图层混合模式:滤色
图层面板右下角的混合选项
本新闻共4
按住Alt键向右拉动黑色三角滑块
新建一层
设置前景色为深绿色.背景色为白色
滤镜.渲染.云彩
设置图层混合模式为:滤色
本新闻共4
Ctrl L色阶调整.观看左边图像拉动滑块
为背景副本和图层1添加蒙板
设置前景色为黑色用柔角画笔在蒙板上涂抹出不需要模糊的地方
最后盖印图层,再为相片加个白色的边框.完成
与本文相关讨论请去这里与作者交流:http://bbs.jcwcn.com/viewthread.php?tid=111894
本新闻共4简单的,我们教你,深奥的,你来分享,非主流照片|qqkongjian|feizhuliu|tupian|luntan|psjiaocheng|bishua|ruanjian|chajian|xiazai|psxiazai|qqkongjiandaima
学习 · 提示
相关教程
关注大神微博加入>>


网友求助,请回答!