ps制作彩色飘带光束背景(2)
来源:photoshop联盟
作者:Sener
学习:27424人次
2、新建一个组,在组里新建一个图层,先来完成头部制作,需要完成的效果如下图。

3、用钢笔勾出图4所示的选区,选择渐变工具,颜色设置如图5,拉出图6所示的线性渐变。

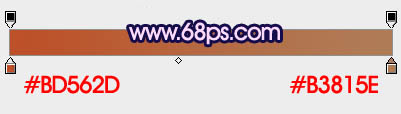

3、用钢笔勾出图4所示的选区,选择渐变工具,颜色设置如图5,拉出图6所示的线性渐变。
学习 · 提示
相关教程
关注大神微博加入>>


网友求助,请回答!