浑身带刺的仙人掌文字
来源:不详
作者:佚名
学习:2633人次
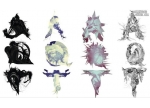
浑身带刺的仙人掌文字完成效果: 
1、在Photoshop中新建一个图层,按Q键启用快速蒙板。首先键入一个字母“T”。 2、从滤镜菜单中选择“扭曲>玻璃”。应用如下设置: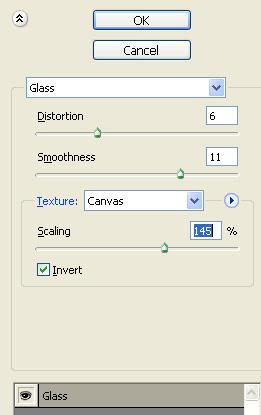

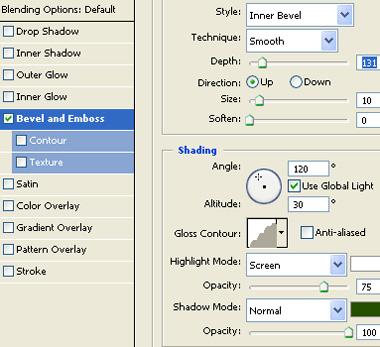


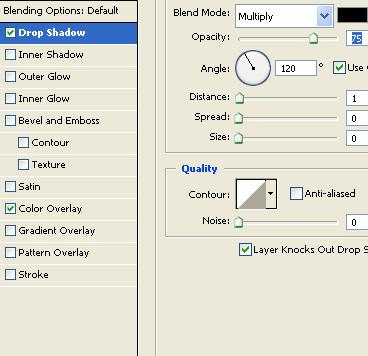
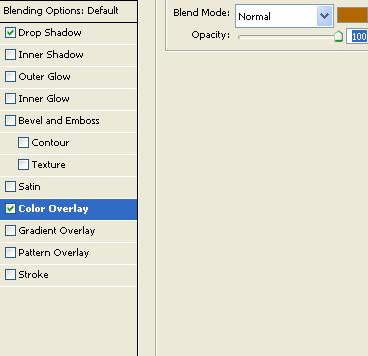
8、按Ctrl J复制粘贴选区到一个新图层中。双击图层打开图层样式窗口。应用如图所示的图层样式设置。 


1、在Photoshop中新建一个图层,按Q键启用快速蒙板。首先键入一个字母“T”。 2、从滤镜菜单中选择“扭曲>玻璃”。应用如下设置:
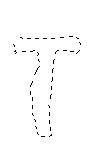
3、再次按Q键禁用快速蒙板。Ctrl Shift I反选选区。
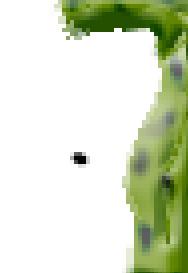
4、使用绿色填充。
6、选择burn工具。从顶部选项栏调整设计如下。应用该工具在填充文本图层上创建暗色斑点。
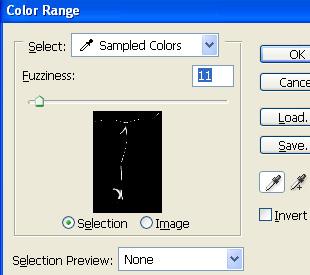
7、从“选择”菜单点选“色彩范围”。使用滴管工具点击创建选区。
9、使用椭圆形状工具创建一个小椭圆。
10、使用钢笔工具创建一个如下所示的形状。
12、创建更多“刺”复制图层并如图所示放置到合适位置。
14、复制所有图层,选择并合并复制的图层。在图层面板上启用“锁定透明像素”。使用黑色填充。按Ctrl T。右击图层并选择“扭曲”调整节点创建一个透视阴影效果。减少其不透明度。
学习 · 提示
相关教程
关注大神微博加入>>


网友求助,请回答!