极坐标滤镜的无限创意壁纸设计
来源:不详
作者:佚名
学习:757人次
极坐标滤镜的无限创意壁纸设计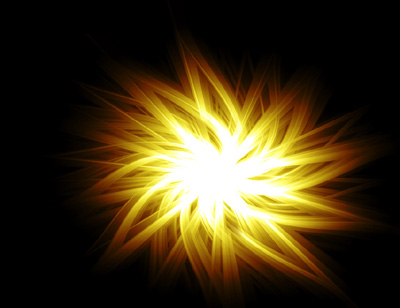


充分利用Photoshop的极坐标滤镜(polar coordinates)往往会获得意想不到的效果,很多国外设计师做抽象视觉的作品时都会用到它。
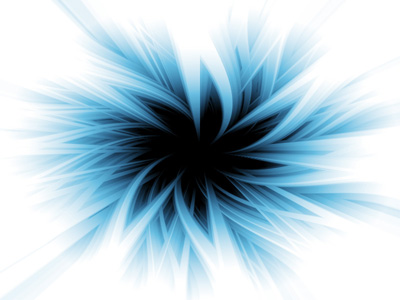
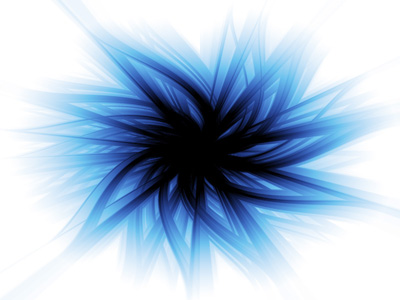
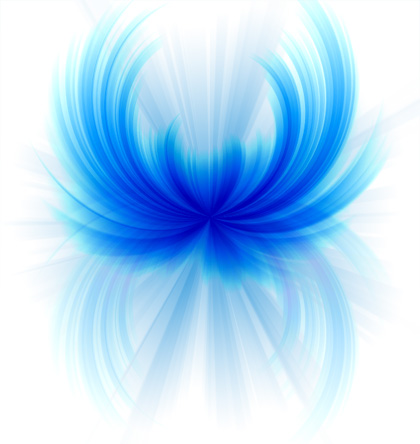
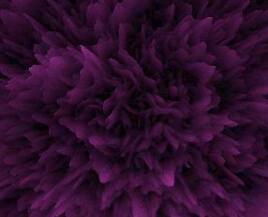
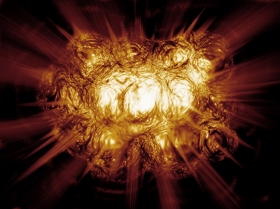
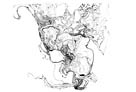
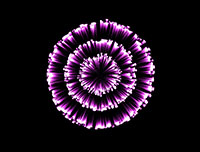
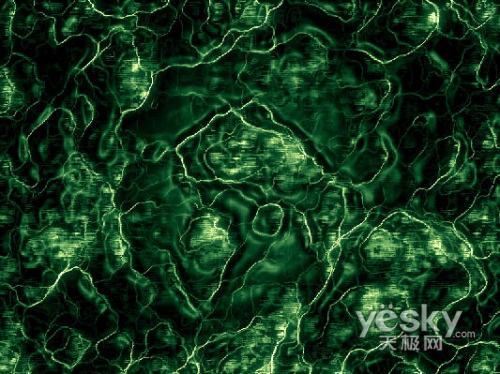
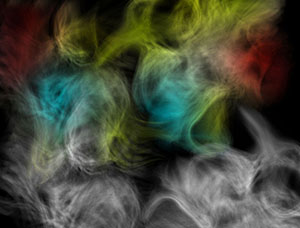
下面是三张笔者刚做的练习(点击放大),希望和各位交流一下。
后面将给出具体的制作方法。
其实制作过程很简单,看看下面的图解就会一目了然。
制作过程图解
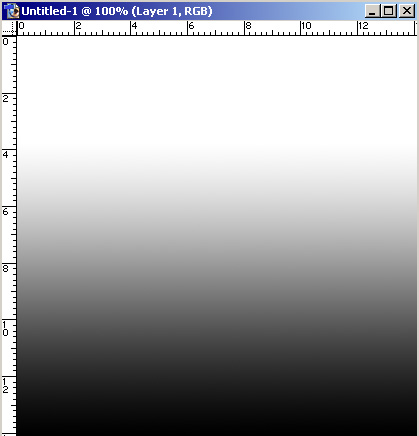
1、建层,渐变。
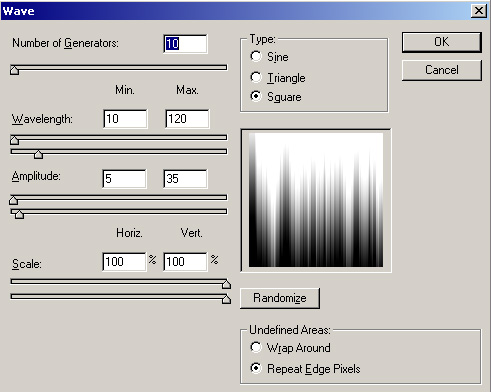
2、使用波浪滤镜(disort-wave)。
参数如下:
结果如下。
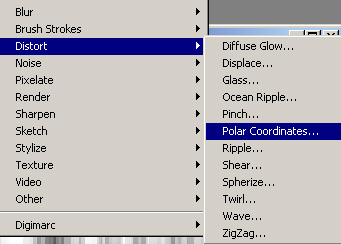
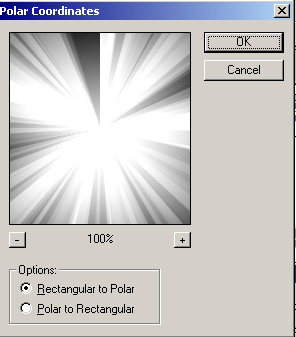
3、使用最关键的极坐标滤镜(polar Coordinates滤镜 )。
4、取反(ctrl-I), 效果如下。
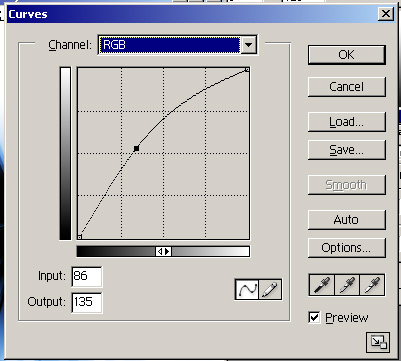
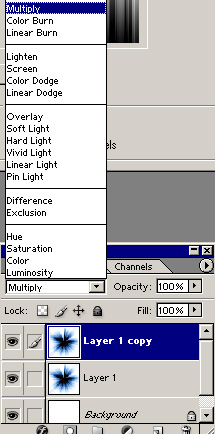
5、通过ctrl-M ,ctrl-u,ctrl-l, ctrl-b 等,调到你想要的颜色 。
6、ctrl-J ,然后multiply过度。
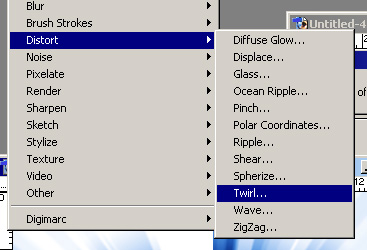
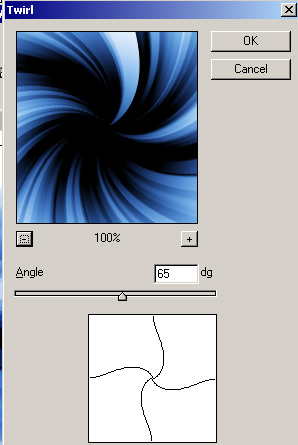
7、再使用一下扭曲(twirl)滤镜,也可以试试别的distort滤镜,或许也可以有比较好的效果。
参数可以根据自己喜好,我用65,仅供参考。
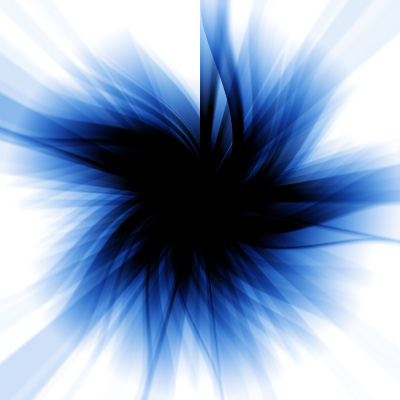
8、最终完成图:
适当的变化一下造型也可以。
很多很酷的壁纸不一定只有用3D软件才可以制作,其实很多也都是用Photoshop或者Coreldraw等平面软件制作出来的。记住,仔细观察、扩展思维比复杂的制作过程重要得多。动手试试吧!Photoshop也可以令你有意外的惊喜!
学习 · 提示
相关教程
关注大神微博加入>>

网友求助,请回答!