Photoshop教程:鼠绘可爱的小黄狗
来源:
作者:
学习:320人次
来源:PS联盟 作者:Liuys
前言:教程有很多细节需要自己慢慢完善,教程提供的是大致的效果和流程图,其中笔刷的定制,我是用2像素的毛笔在纸上随便画的几个点,定制的39像素的为主。为了不影响打开素材教程中的图是按比例缩小的。
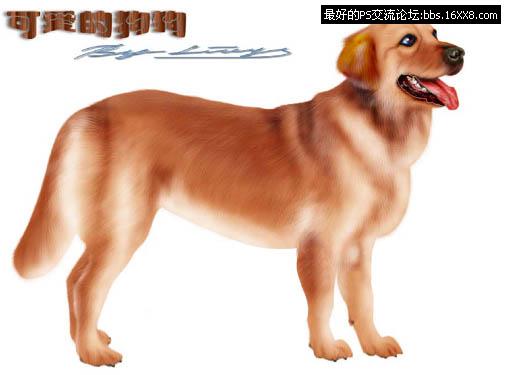
最终效果
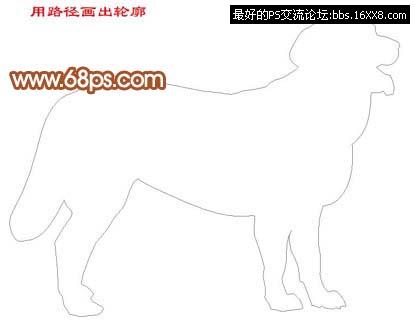
1、先用钢笔工具勾出大致的轮廓图。
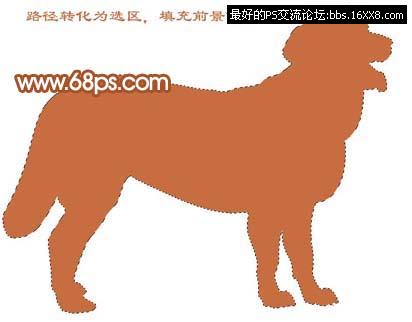
2、按Ctrl + Enter把路径转为选区,填充颜色:#C86D41。
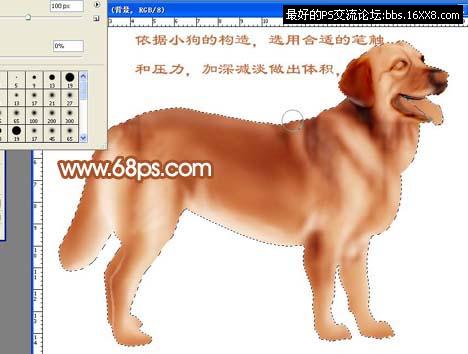
3、依据小狗的构造,选用合适的笔触和压力,用加深/减淡工具作出大致的明暗效果如图。
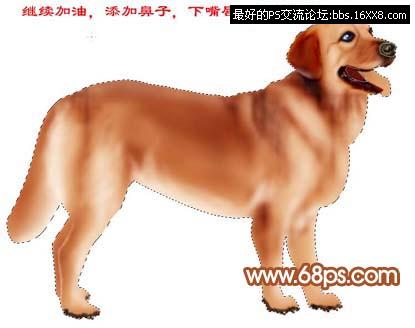
4、继续加油,添加鼻子,下嘴唇,牙齿部分。
5、继续加油,牙齿和舌头。

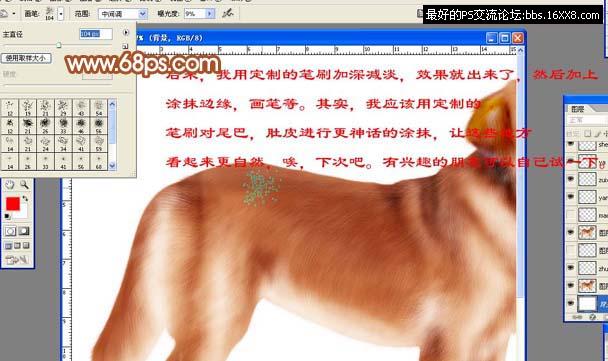
6、画毛的时候很麻烦,先用定制好的笔刷加深减淡,效果就出来了,然后加上涂抹边缘,画笔等。
7、细细审视全局,最后加上文字和签名,完成最终效果。
前言:教程有很多细节需要自己慢慢完善,教程提供的是大致的效果和流程图,其中笔刷的定制,我是用2像素的毛笔在纸上随便画的几个点,定制的39像素的为主。为了不影响打开素材教程中的图是按比例缩小的。
最终效果
1、先用钢笔工具勾出大致的轮廓图。
2、按Ctrl + Enter把路径转为选区,填充颜色:#C86D41。
3、依据小狗的构造,选用合适的笔触和压力,用加深/减淡工具作出大致的明暗效果如图。
4、继续加油,添加鼻子,下嘴唇,牙齿部分。
5、继续加油,牙齿和舌头。
6、画毛的时候很麻烦,先用定制好的笔刷加深减淡,效果就出来了,然后加上涂抹边缘,画笔等。
7、细细审视全局,最后加上文字和签名,完成最终效果。
学习 · 提示
相关教程
关注大神微博加入>>


网友求助,请回答!