当前位置:首页>ps实例教程>ps网页设计>logo教程>教程内容

PS制作Google Chrome浏览器Logo图标(3)

来源:未知 作者:admin 学习:14740人次

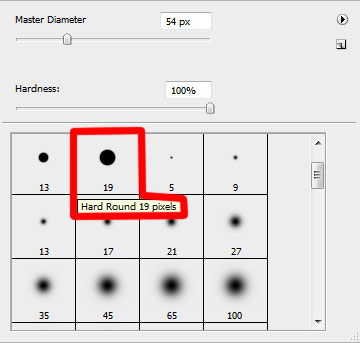
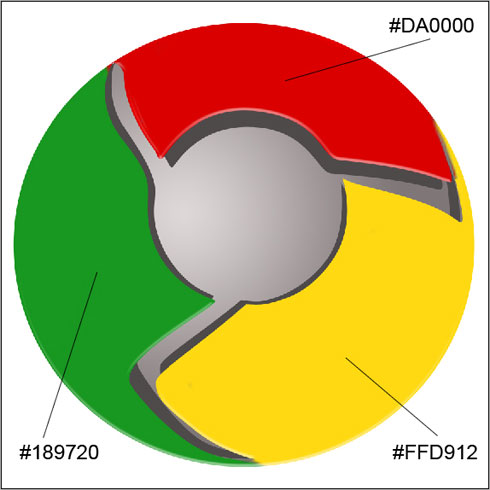
Create a new layer and use on it a standard brush (Brush Tool (B)) to paint the logotype sectors. Press preliminary Alt button and make a mouse click between the top logotype layer and the new one.
新建图层,使用标准画笔工具(B)为图标的表面扇叶部分上色,按住Alt键,再左键点击新图层和形状图层之间创建剪贴蒙版(具体参数如下)

Make a new copy of the logotype layer and apply the Bevel and Emboss options for the copy. Use the Convert Point Tool to change the placement of the tops and move off the layer effect. Place this new layer lower than the logotype layer with the effect (Bevel and Emboss), but above the layer containing the logotype shadow.
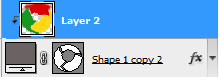
把带有斜面和浮雕效果的图层复制一份,用转换点工具改变一下它的形状位置,去掉图层样式(斜面和浮雕),然后把它放在形状层和阴影层之间


学习 · 提示

  • 一定要打开PS,跟着教程做一遍,做完的图到这交作业:提交作业
  • 建议练习时,大家自己找素材,尽量不要用教程提供的素材。
  • 教程有看不懂的地方,可以到论坛发帖提问:新手求助
  • 加官方微信,随时随地,想学就能学:ps_bbs,或扫右侧二维码!
  • 关注我们学更多,每天都有新教程:新浪微博 抖音视频 微信小程序
- 发评论 | 交作业 -
最新评论
暂无评论,交个作业支持一下吧~

关注大神微博加入>>

网友求助,请回答!