photoshop教程:制作苹果手机界面教程
来源:未知
作者:空来风
学习:8119人次
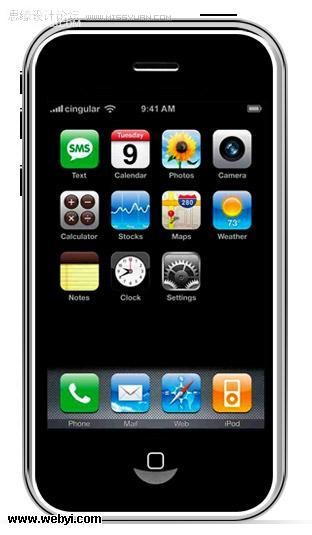
效果如下:
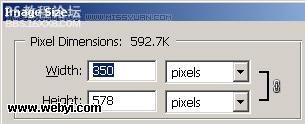
1.新建如此大小的photoshop文件
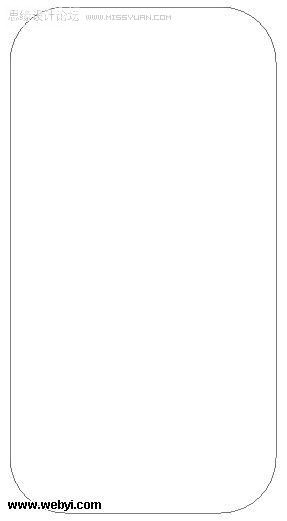
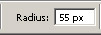
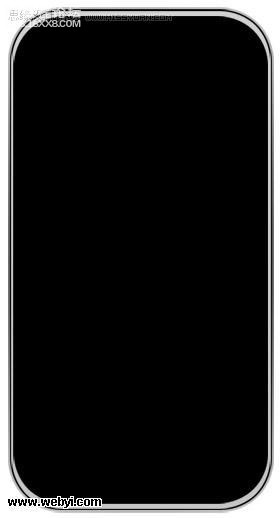
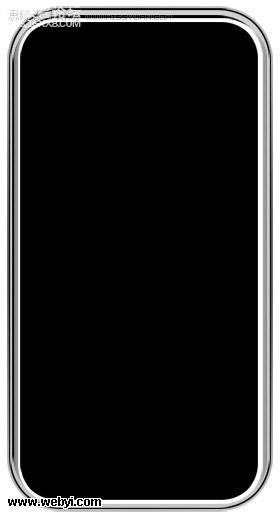
2.路径工具

,设置圆角

,画出如下形状
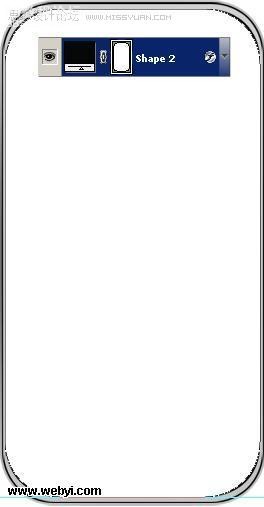
3.加蒙版至顶层
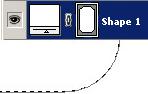

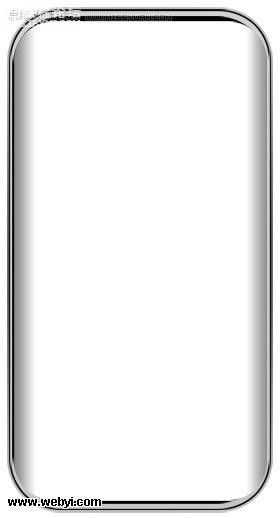
白色前景,黑色背景
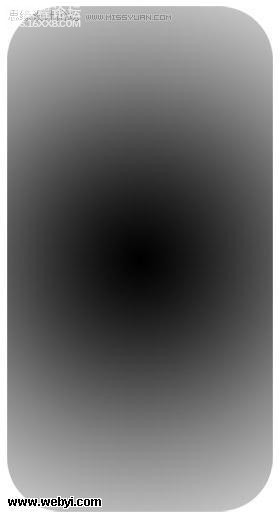
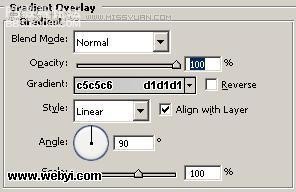
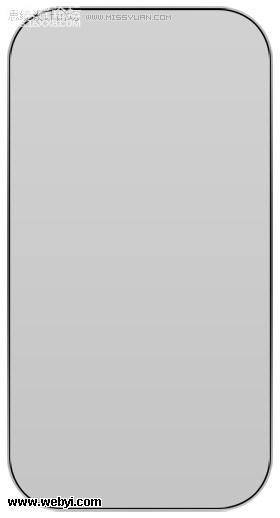
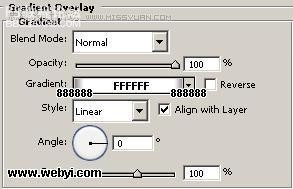
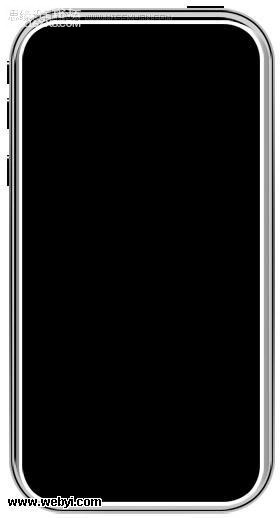
4.图层样式设置如下
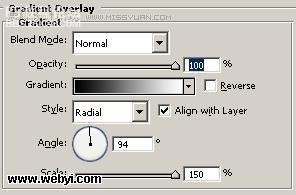
效果如下
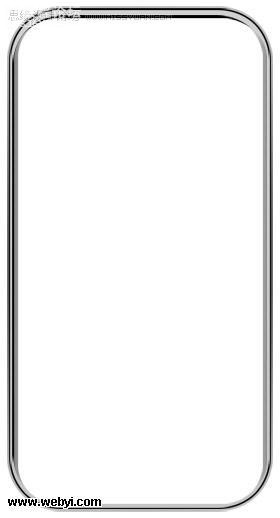
5. 新建层 Ctrl+鼠标点击图层渐入选取 选择修改 收缩2px
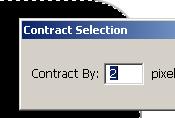
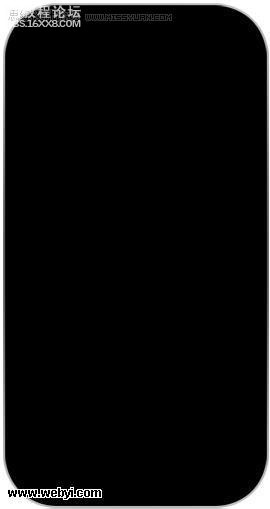
填充黑色效果如下
,
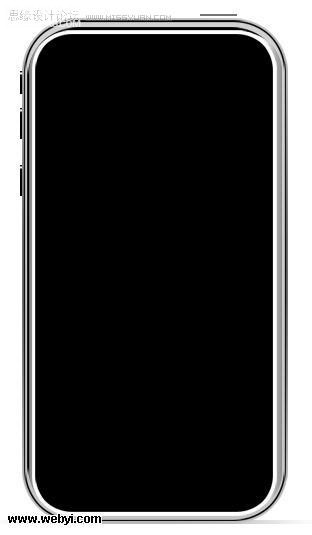
6.图层样式设置如下
现在效果如下
7.路径工具圆角
画出如下图形
填充黑色
8.圆角路径工具 圆角40画出如下图形 并设置图层样式如下
9.继续新建层,填充白色如下,再新建层,填充黑色如下
10.如图选择如下区域,设置图层样式


11.其他几个部分依次如此
12.最后底部效果设置如下


13.移入按钮图层 【完成】
学习 · 提示
相关教程
关注大神微博加入>>


网友求助,请回答!