photoshop铅笔鼠绘教程(5)
来源:未知
作者:学photoshop
学习:457人次
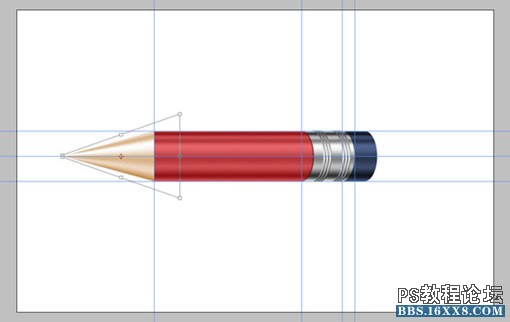
第十七步:
选上“TipGradient”层,使用“编辑-变换-透视”,调整角度,类似下图。
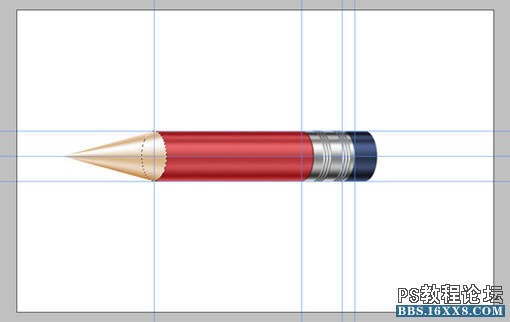
第十八步:
打开“选择-载入选区”,选择我们之前储存的“Ellipse”选区。在“body”和“color”层上进行删除。
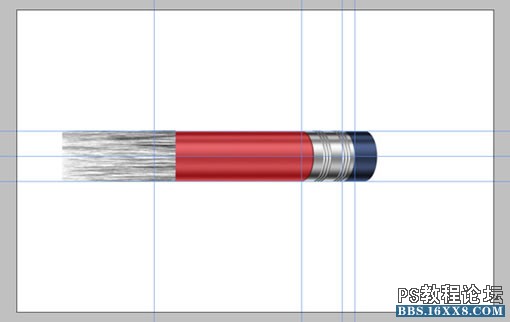
第十九步:
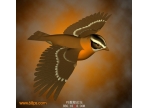
选定“color”的选区,新建一层,取名“Wood”。把前景色和背景色设为白色和黑色,并往选区中填充白色。然后打开“滤镜-渲染-纤维”,数值都设为10,确定,接着用Ctrl+T,顺时针旋转90度,并改变大小,就像图中所示。
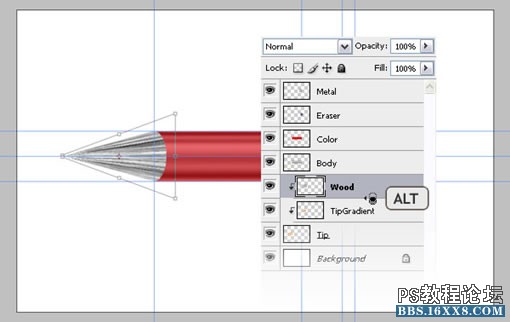
第二十步:
使用“编辑-变换-透视”,调整角度,如图。然后把层的混合模式设为“柔光”,不透明度为60%
选上“TipGradient”层,使用“编辑-变换-透视”,调整角度,类似下图。
第十八步:
打开“选择-载入选区”,选择我们之前储存的“Ellipse”选区。在“body”和“color”层上进行删除。
第十九步:
选定“color”的选区,新建一层,取名“Wood”。把前景色和背景色设为白色和黑色,并往选区中填充白色。然后打开“滤镜-渲染-纤维”,数值都设为10,确定,接着用Ctrl+T,顺时针旋转90度,并改变大小,就像图中所示。
第二十步:
使用“编辑-变换-透视”,调整角度,如图。然后把层的混合模式设为“柔光”,不透明度为60%
学习 · 提示
相关教程
关注大神微博加入>>


网友求助,请回答!