Photoshop打造灯泡里的美女
来源:不详
作者:佚名
学习:332人次
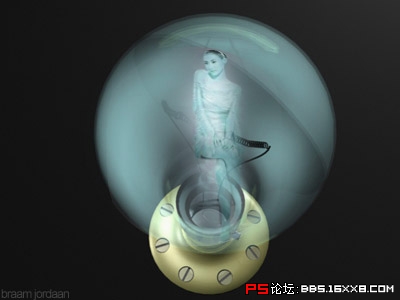
Photoshop打造灯泡里的美女老规矩,先看最终效果:

 1.jpg (37.1 KB)
2007-10-2 14:12
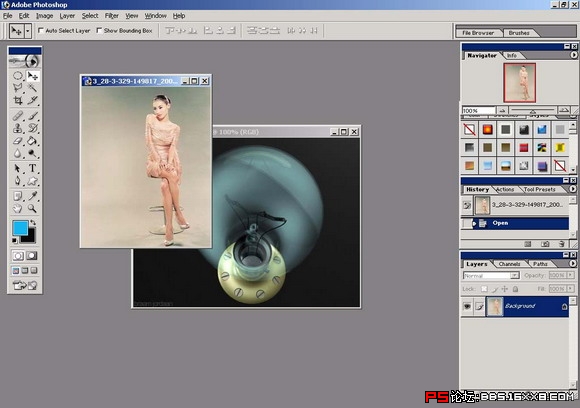
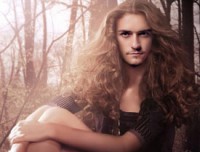
步骤1:首先找两幅漂亮的图。我选的是一个3D的灯泡(一个非洲设计学的学生做的)和张柏芝的一张照片。
 2.jpg (102.72 KB)
2007-10-2 14:12
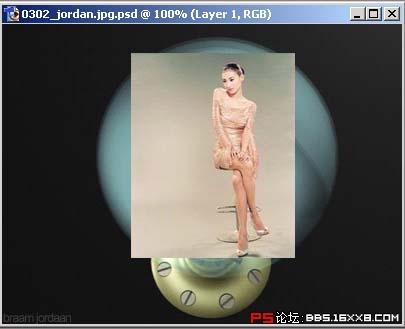
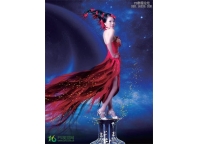
步骤2:然后把张柏芝的照片直接拖到灯泡里,修改大小!到你刚刚把她可以放在灯泡里面为止
 3.jpg (40.82 KB)
2007-10-2 14:12
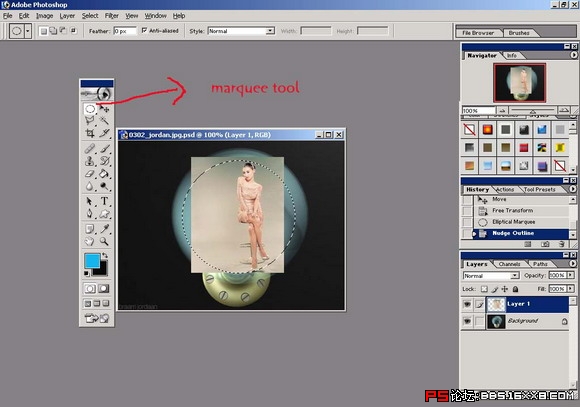
步骤3:用marquee tool
拉一个圆形,把张柏芝以同心圆的程度罩起来 .
 4.jpg (102.91 KB)
2007-10-2 14:12
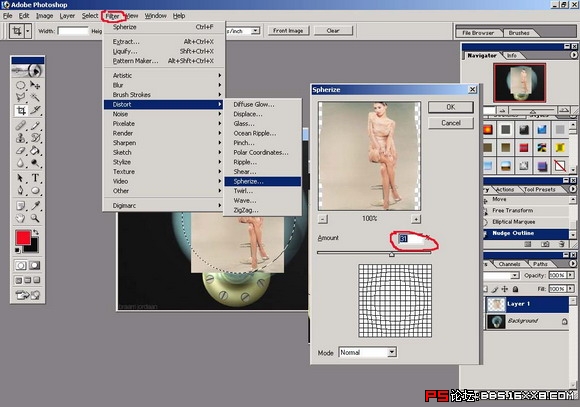
步骤4:设置filter-distort-spherize,使柏芝看起来有放大镜效果
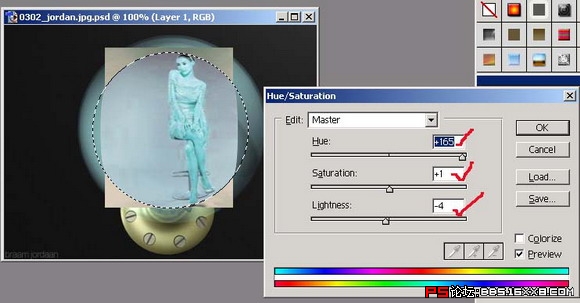
步骤5:调整色调ctrl+u,务必使柏芝和灯泡的色调接近一致。
 6.jpg (91.92 KB)
2007-10-2 14:12
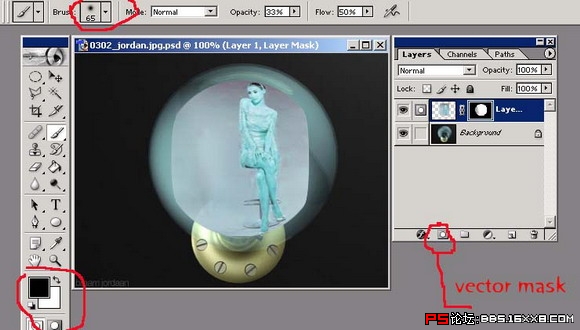
步骤6:加上vector
mask,然后准备修整柏芝多余的背景!我们选定AIR BRUSH,然后把forecolor调成黑色,backcolor调成白色。用力的刷!
 7.jpg (99.49 KB)
2007-10-2 14:12
步骤7:刷掉不爽的颜色之后,如果不小心刷多了可以用白色补回来。完成图!!我喜欢的张柏芝就这样住在灯泡里了!漂亮吗?
 8.jpg (37.1 KB)
2007-10-2 14:12附件
1.jpg (37.1 KB)2007-10-2 14:12
步骤1:首先找两幅漂亮的图。我选的是一个3D的灯泡(一个非洲设计学的学生做的)和张柏芝的一张照片。
2.jpg (102.72 KB)2007-10-2 14:12
步骤2:然后把张柏芝的照片直接拖到灯泡里,修改大小!到你刚刚把她可以放在灯泡里面为止
3.jpg (40.82 KB)2007-10-2 14:12
步骤3:用marquee tool
拉一个圆形,把张柏芝以同心圆的程度罩起来 .
4.jpg (102.91 KB)2007-10-2 14:12
步骤4:设置filter-distort-spherize,使柏芝看起来有放大镜效果
步骤5:调整色调ctrl+u,务必使柏芝和灯泡的色调接近一致。
6.jpg (91.92 KB)2007-10-2 14:12
步骤6:加上vector
mask,然后准备修整柏芝多余的背景!我们选定AIR BRUSH,然后把forecolor调成黑色,backcolor调成白色。用力的刷!
7.jpg (99.49 KB)2007-10-2 14:12
步骤7:刷掉不爽的颜色之后,如果不小心刷多了可以用白色补回来。完成图!!我喜欢的张柏芝就这样住在灯泡里了!漂亮吗?
8.jpg (37.1 KB)2007-10-2 14:12附件
学习 · 提示
相关教程
关注大神微博加入>>


网友求助,请回答!