Photoshop打造梦想dream文字效果
来源:未知
作者:bbs.16xx8.com
学习:776人次
作者:空空幻 出处:eNet硅谷动力
【简 介】
这个教程我将告诉你如何制作一种梦想主体的文字效果,通过使用一些图层样式来实现。如果你感觉有趣,可以和我一起制作……
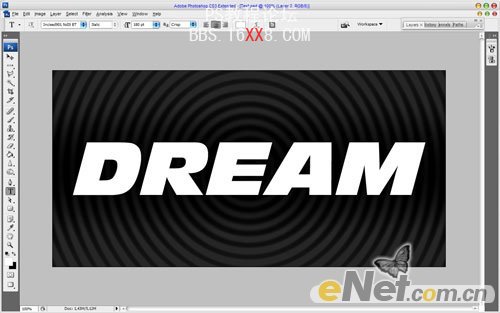
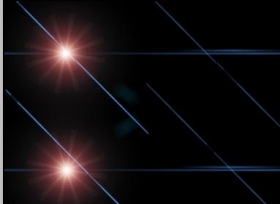
先看一下最终效果:
![](http://pic.16xx8.com/allimg/110308/23534225N-0.jpg)
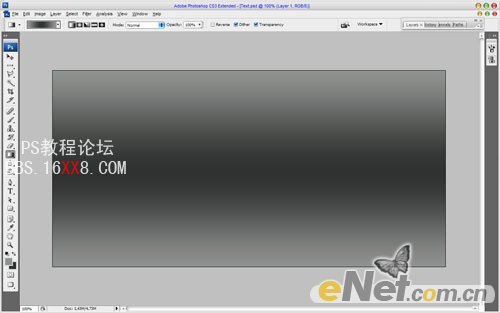
1.首先,在Photoshop中新建文件。我创建了一个新的使用#8f9290颜色的大小为1000 × 500的RGB文件,72像素,渐变颜色设置为#303231和#8f9290。
![](http://pic.16xx8.com/allimg/110308/2353421I9-1.jpg)
2. 然后按D,将前景色和背景色回复到默认。之后,应用“滤镜“>“素描”>“半调图案”并如下设置:
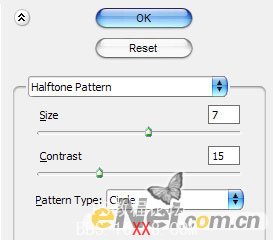
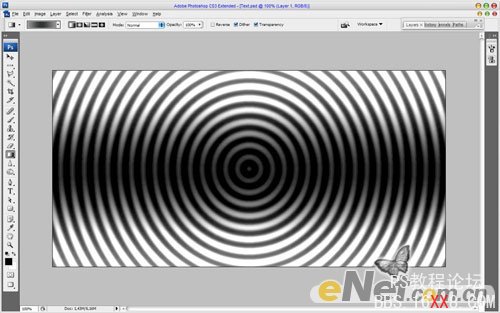
![](http://pic.16xx8.com/allimg/110308/2353421531-2.jpg)
现在你应该有一些这样的模式:
![](http://pic.16xx8.com/allimg/110308/2353422E3-3.jpg)
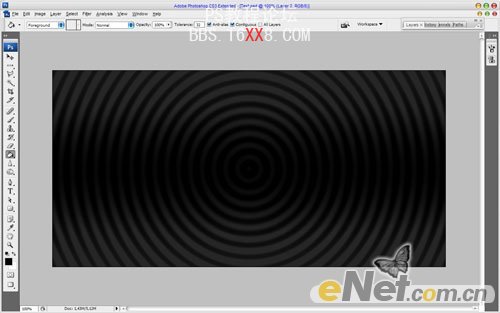
创建一个新层,用黑色填充它。然后改变这个层的不透明度为85%。
![](http://pic.16xx8.com/allimg/110308/23534222B-4.jpg)
3. 现在,开始创建文字。使用横排文字工具,选择一种粗体字体,并在文件中添加文字,例如',DREAMD'这里你可以使用任何颜色。
![](http://pic.16xx8.com/allimg/110308/23534250Y-5.jpg)
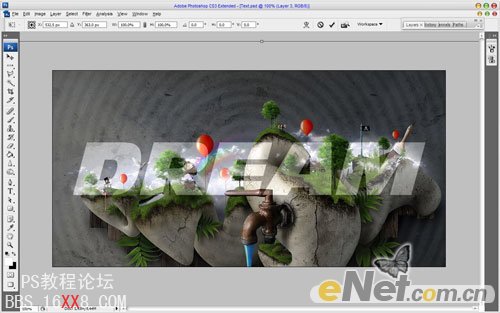
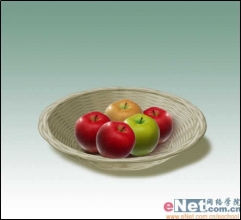
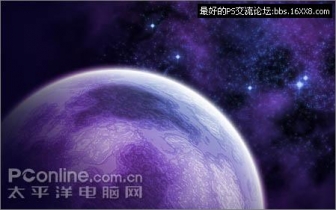
4. 选择背景图片,您可以使用谷歌搜索一些图片。打开该文件并将其复制到上面的文字层上方。改变不透明度为70%,按住Shift键,同比例缩小,并应用“编辑>““自由变换”,将图片缩小一点。
![](http://pic.16xx8.com/allimg/110308/2353421039-6.jpg)
5. 转到文字层,并使用“选择“>“载入选区”选择文本区域。删除这一层,这里不需要这个层了。
![](http://pic.16xx8.com/allimg/110308/235342G05-7.jpg)
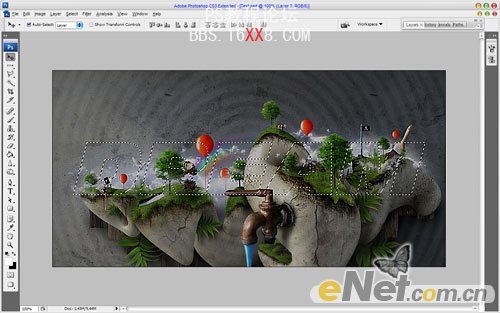
6. 转到图片,然后按Ctrl + Shift + J。设置不透明度为100%,得到如下效果。
![](http://pic.16xx8.com/allimg/110308/23534224a-8.jpg)
7. 使用锐化工具来增强文本。
![](http://pic.16xx8.com/allimg/110308/235342M09-9.jpg)
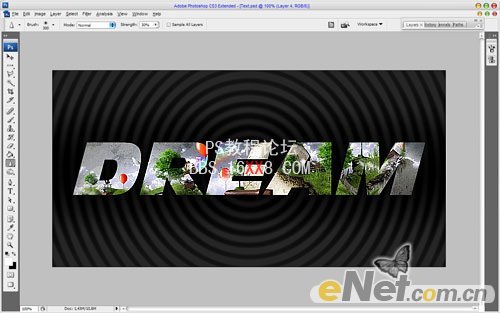
8. 复制当前层(Ctrl十j)然后去上一层并应用“滤镜“>“模糊”>“动感模糊”,得到如下效果:
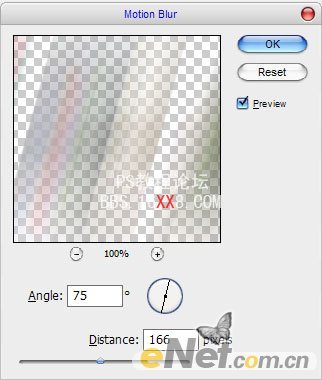
![](http://pic.16xx8.com/allimg/110308/2353422950-10.jpg)
9.现在我们有这样一个有趣的效果。
![](http://pic.16xx8.com/allimg/110308/235342L94-11.jpg)
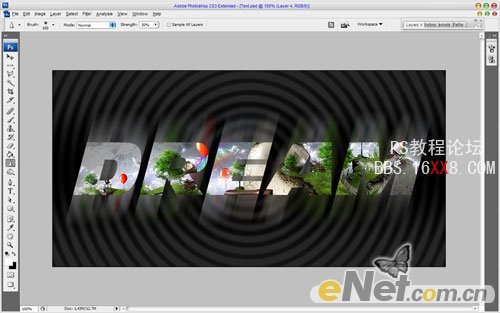
10. 选择文字层,并如下设置图层样式:
![](http://pic.16xx8.com/allimg/110308/2353425494-12.jpg)
![](http://pic.16xx8.com/allimg/110308/2353424B3-13.jpg)
![](http://pic.16xx8.com/allimg/110308/235342C26-14.jpg)
![](http://pic.16xx8.com/allimg/110308/23534260B-15.jpg)
![](http://pic.16xx8.com/allimg/110308/23534242U-16.jpg)
![](http://pic.16xx8.com/allimg/110308/2353424261-17.jpg)
![](http://pic.16xx8.com/allimg/110308/23534250Z-18.jpg)
![](http://pic.16xx8.com/allimg/110308/2353421261-19.jpg)
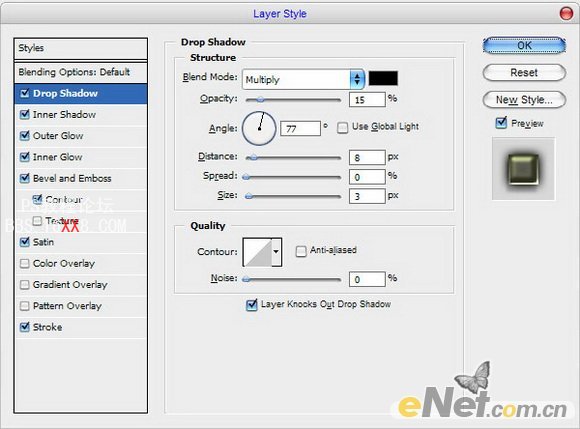
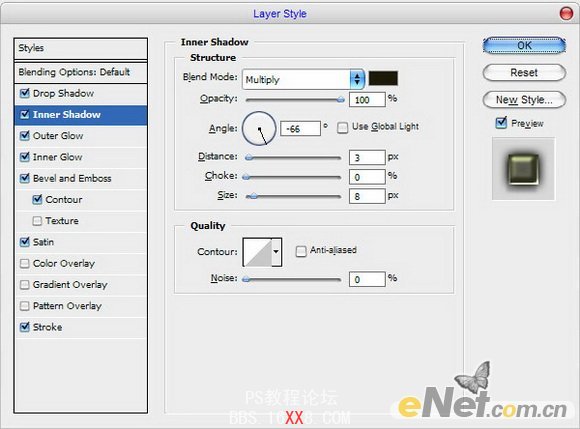
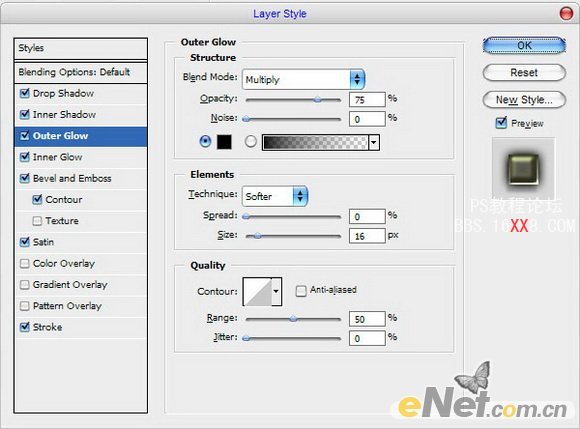
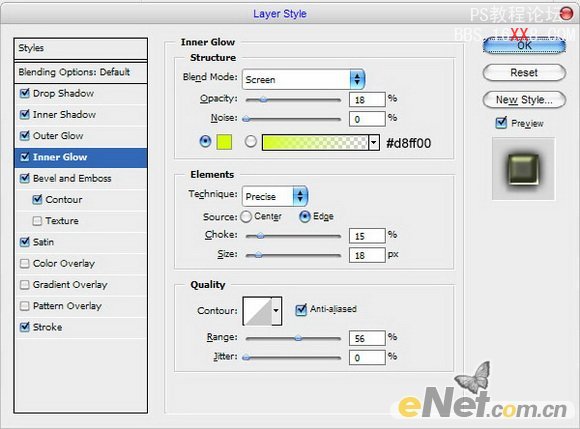
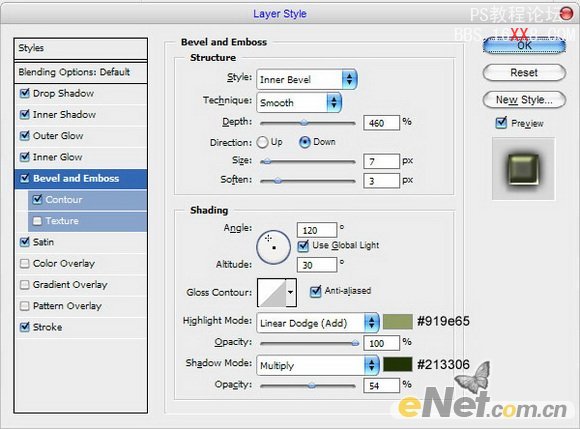
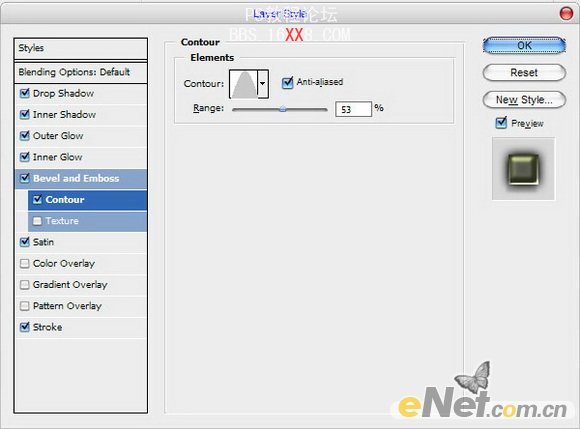
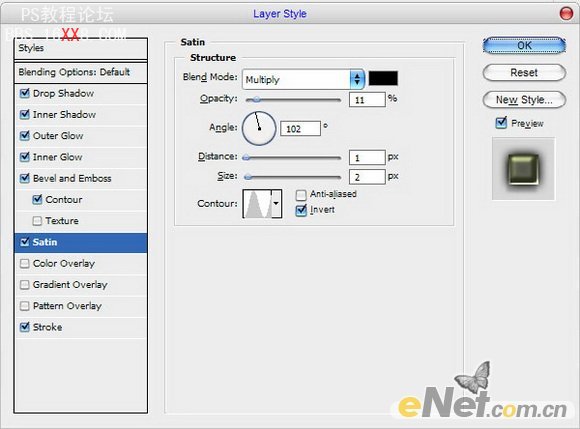
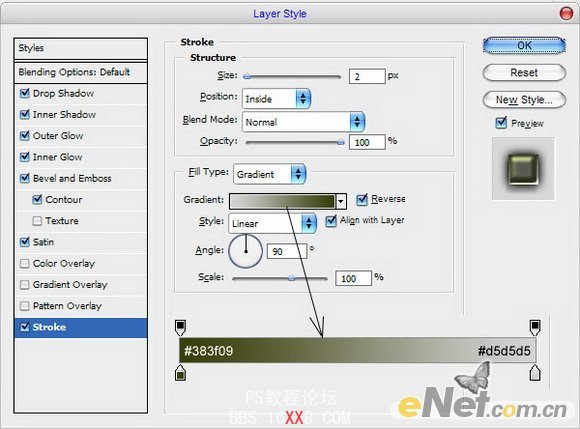
11. 现在你的图片应该如下图这样的效果:
![](http://pic.16xx8.com/allimg/110308/23534223J-20.jpg)
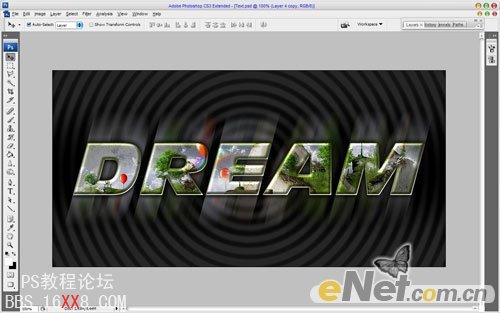
12. 好,感谢大家阅读本教程!我们得到了“dream”的文字效果。
![](http://pic.16xx8.com/allimg/110308/23534225N-0.jpg)
学习 · 提示
相关教程
关注大神微博加入>>
网友求助,请回答!