Photoshop鼠绘漂亮的太阳
来源:未知
作者:bbs.16xx8.com
学习:1489人次
作者:Panghaoran 出处:
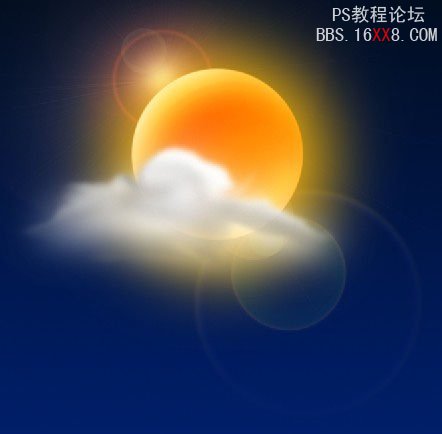
看似简单的图片,制作过程却不简单。需要比较综合的图片制作功底。如图标中的阳光及云彩等都需要自己手绘出来。制作的时候需要有耐心。
最终效果
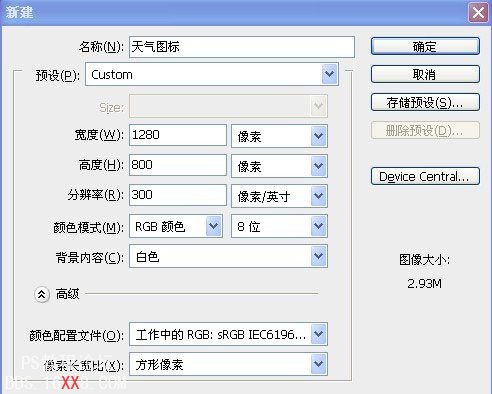
1、新建画布,参数设置如下图,填充一个渐变颜色。

2、新建图层,命名太阳,绘制正圆填充颜色。

3、使用加深、减淡工具绘制出明暗以及高光。(建议先选出需要调整的选区,羽化后调整。)

4、新建图层,并移动到太阳图层下面, ctrl+太阳图层出现选区,羽化(30)填充颜色。

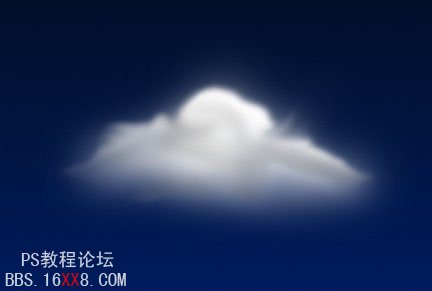
5、新建图层,命名云朵。使用钢笔工具大体绘制出云朵的轮廓。

6、和绘制太阳方法相同,新建一个图层移动至云朵图层下羽化填充。

7、使用蒙版擦掉部分模糊过度的地方,加深减淡工具绘制出云朵明暗。

8、使用涂抹工具让云朵的外形更加生动真实。
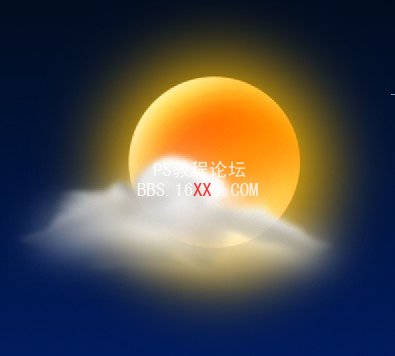
9、将绘制出太阳与云朵集合。
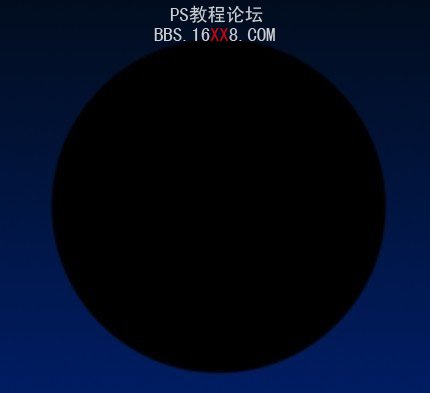
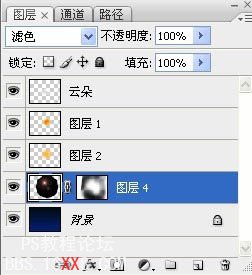
10、新建图层绘制黑色圆圈。
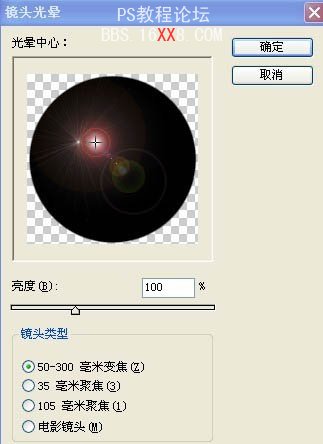
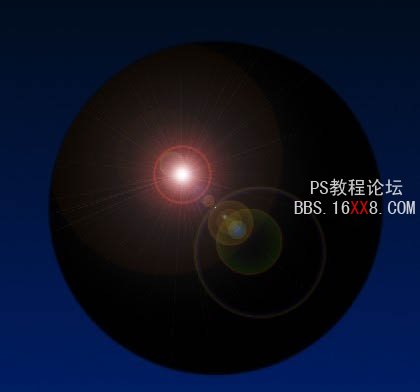
11、在黑色选区内使用镜头光晕(滤镜 > 渲染 > 镜头光晕)。
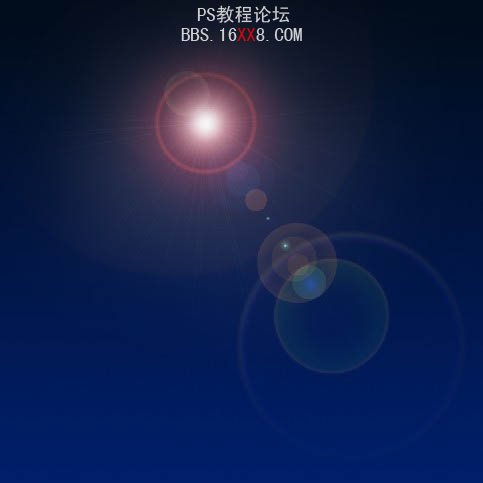
12、将图层移动至底层,调整光晕位置大小,设置图层混合模式为滤色。添加蒙版擦去黑色部分。
13、调整云朵,太阳以及光晕的位置。

最终效果:
学习 · 提示
相关教程
关注大神微博加入>>


网友求助,请回答!