ps做环绕光效教程(4)
来源:ps爱好者
作者:佚名
学习:23697人次
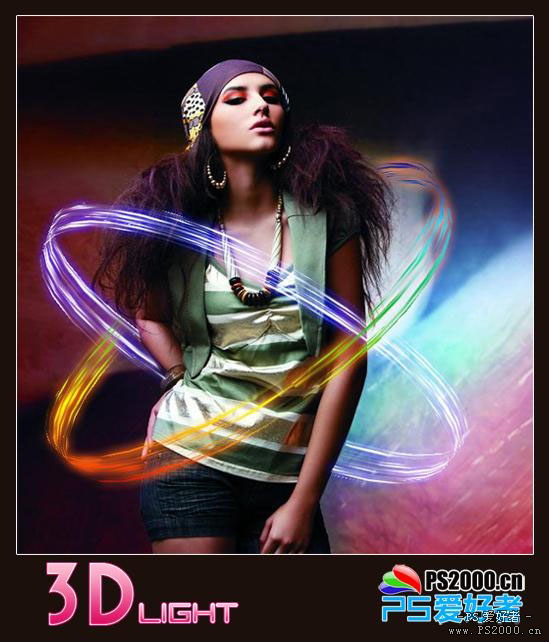
最终效果
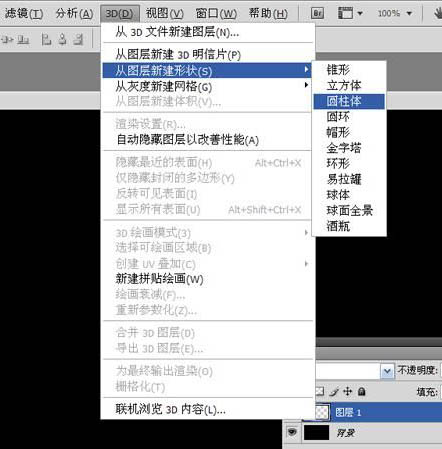
1、新建长900、宽500像素文档。填充黑色,新建图层。在3D菜单添加圆柱体形状。
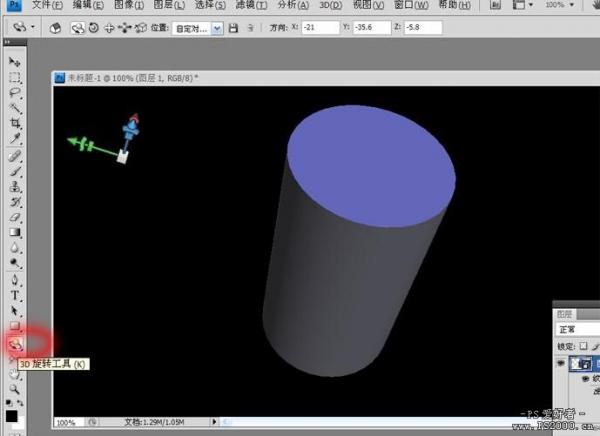
2、选择3D旋转工具,我们可以拖动此圆柱体作360度全方位移动。
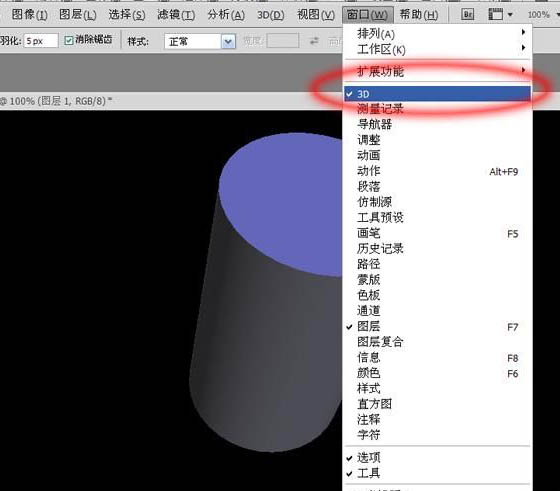
3、在窗口菜单打开3D工具栏。
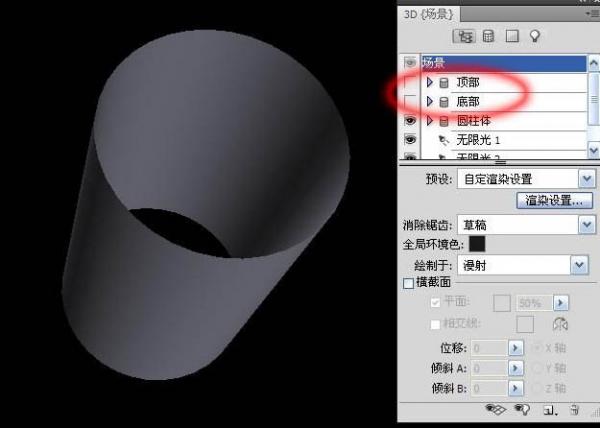
4、我们只要圆柱体的外表面即可,因此在场景中关闭顶部和底部(点前面的小眼睛即可)。
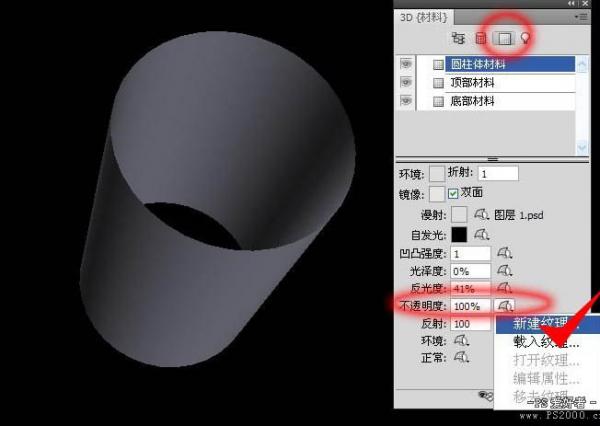
5、点击材料图标,在不透明度栏目新建纹理。
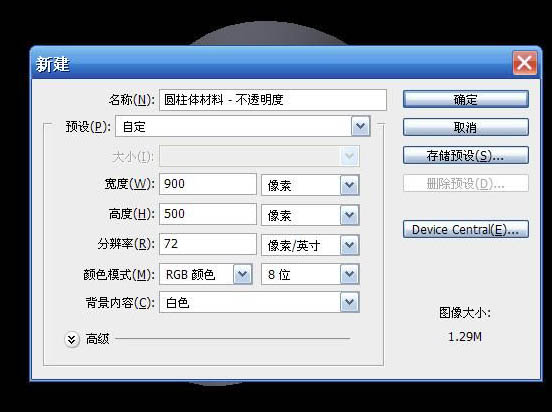
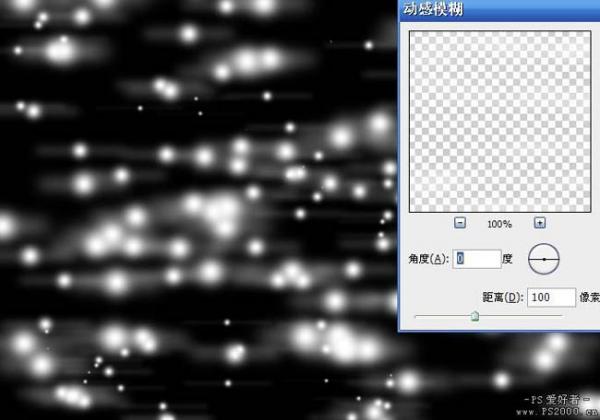
6、同样新建900*500像素文档,背景填充黑色。
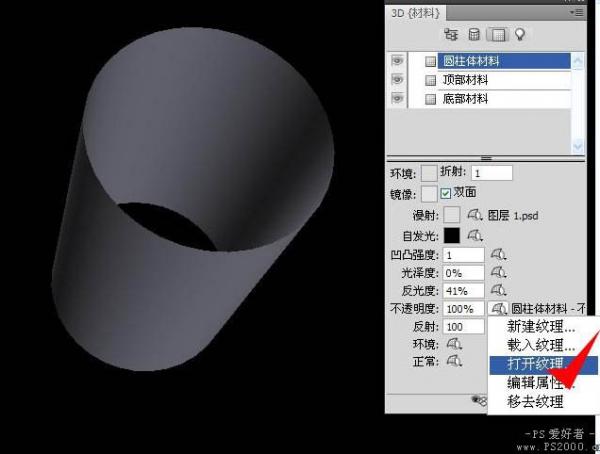
7、打开纹理,接下来我们要编辑纹理图案了。
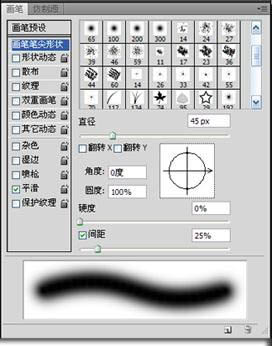
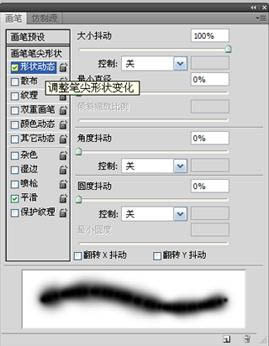
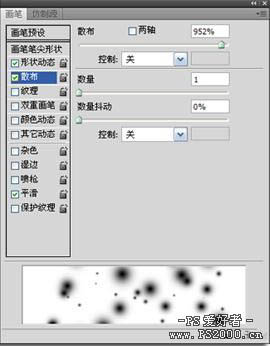
8、将前景色设为白色,选择45像素画笔,硬度为0。按下图参数依次设定。
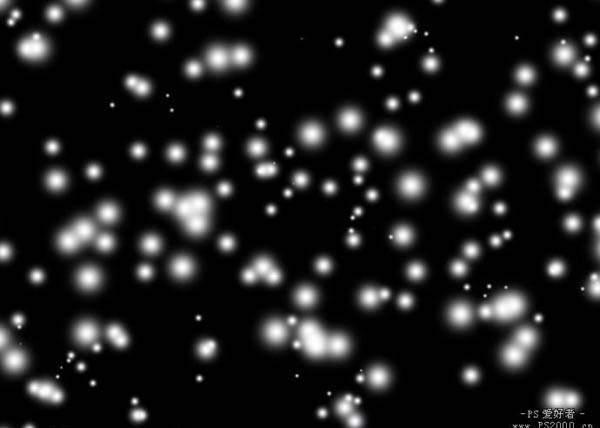
9、新建图层,和鼠标拖出白点图形。
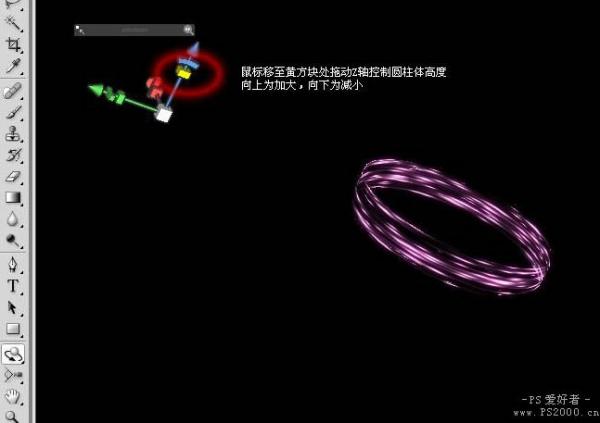
10、Ctrl+复制图层,动感模糊。将此图层不透明度设为60%,保存后退出。
11、此时刚刚建立的纹理已经应用到此圆柱体表面。现在看起来偏暗了一些,选择“自发光”。
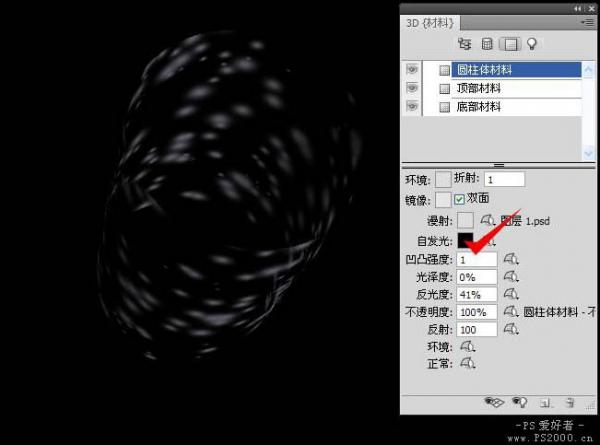
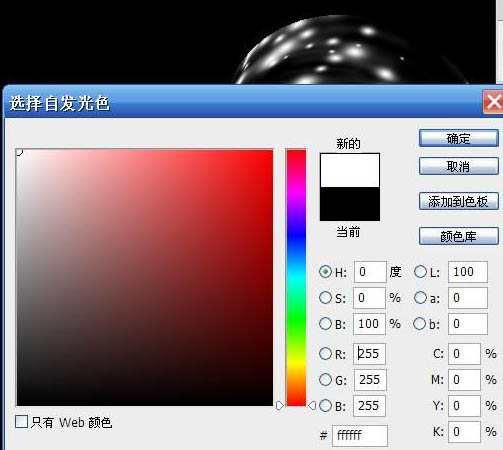
12、将“自发光”设为白色,现在看起来漂亮多了。
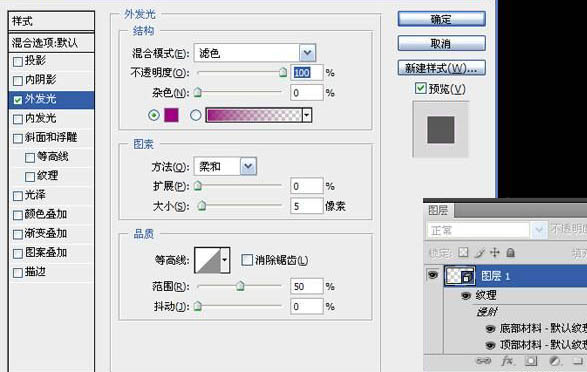
13、添加外发光图层样式。操作方法跟CS4以前的版本完全一样。
14、选择3D旋转工具,将此圆柱体高度变短。(具体操作方法见下图说明,X轴和Y轴分别控制横向和纵向长度,Z轴是控制高度的。做过3D的朋友应该都知道这点)
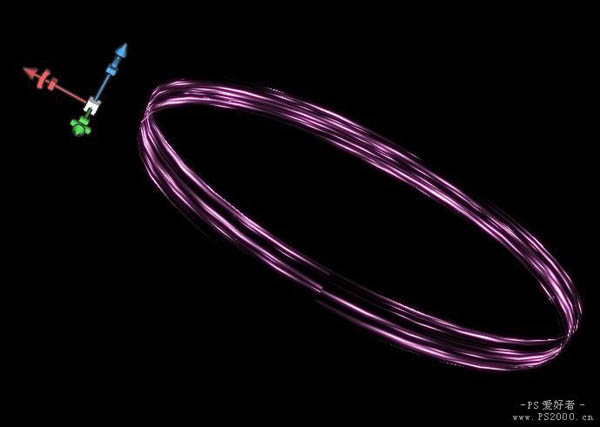
15、同样方法拖动X轴和Y轴将圆柱体放大。与Z轴不同的是,向左是缩小,向右是放大。至此,炫光制作完成。
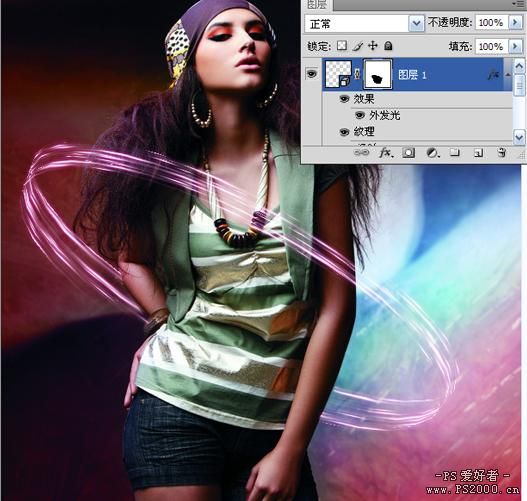
16、打开素材图片,将制作好的3D炫光拖入素材,使用3D旋转工具调整大小和位置添加图层蒙版,将不需要的部分去除。

最终效果:
学习 · 提示
相关教程
关注大神微博加入>>


网友求助,请回答!