Photoshop教程:快速制作朦胧柔美艺术(3)
来源:未知
作者:bbs.16xx8.com
学习:5794人次
作者:佚名 出处:
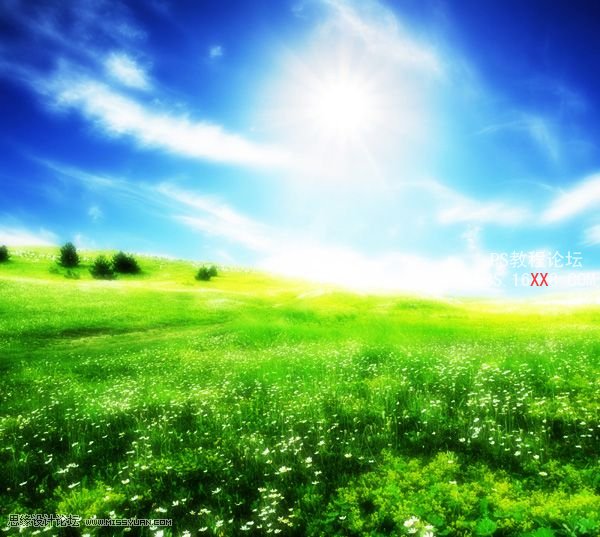
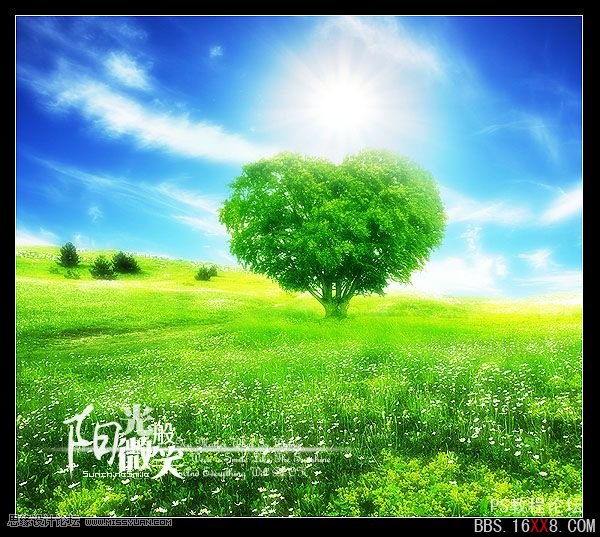
原图

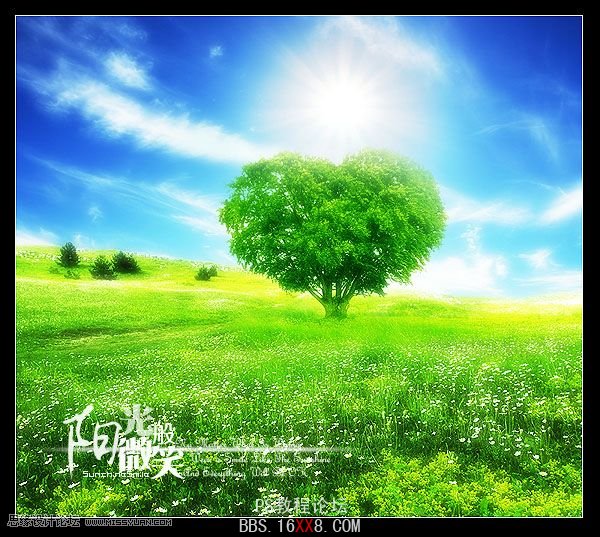
效果
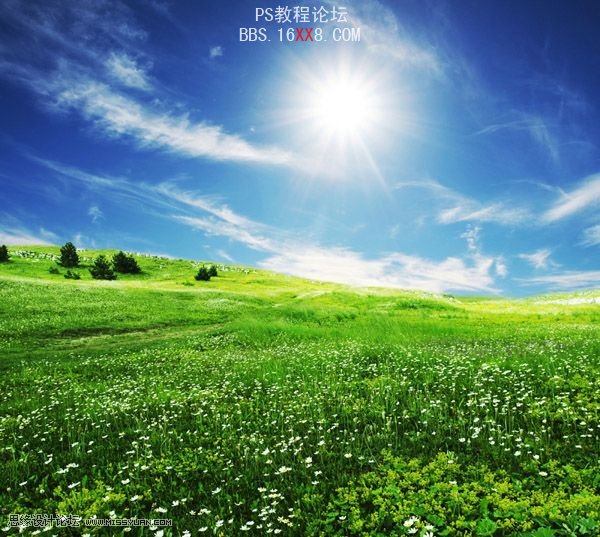
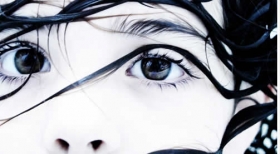
效果2
教程开始
(1)首先打开原图 复制图层,
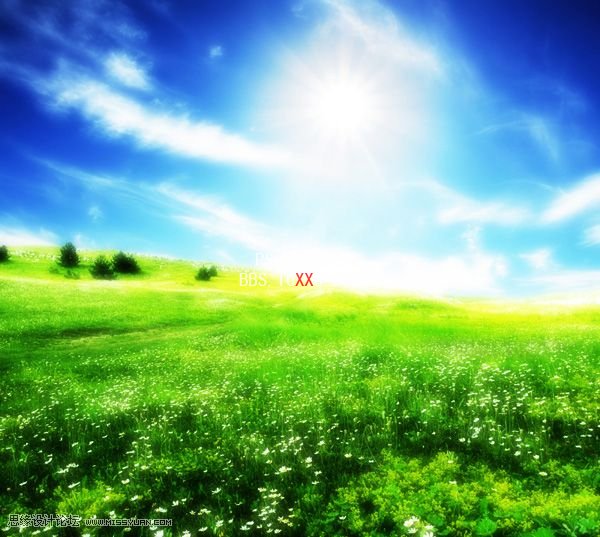
在副本上做高斯模糊,模糊参数3-6左右,具体可以根据实际显示效果来调,其目的就是为了使图片具有梦幻效果(模糊容易产生幻觉,这可能是最关键的),调整副本图层模式为滤色,如下图。

(2)由上图可以看到,相比原图而言,图片变亮了,而且有点模糊。复制副本,更改副本的副本图层混合模式为柔光,原因是柔光可以压暗暗部,加亮亮部,使图片看起来明暗分明,显得较鲜艳,如下图。当然,如果感觉亮部太亮,可以利用图层蒙版工具,适当降低图层亮部的亮度。
(3)通过上述两部,整个调整过程已基本完成,如果感觉调整结果过于模糊,可以先将所有图层盖章(CTRL+ALT+SHIFT+E)后,利用滤镜》锐化工具,结合蒙版工具提高局部图片的清晰度,并进行修饰,从而达到预期的制作目的。最终效果图如下:


学习 · 提示
相关教程
关注大神微博加入>>


网友求助,请回答!