PS:将美眉照片处理为地毯图案效果
来源:不详
作者:佚名
学习:551人次
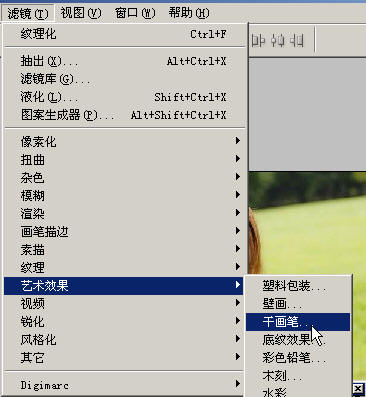
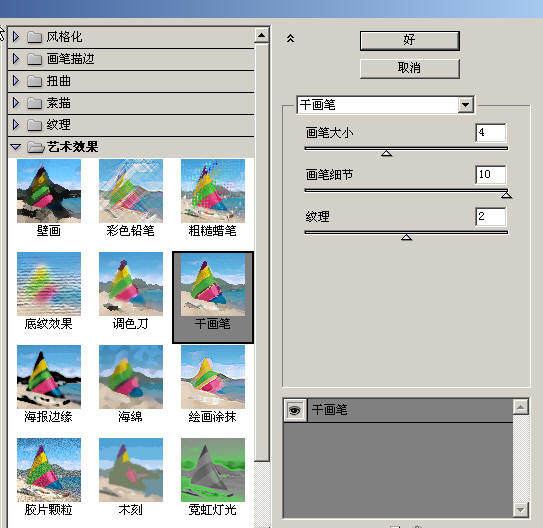
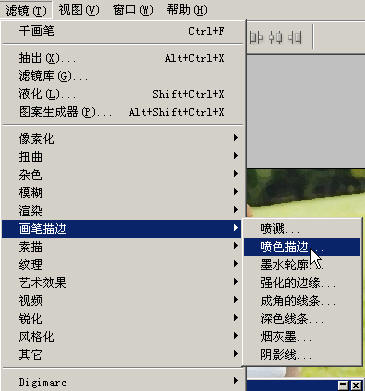
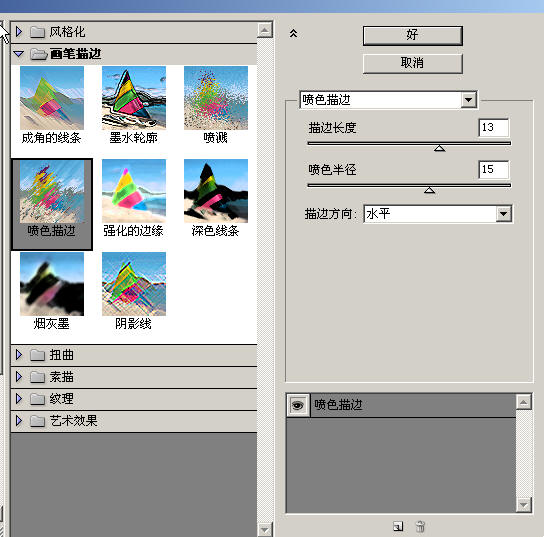
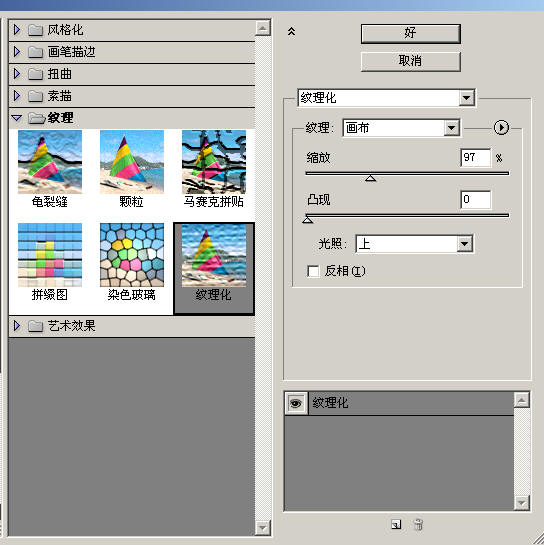
PS:将美眉照片处理为地毯图案效果今天我们用Photoshop把一张美眉照片打造为地毯图案特效,主要用滤镜实现毛茸茸的质感效果。

模式调整,在这里我调整为叠加,你也可以调整为柔光或正片叠底。 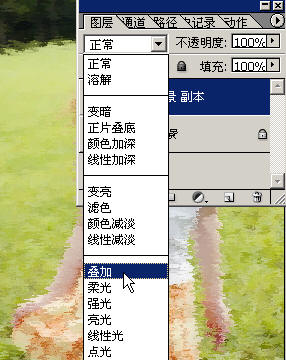

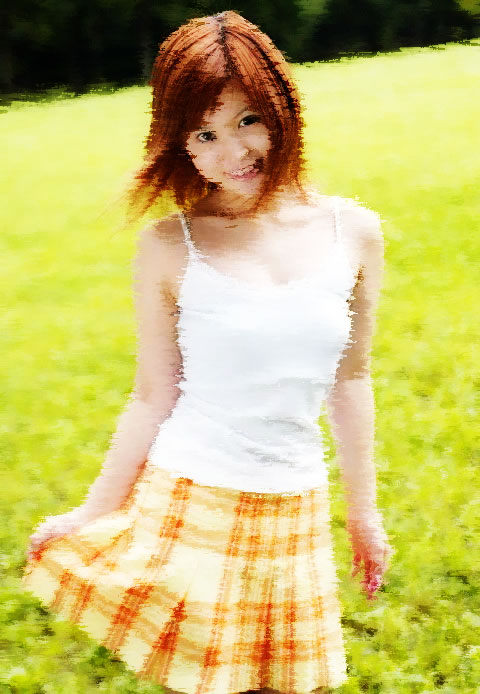

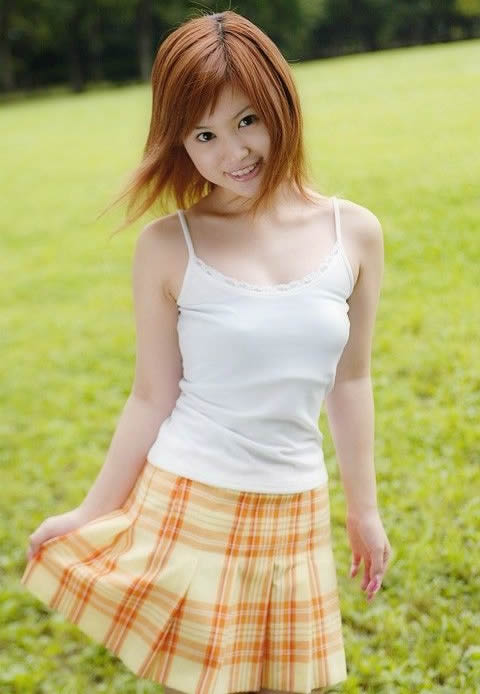
原图如下:
制作步骤:
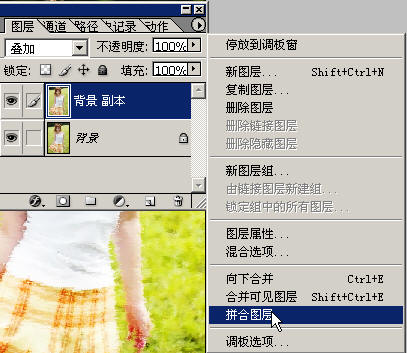
打开原图,复制一个背景层
最终效果:
学习 · 提示
相关教程
关注大神微博加入>>


网友求助,请回答!