Photoshop鼠绘梅花实例(2)
来源:
作者:
学习:762人次
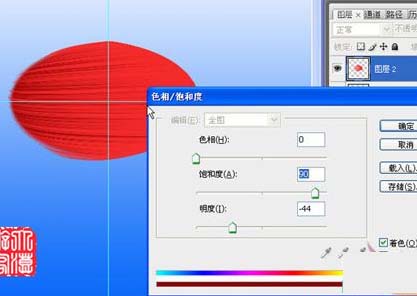
5、Ctrl+U,勾选着色,如图进行上色,参数是何止如下图。
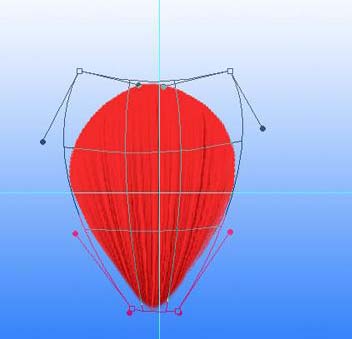
![](http://pic.16xx8.com/allimg/081220/1433165.jpg)
6、图层2向下合并,再次变形。
![](http://pic.16xx8.com/allimg/081220/1433166.jpg)
7、右键/复制图层/Ctrl+T/旋转72度后移动成如图位置。
![](http://pic.16xx8.com/allimg/081220/1433167.jpg)
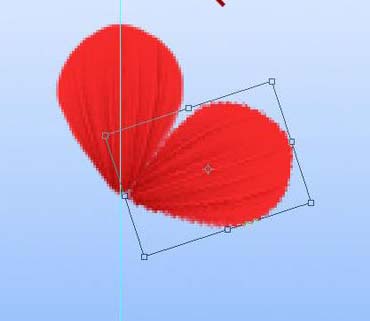
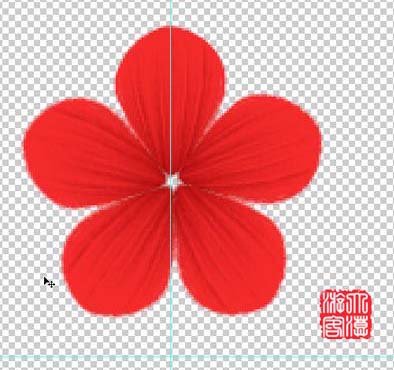
8、同时按Ctrl+Shift+Ail三键,连敲T5次/隐藏上下两层合并中间5层。
![](http://pic.16xx8.com/allimg/081220/1433168.jpg)
9、用画笔画出如图形状。
![](http://pic.16xx8.com/allimg/081220/1433169.jpg)
10、滤镜/素描/便条纸,如图示。
![](http://pic.16xx8.com/allimg/081220/14331610.jpg)
学习 · 提示
相关教程
关注大神微博加入>>
网友求助,请回答!