PS风景调色教程:处理照片的色调
来源:未知
作者:oosodof
学习:845人次
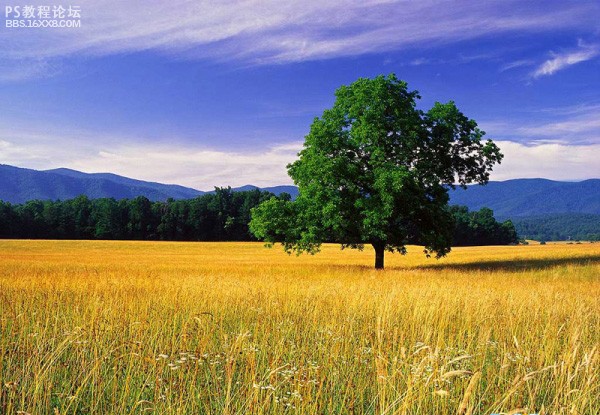
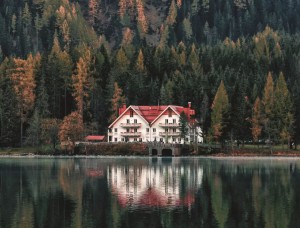
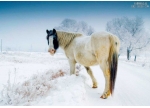
原图:
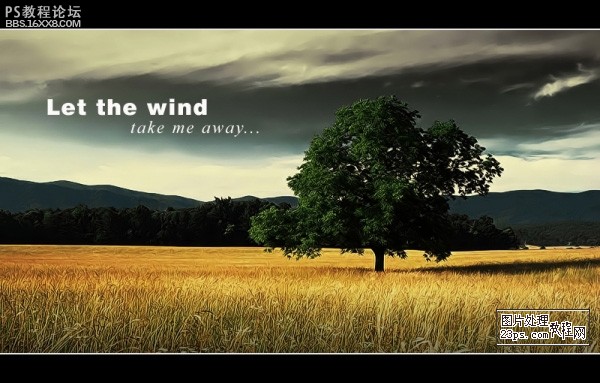
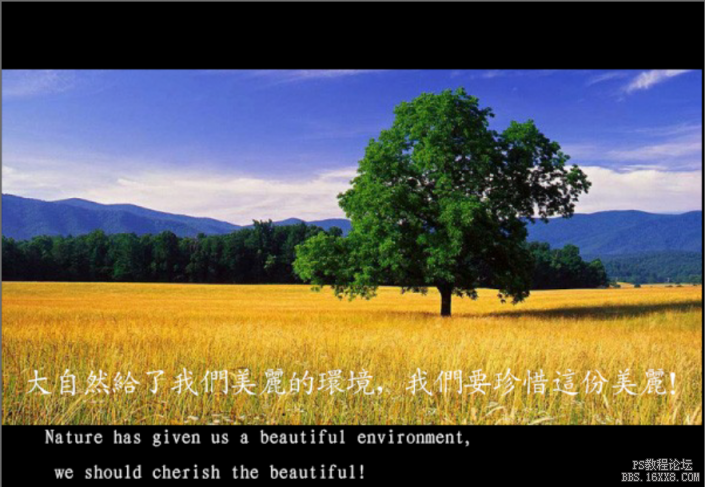
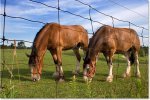
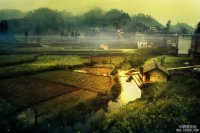
效果图
步骤:
1、打开原图、建立调整层“色相/饱和度”,设置:
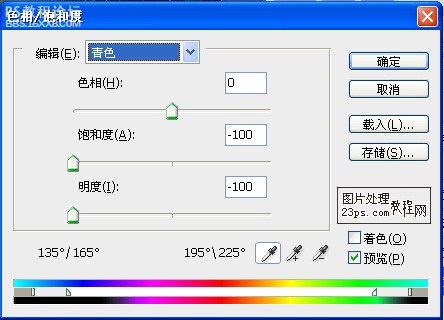
在调整层的蒙板上拉一个黑白渐变

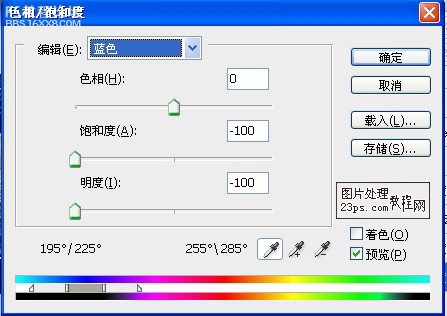
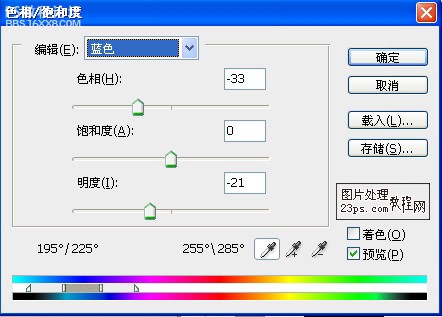
2、建立一个调整层“色相/饱和度”,设置
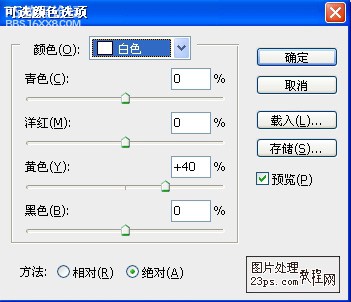
3、建立调整层“可选颜色”,设置
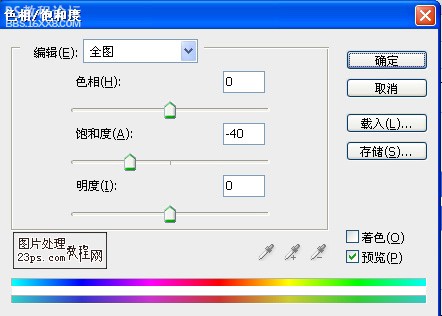
,4、再建立一个调整层“色相/饱和度”,设置
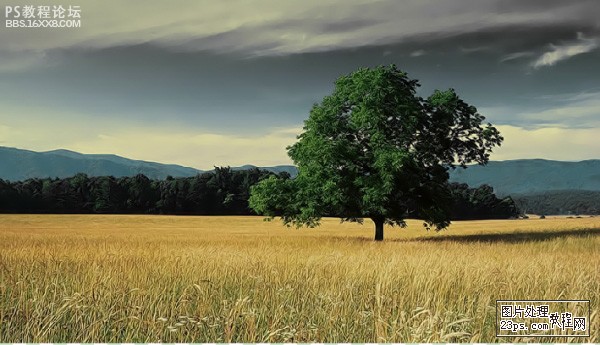
5、合并可见图层,用TOPAZ处理一下,把画面高度压缩到90%,切调水印,得到效果如图
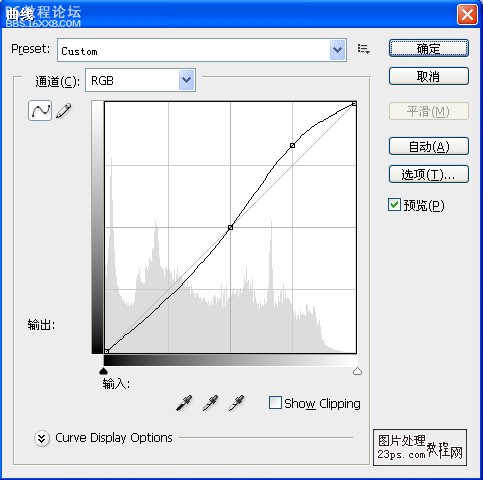
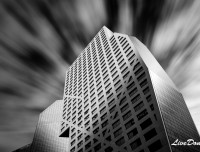
6、先后建立调整层“BLACK & WHITE”和“曲线”,设置
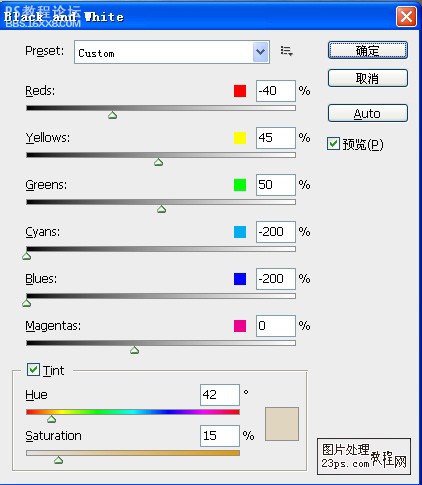
设置“BLACK & WHITE”层混合模式-叠加,透明度50%
7、添边框、文字
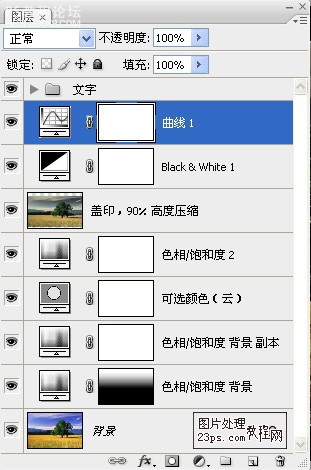
PS:图层
作者:佚名 出处:網絡收集
效果图
步骤:
1、打开原图、建立调整层“色相/饱和度”,设置:
在调整层的蒙板上拉一个黑白渐变
2、建立一个调整层“色相/饱和度”,设置
3、建立调整层“可选颜色”,设置
,4、再建立一个调整层“色相/饱和度”,设置
5、合并可见图层,用TOPAZ处理一下,把画面高度压缩到90%,切调水印,得到效果如图
6、先后建立调整层“BLACK & WHITE”和“曲线”,设置
设置“BLACK & WHITE”层混合模式-叠加,透明度50%
7、添边框、文字
PS:图层
作者:佚名 出处:網絡收集
学习 · 提示
相关教程
关注大神微博加入>>


网友求助,请回答!