PS效果教程:如何做下雨效果
来源:未知
作者:福特少普ps
学习:1156人次
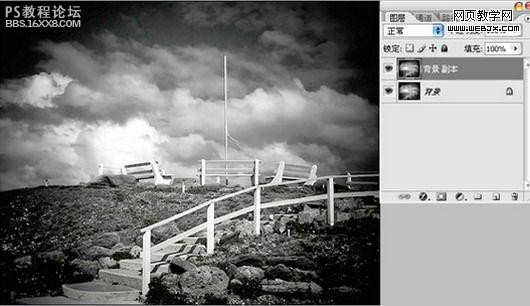
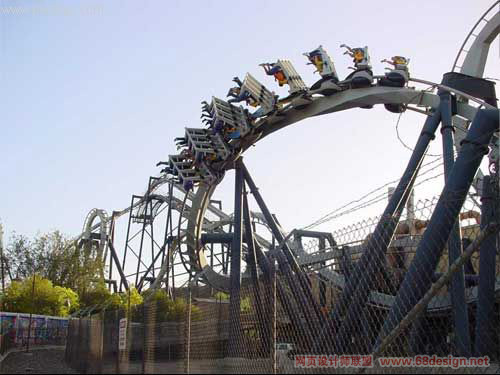
用photoshop打开图片复制一层
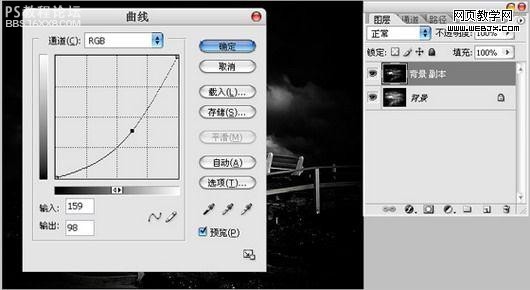
调节曲线,把图片调暗
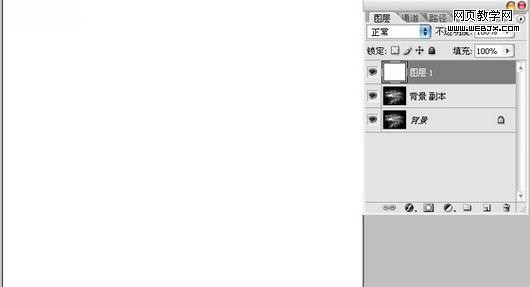
新建1个图层,填充为白色
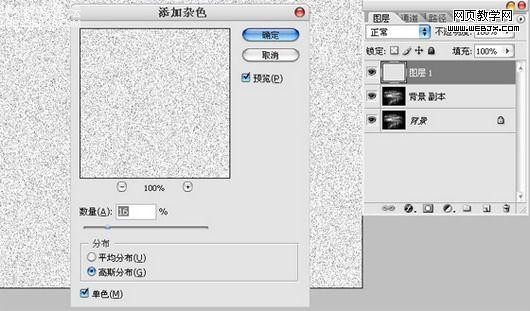
滤镜=>杂色=>添加杂色,参数如下
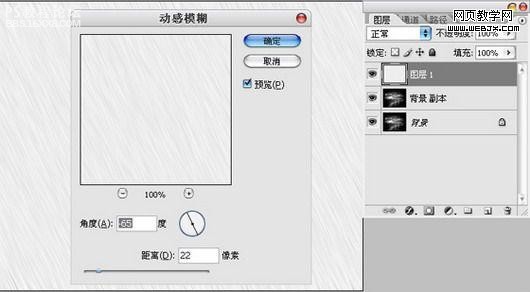
滤镜=>模糊=>动感模糊,参数如下
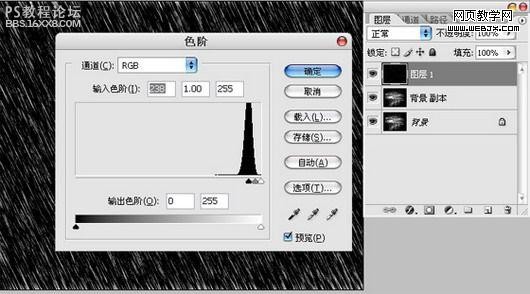
为了更好的表现雨丝的感觉,执行色阶命令(CTRL+L)。
改变图层模式为“滤色”

为了使雨下得更大一点,复制该层,用自由变换工具改变一下大小。注意雨丝的方向。

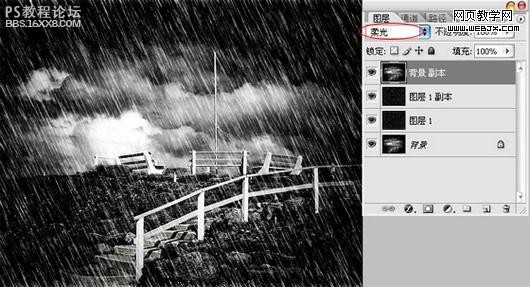
把最初复制调暗的图层移到最上层,模式改为“柔光”
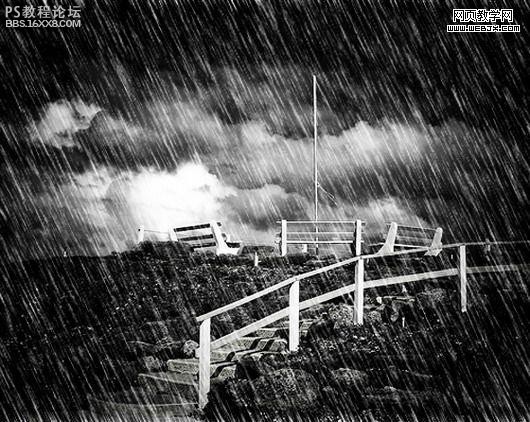
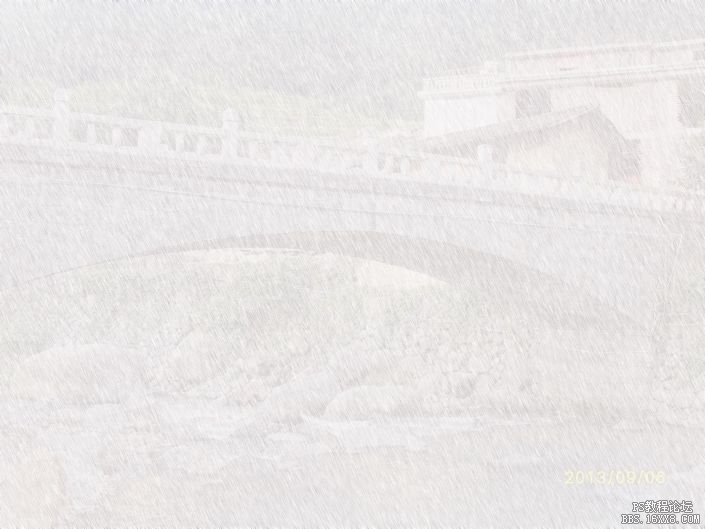
拼合所有图层,最终效果如下
调节曲线,把图片调暗
新建1个图层,填充为白色
滤镜=>杂色=>添加杂色,参数如下
滤镜=>模糊=>动感模糊,参数如下
为了更好的表现雨丝的感觉,执行色阶命令(CTRL+L)。
改变图层模式为“滤色”
为了使雨下得更大一点,复制该层,用自由变换工具改变一下大小。注意雨丝的方向。
把最初复制调暗的图层移到最上层,模式改为“柔光”
拼合所有图层,最终效果如下
学习 · 提示
相关教程
关注大神微博加入>>


网友求助,请回答!