photoshop如何用抽出滤镜抠毛茸茸的狗
来源:未知
作者:kkfifgk
学习:14722人次
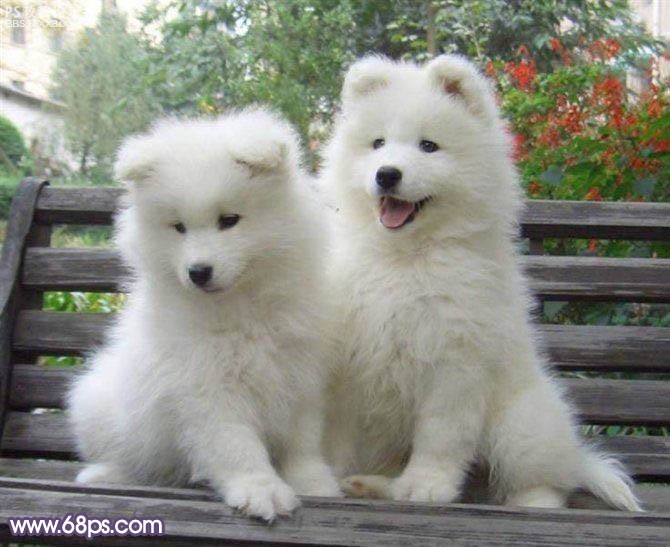
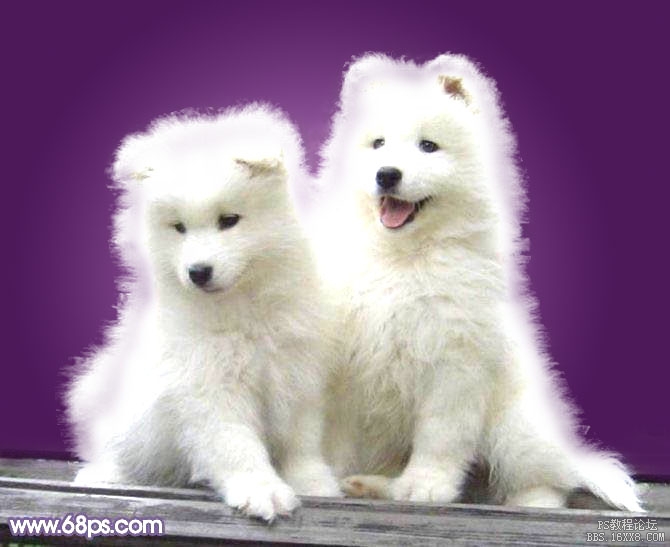
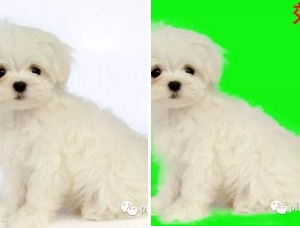
原图
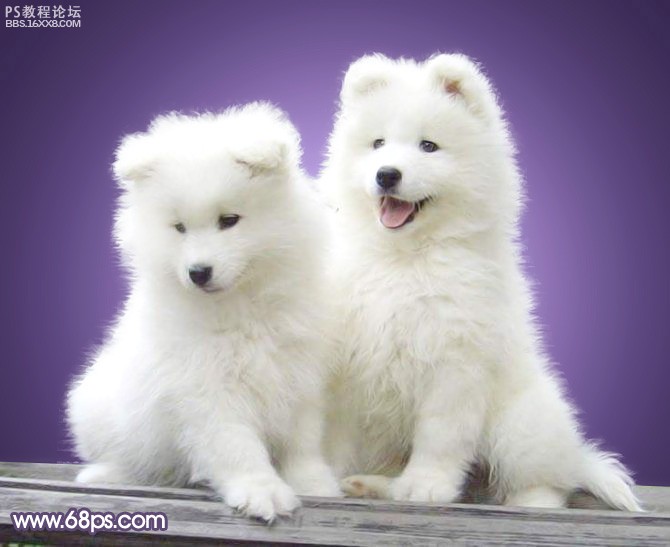
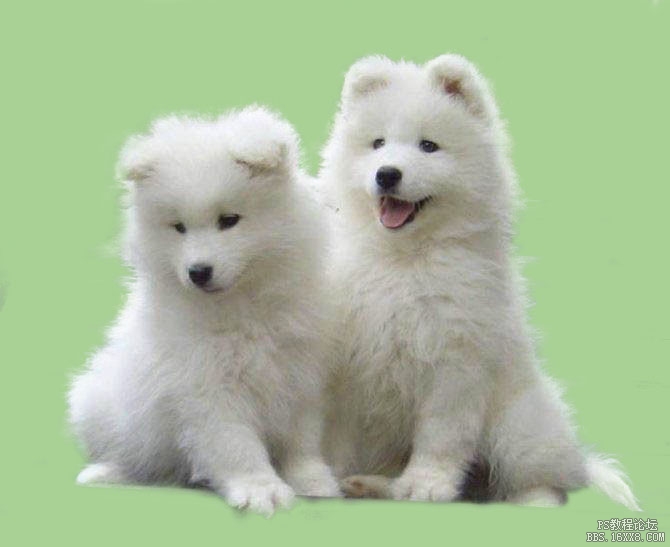
最终效果
, 1、用photoshop打开原图素材,按Ctrl + J 把背景图层复制一层,点前景色,用吸管吸取小狗毛发的颜色如图1,然后把图1右下的颜色值:#dfe6f0复制一下。
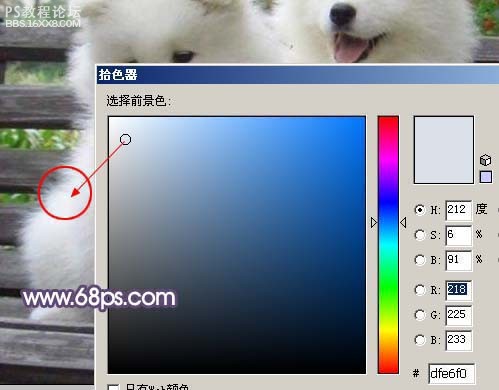
图1
2、选择菜单:滤镜 抽出,如图2。
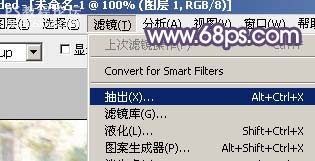
图2
3、在抽出面板勾选强制前景色选项,然后再点下图简单所示位置选区颜色,把颜色之前复制的颜色值复制到下图#号位置:#dfe6f0,如图3。
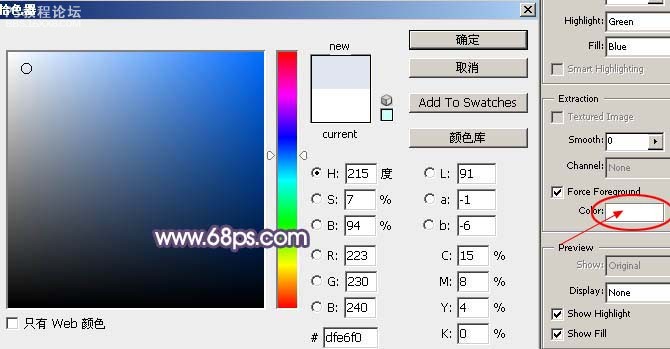
图3
, 4、选择边缘高光器工具,适当调整大小,把小狗边缘部分涂出来,如图4。
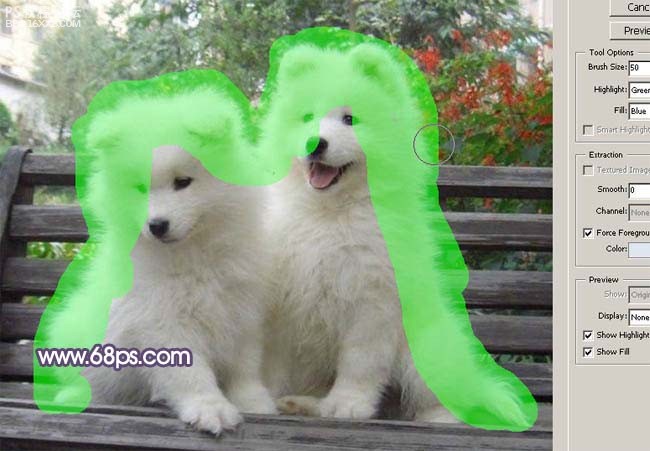
图4
5、按确定回到图层面板,在背景图层上面新建一个图层,填充黑色,效果如图5。
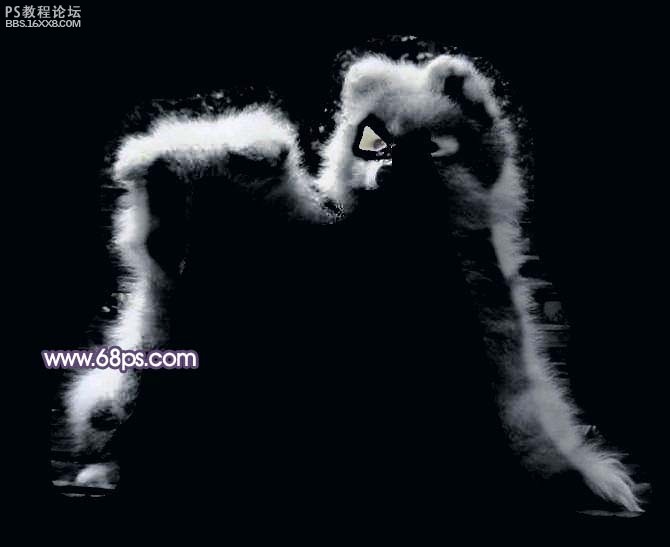
图5
, 6、把背景图层复制一层,按Ctrl + Shift + ] 置顶,用套索工具把小狗主体部分勾出来,按Ctrl + D 羽化5个像素,然后点图层面板下面的蒙蔽按钮,添加图层蒙版。
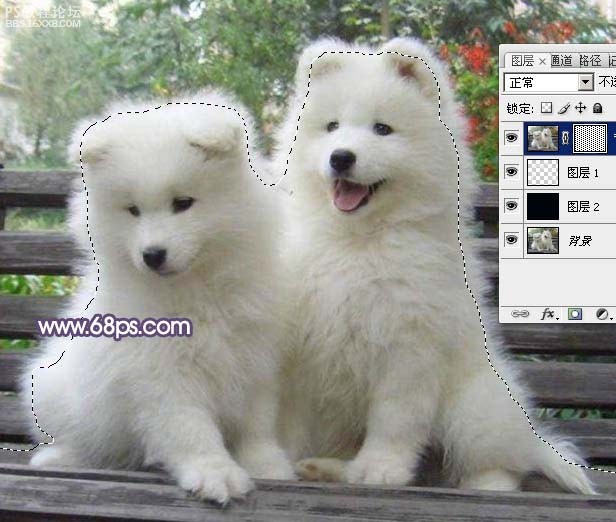
图6
7、添加蒙版后,把前景颜色设置为白色,选择画笔工具,不透明度为:20%,如图7,把有缺口的部分涂出来,效果如图8。
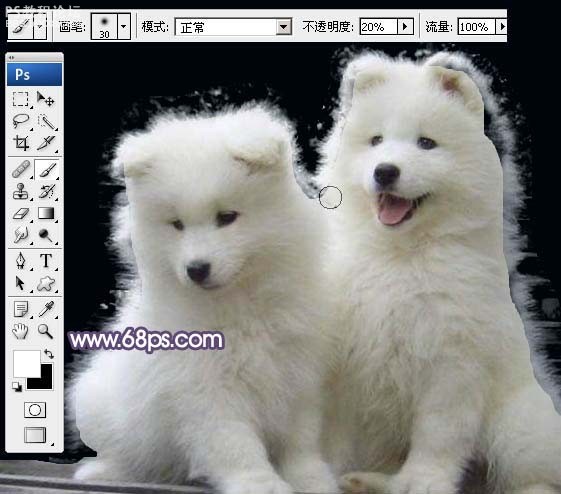
图7
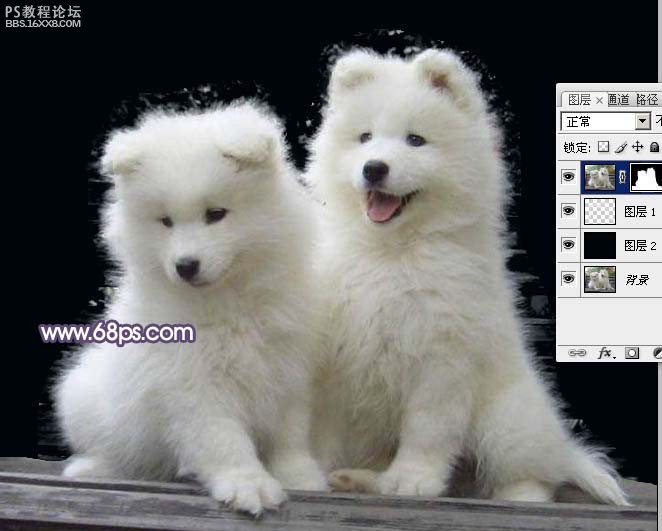
图8
, 8、把抽出后的图层复制一层,图层不透明度改为:30%,如图9。然后把图层1和图层1副本合并为一个图层,锁定图层后,填充为白色。
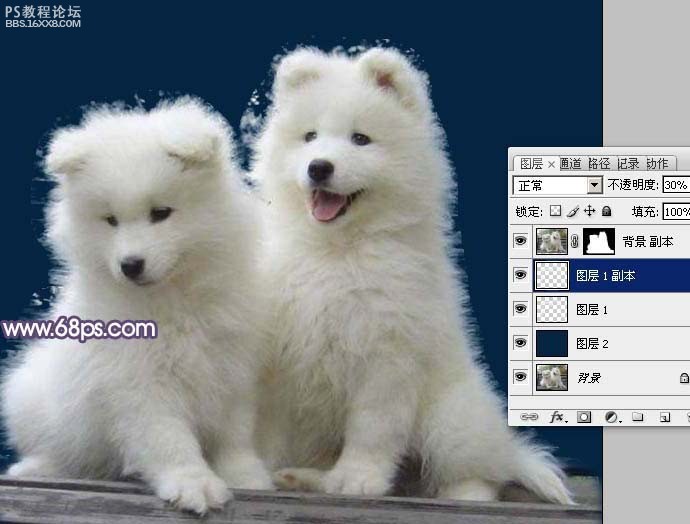
图9
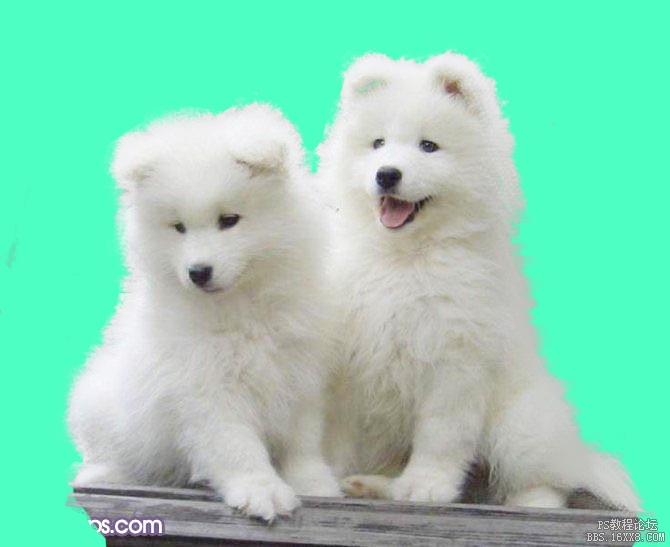
9、回到蒙版图层,在蒙版上鼠标右键选择“应用图层蒙版”,然后再加上一个有渐变色的背景,这一步可以不做。
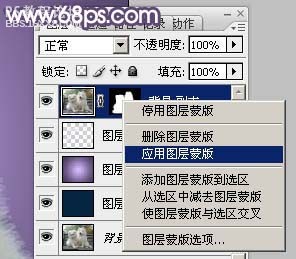
图10
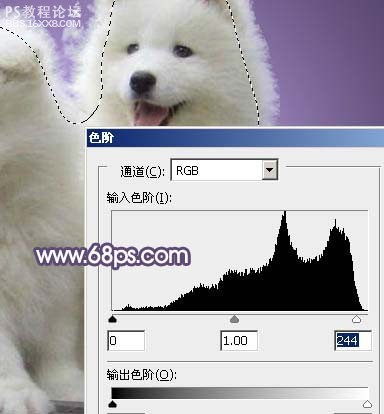
, 10、用套索工具选区小狗边缘部分位置,如图11,按Ctrl + Alt + D 羽化10个像素,然后按Ctrl + L 调整色阶,参数设置如图12,效果如图13。
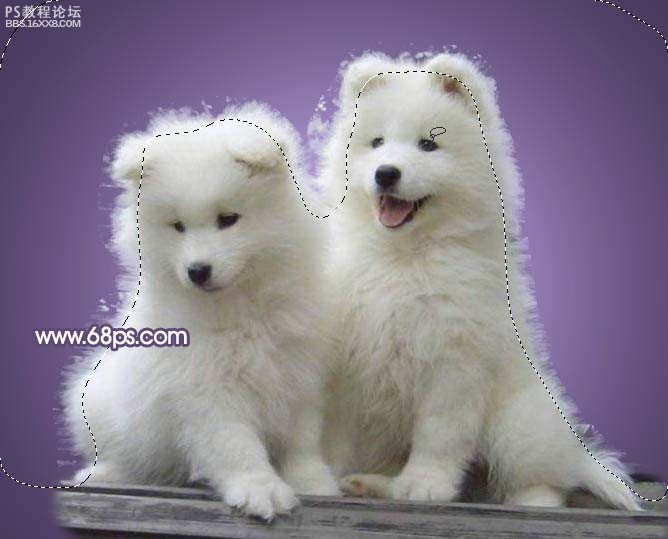
图11
最终效果
, 1、用photoshop打开原图素材,按Ctrl + J 把背景图层复制一层,点前景色,用吸管吸取小狗毛发的颜色如图1,然后把图1右下的颜色值:#dfe6f0复制一下。
图1
2、选择菜单:滤镜 抽出,如图2。
图2
3、在抽出面板勾选强制前景色选项,然后再点下图简单所示位置选区颜色,把颜色之前复制的颜色值复制到下图#号位置:#dfe6f0,如图3。
图3
, 4、选择边缘高光器工具,适当调整大小,把小狗边缘部分涂出来,如图4。
图4
5、按确定回到图层面板,在背景图层上面新建一个图层,填充黑色,效果如图5。
图5
, 6、把背景图层复制一层,按Ctrl + Shift + ] 置顶,用套索工具把小狗主体部分勾出来,按Ctrl + D 羽化5个像素,然后点图层面板下面的蒙蔽按钮,添加图层蒙版。
图6
7、添加蒙版后,把前景颜色设置为白色,选择画笔工具,不透明度为:20%,如图7,把有缺口的部分涂出来,效果如图8。
图7
图8
, 8、把抽出后的图层复制一层,图层不透明度改为:30%,如图9。然后把图层1和图层1副本合并为一个图层,锁定图层后,填充为白色。
图9
9、回到蒙版图层,在蒙版上鼠标右键选择“应用图层蒙版”,然后再加上一个有渐变色的背景,这一步可以不做。
图10
, 10、用套索工具选区小狗边缘部分位置,如图11,按Ctrl + Alt + D 羽化10个像素,然后按Ctrl + L 调整色阶,参数设置如图12,效果如图13。
图11
学习 · 提示
- 发评论 | 交作业 -
最新评论
昨天总是走远2021-10-21 05:30
作业
回复
冯沃析2011-03-19 02:00
做了3个月了.效果是非常好的.在这里推荐一下主要就是挂机时软件自动点击,来获得收益.有上网时间的人都能做.每小时赚10元喜欢做网赚的朋友,可以购买这款网赚软件客服QQ:347366227
相关教程
关注大神微博加入>>


网友求助,请回答!