photoshop如何制作丝绸(4)
来源:未知
作者:学photoshop
学习:44238人次
一直比较喜欢丝绸的那种柔滑感,今天在国外站上看到这个效果,译过来大家学习下

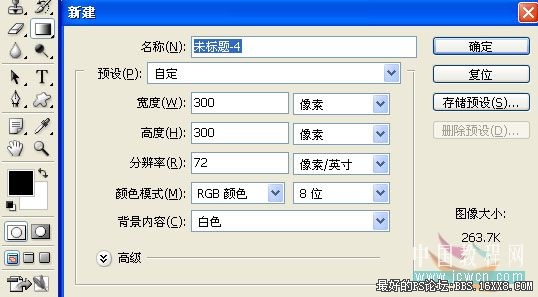
一、新建一个300*300的新文件,设置黑色前景,白色背景。
二、选择渐变填充工具

选择系统默认的前景到背景的渐变,模式选择差值

三、在画布上随意拖动5到10步,效果如图(这一步很重要哦,直接影响到最终效果)

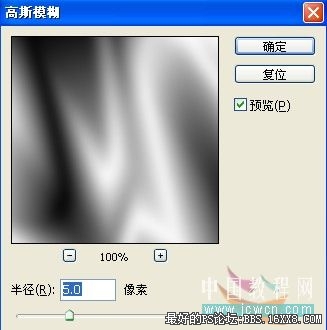
四、执行滤镜——模糊——高斯模糊,设置如图
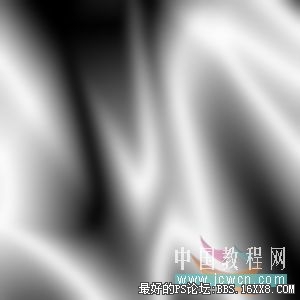
效果:
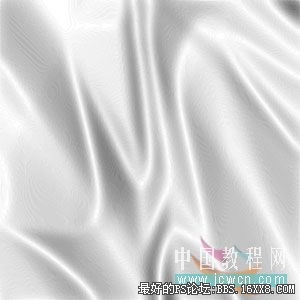
五、执行滤镜——风格化——查找边缘,效果如图

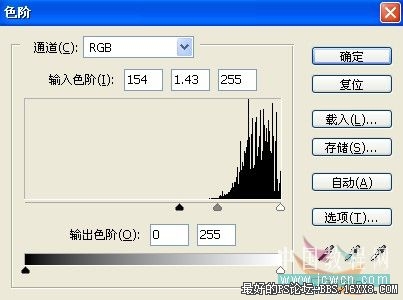
六、按Ctrl+L执行色阶命令,设置如图
效果:
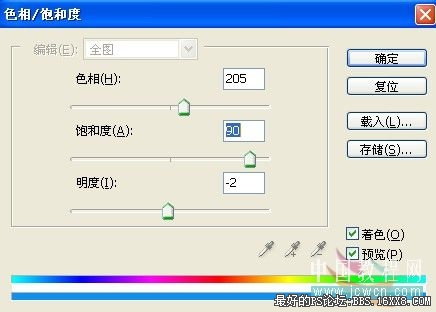
七、按Ctrl+u执行色相/饱和度,勾选着色,设置如图(这一步可以随意调整,你喜欢什么颜色就调成什么颜色)photoshop下载

一、新建一个300*300的新文件,设置黑色前景,白色背景。
二、选择渐变填充工具
选择系统默认的前景到背景的渐变,模式选择差值
三、在画布上随意拖动5到10步,效果如图(这一步很重要哦,直接影响到最终效果)
四、执行滤镜——模糊——高斯模糊,设置如图
效果:
五、执行滤镜——风格化——查找边缘,效果如图
六、按Ctrl+L执行色阶命令,设置如图
效果:
七、按Ctrl+u执行色相/饱和度,勾选着色,设置如图(这一步可以随意调整,你喜欢什么颜色就调成什么颜色)photoshop下载
学习 · 提示

相关教程
关注大神微博加入>>


网友求助,请回答!