ps藤蔓立体文字(3)
来源: 思缘论坛
作者:柯炳宇翻译
学习:13788人次
14、确定前景色为白色。新建一个图层,用画笔在相应位置绘制。
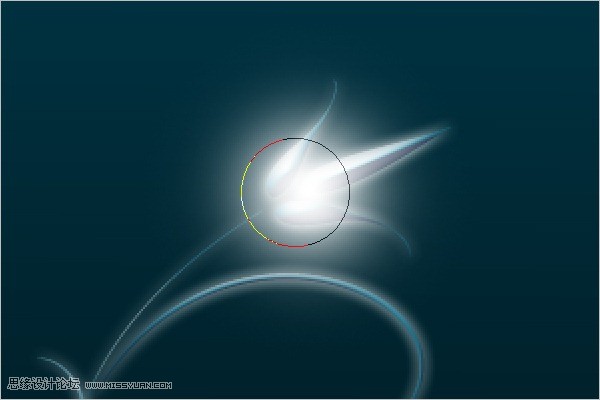
15、绘制完成以后,将此图层叠加模式更改为叠加。

16、将其它花朵上也进行相同绘制。
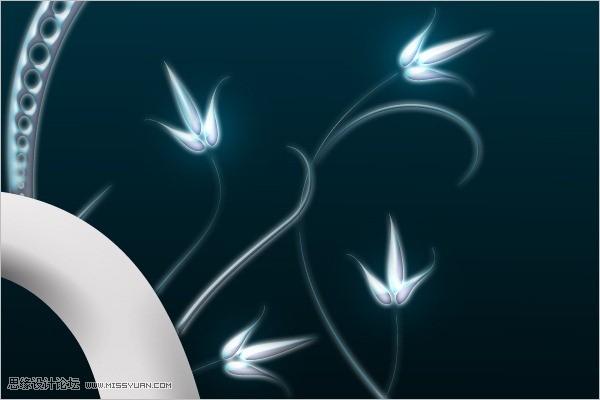
到此时效果如图:
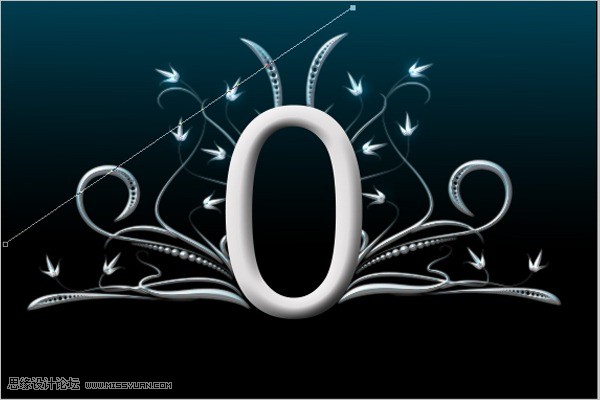
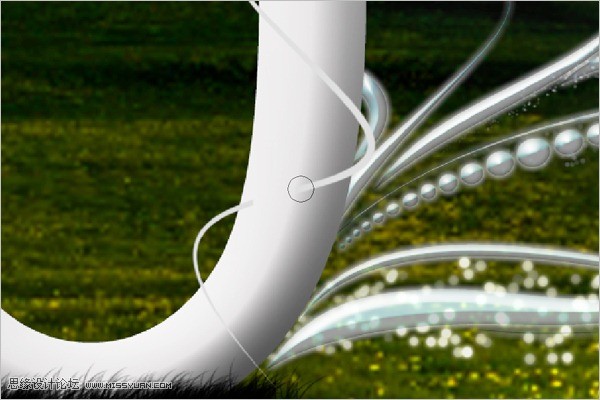
17、创建一个新层,放置在所有图层最上面。选择200像素大小柔角画笔。
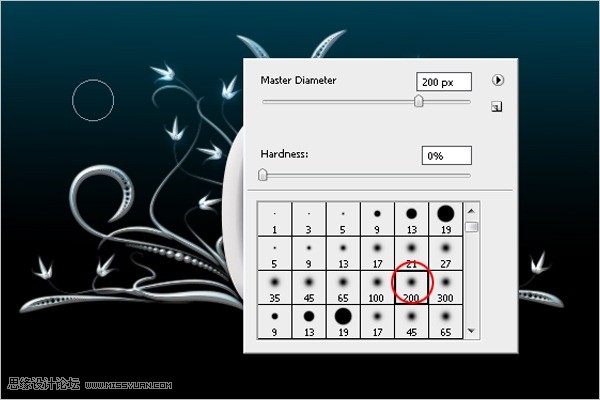
18、使用钢笔工具绘制一条直线路径。
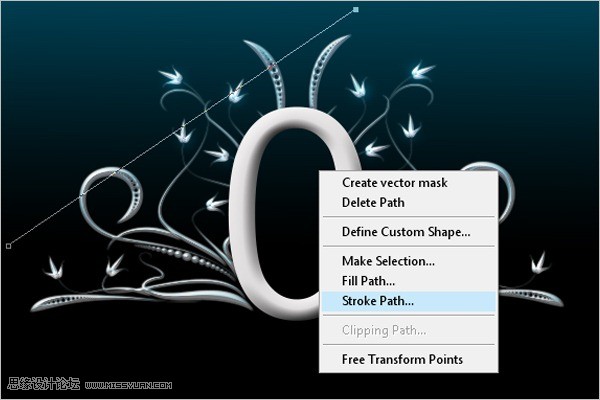
19、在屏幕上右击,选择描边路径。
20、确认“模拟压力”选项前没有打勾,点确定按钮进行描边。
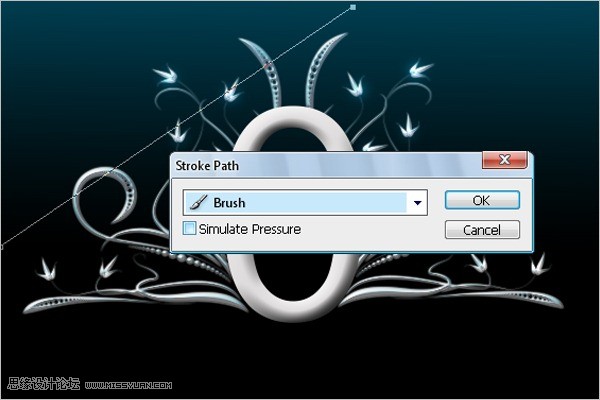
效果如图

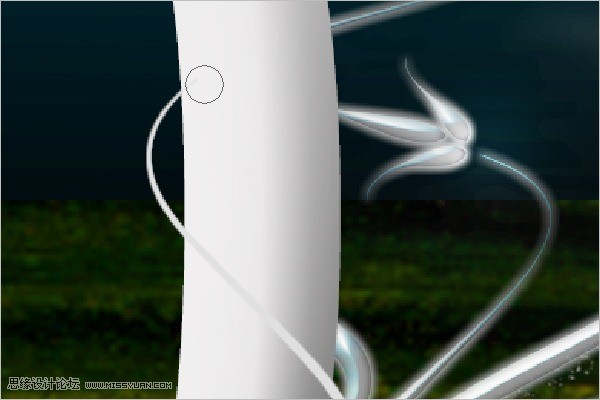
45、使用橡皮擦,选择一个柔角笔尖,在相应位置进行擦除,产生一个环绕效果。选中花纹图层,选择菜单(图层/图层样式/拷贝图层样式),回到44步的描边图层,选择图层/图层样式/粘贴图层样式。
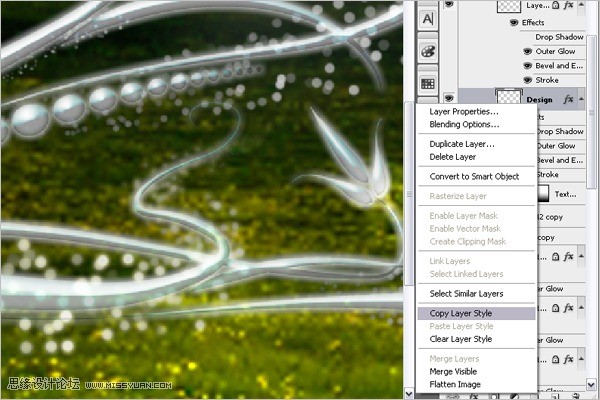
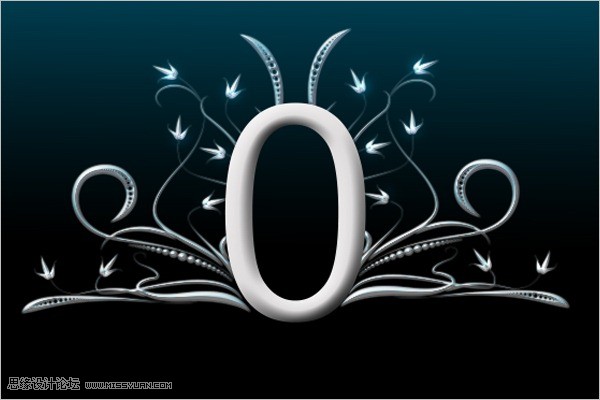
46、复制描边图层,去除图层样式,将其颜色理发为灰色,向下移动3个像素。放置在描边层的下面,使描边层产生阴影效果。本教程完成如图。


按这个方法,还可以稍做些调整,效果如图:

学习 · 提示
相关教程
关注大神微博加入>>


网友求助,请回答!