Photoshop绘制晶莹剔透绿色环保按钮
新年新气象,这是本站的开年巨献,希望在新的一年,本站能够给你带来惊喜,带来提高;本站也将风雨相随,不离不弃。
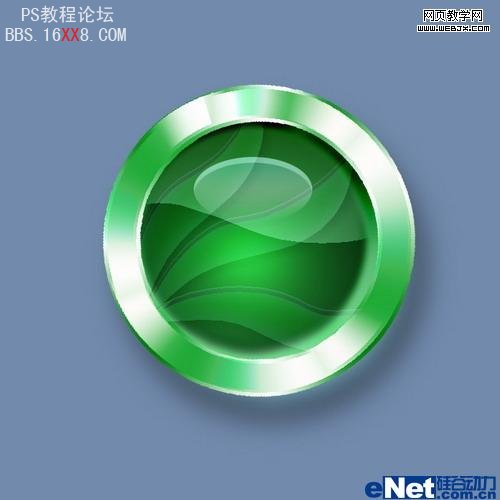
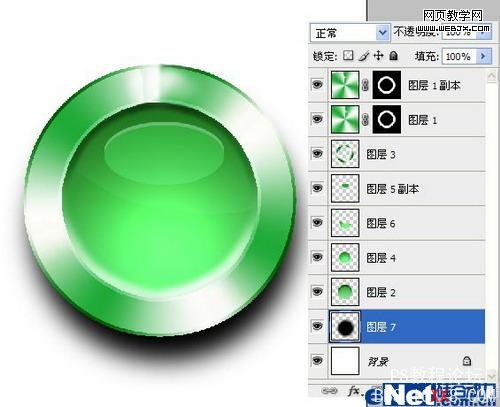
最终效果
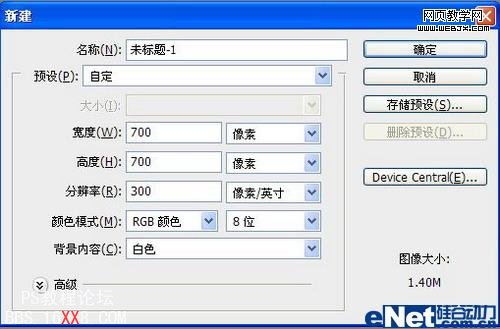
步骤1 文件》新建 ,设置如下
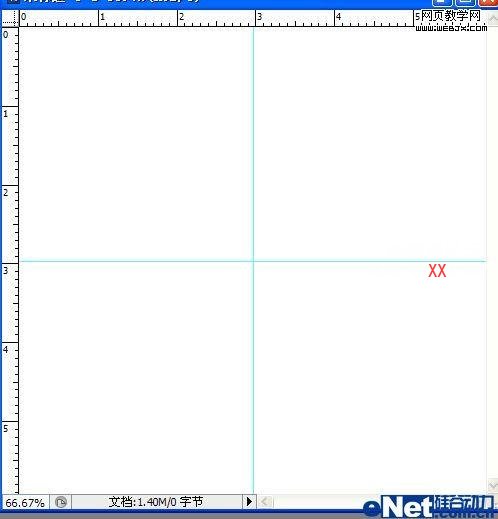
步骤2 视图》标尺,使标尺显示在画布中,使用鼠标工具拉出两条直线交于画布中央
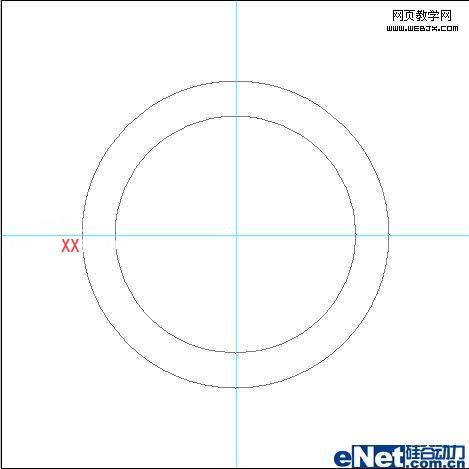
步骤3 打开“路径面板”,新建“路径1”;单击“椭圆工具”,使鼠标位于画布中央。同时按下Alt 键和Shift键,绘制两个直径不同的两个同心圆
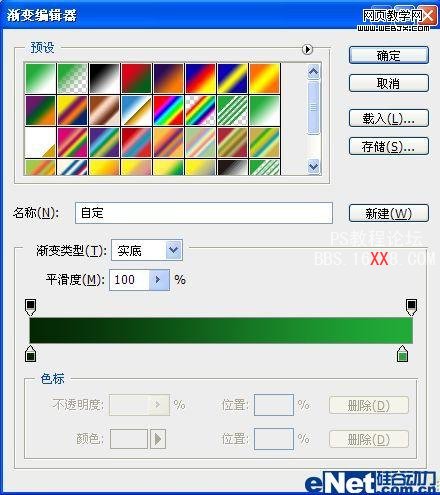
步骤4 回到“图层面板”,对“渐变工具”设置如下
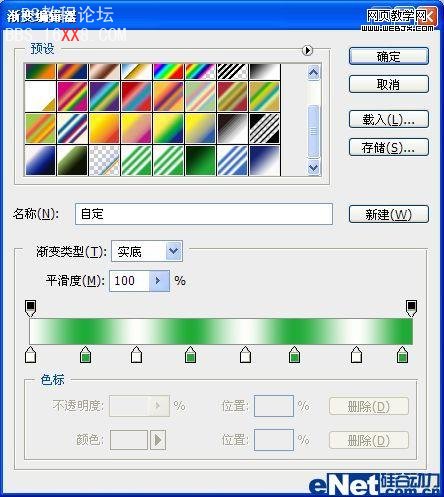
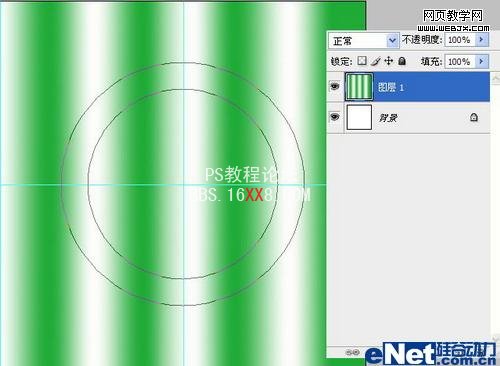
步骤5 新建“图层1”,在渐变属性栏中选择“线性渐变”,在水平方向拉出编辑好的渐变色
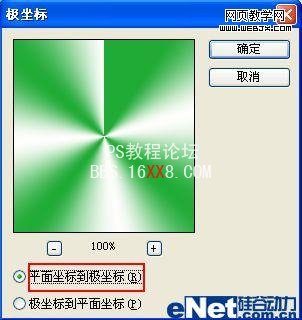
步骤6 对“图层1”,执行滤镜》扭曲》极坐标,在对话框中选择“平面坐标到极坐标”
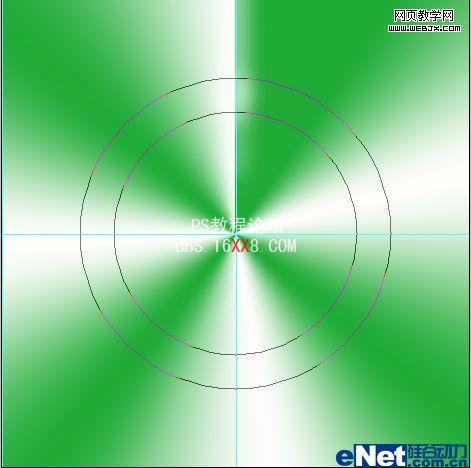
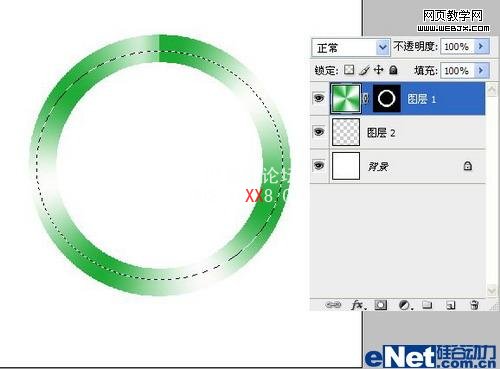
步骤7 使用“画笔工具”修复一下极坐标滤镜产生的中间接缝
步骤8 载入“路径1”的选区,为“图层1”添加一个图层蒙板。效果如下

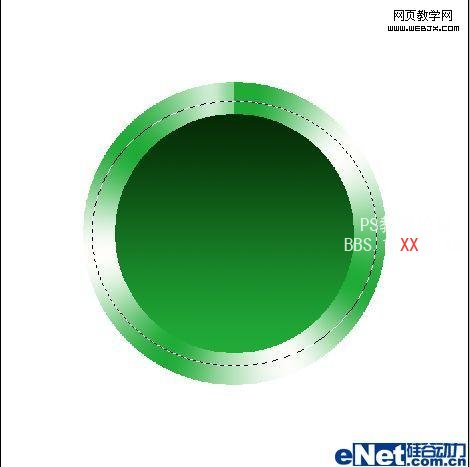
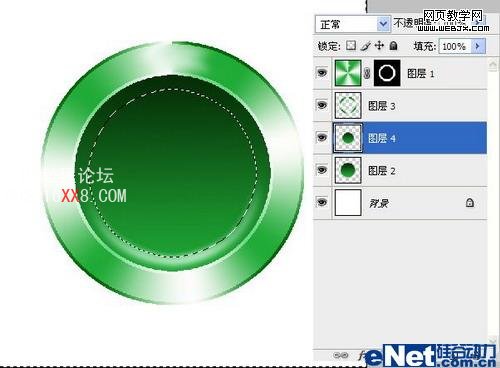
步骤9 在“图层1”的下方新建“图层2”,单击“椭圆选框工具”,按下Alt 键和Shift键,在画布中央绘制一个圆形,执行视图》清除参考线命令,去除参考线
步骤10 对“渐变工具”设置如下;选择“线性渐变”,垂直拉出渐变,效果如下
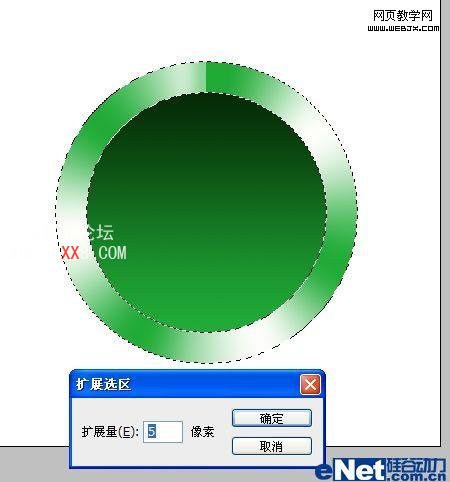
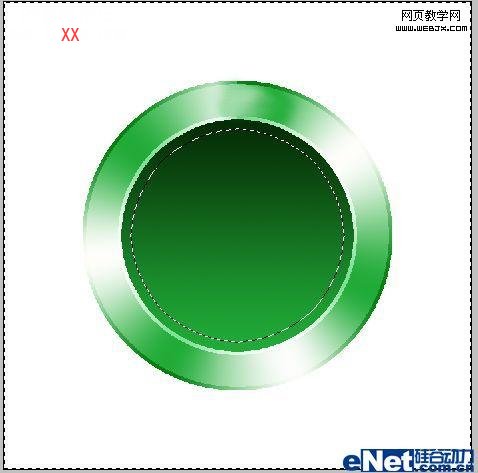
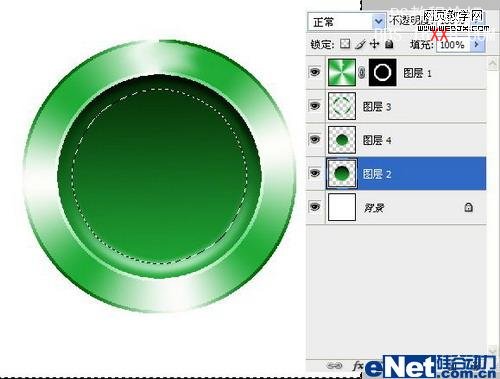
步骤11 载入“图层1”蒙板的选区,执行选择》修改》扩展,扩展量为5
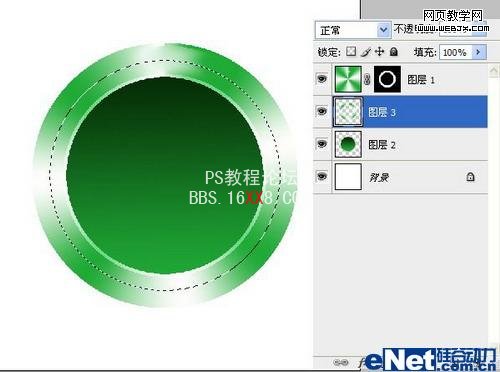
步骤12 对“图层1”执行图层》新建》通过拷贝的图层,得到“图层3”

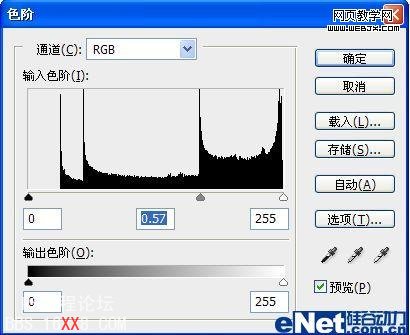
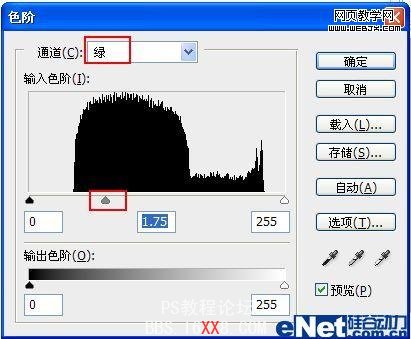
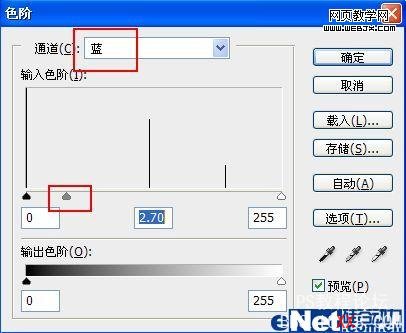
步骤13 把“图层3”移到“图层1”的下方,载入“图层2”的选区,执行图象》调整》色阶菜单命令,把中间滑块向左拖动
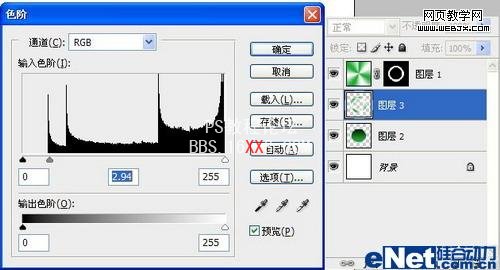
步骤14 选择》反向,执行图象》调整》色阶菜单命令,把中间滑块向右拖动

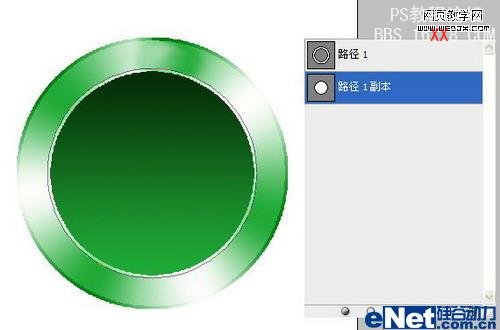
步骤15 回到“路径面板”,复制“路径1”得到“路径1副本”,单击“直接选择工具”,选择外部的大圆路径,按Delete将其删除
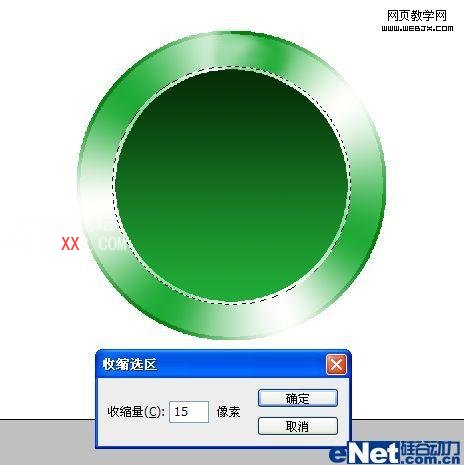
步骤16 载入“路径1副本”的选区,执行选择》修改》收缩,设置收缩量为15
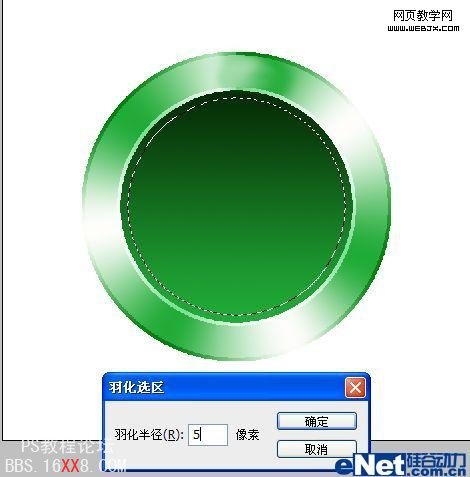
步骤17 保持选区,执行选择》修改》羽化,设置羽化半径为5,
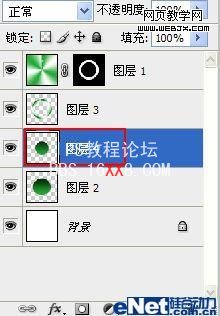
步骤18 保持选区,对“图层2”执行图层》新建》通过拷贝的图层,得到“图层4”
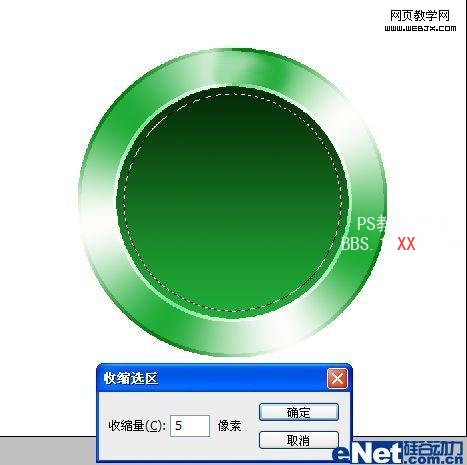
步骤19 载入“图层4”的选区,执行选择》修改》收缩,设置收缩量为5
步骤20 保持选区,执行选择》反向
步骤21 单击“减淡工具”选择柔性画笔,设置“中间调”,“曝光度”为20%,减淡下部受光部分,形成高光
步骤22 回到“图层2”, 单击“加深工具”选择柔性画笔设置“中间调”,“曝光度”为20%,加深下部受光部分,形成暗部
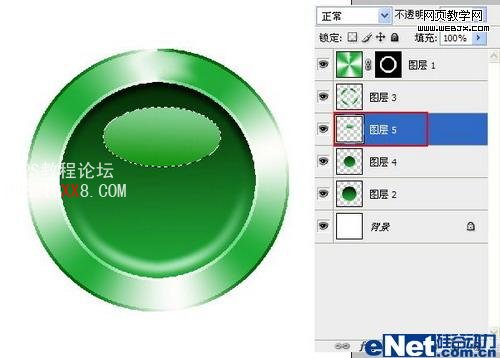
步骤23 在“图层4”的上方新建“图层5”,单击“椭圆选框工具”绘制椭圆,使用绿色(渐变色)进行填充
步骤24复制“图层5”得到“图层5副本”,把图层5副本”拖到“图层5”的下方,执行图象》调整》色阶,把中间滑块向左拖动,选择“图层5”,按动键盘上的方向键向下移动一些
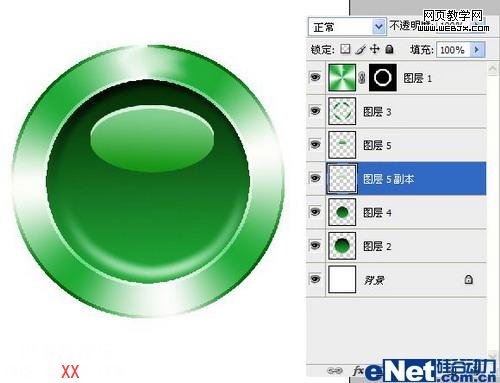
步骤25 对“图层4”执行图象》调整》色阶,把中间滑块向左拖动,使水晶球的颜色丰富
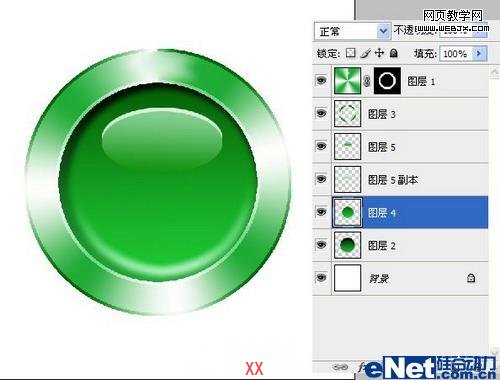
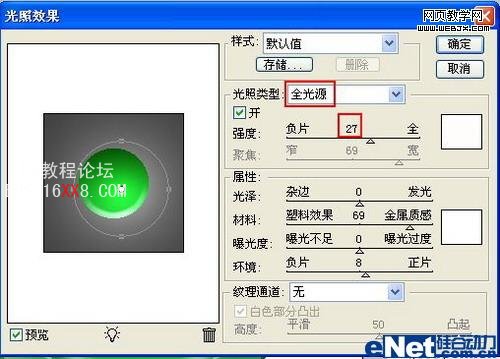
步骤26 滤镜》渲染》光照效果,设置如下
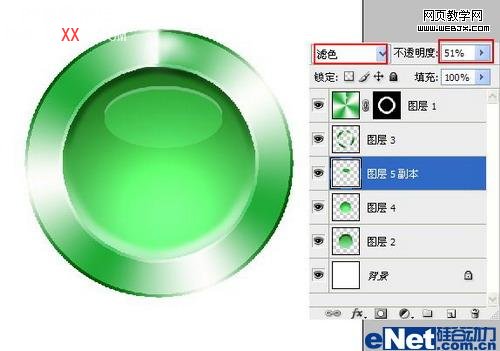
步骤27 选中“图层5”执行图层》向下合并,得到“图层5副本”,将图层的混合模式改为“滤色”,并调整图层“透明度”
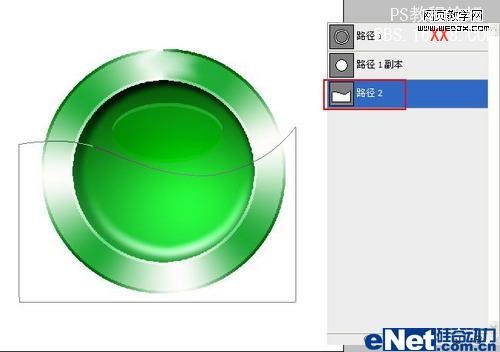
步骤28 打开路径面板,新建“路径2”,使用“钢笔工具”绘制如图所示形状
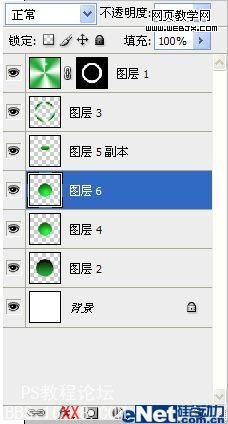
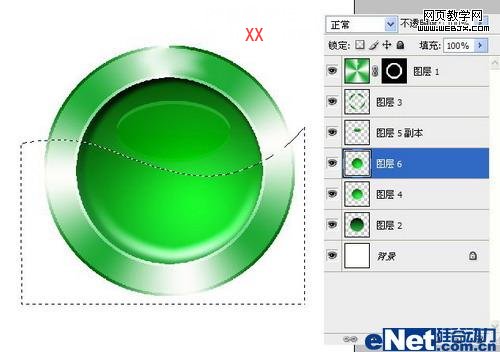
步骤29 回到图层面板,对“图层4”执行图层》新建》通过拷贝的图层,得到“图层6”
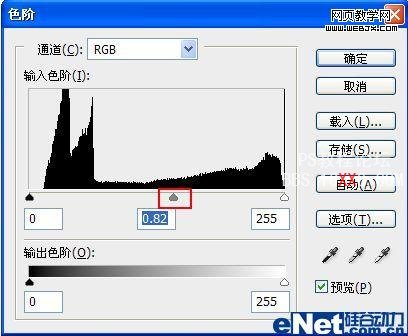
步骤30 载入“路径2”的选区,对“图层6” 执行图象》调整》色阶,把中间滑块向右拖动
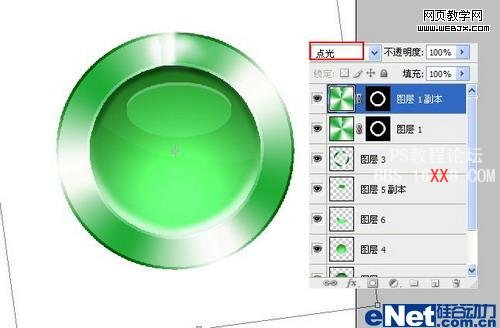
步骤31 复制“图层1”得到“图层1副本”,把该层的图层混合模式改为“点光”,执行编辑》自由变换,使金属光泽更加丰富
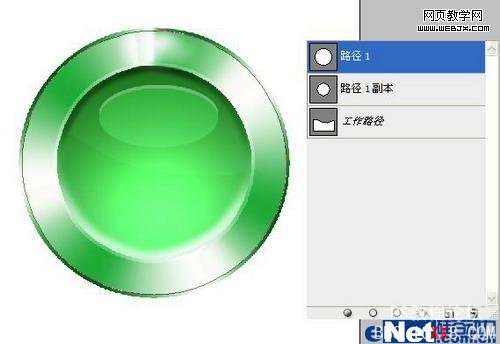
步骤32 回到路径面板,选中“路径1”单击“直接选择工具”选择内部小圆,按Delete键删除
步骤33 在“背景层”上方新建“图层7”,载入“路径1”的选区,填充黑色
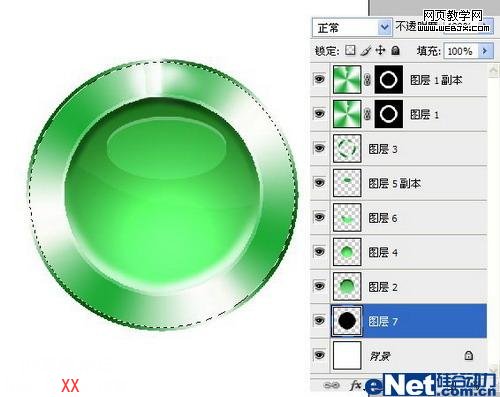
步骤34取消选区, 滤镜》模糊》高斯模糊,设置模糊半径为20,使用“移动工具”把阴影向下移动一些
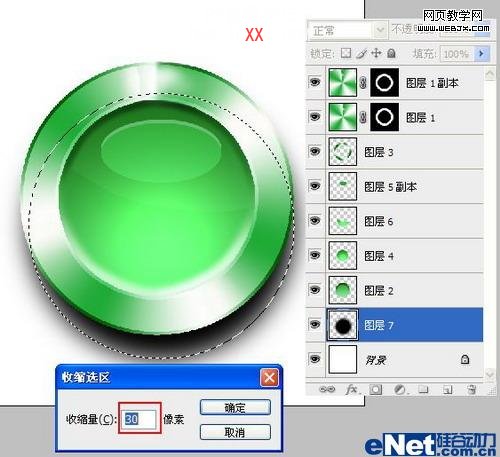
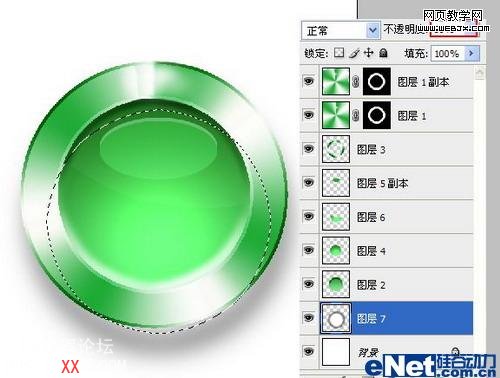
步骤35 载入“图层7”的选区,执行选择》修改》收缩,设置收缩量为30
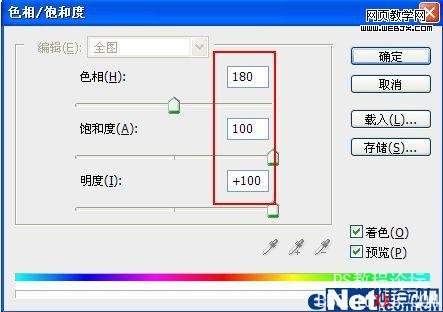
步骤36 保持选区,执行 图象》调整》色相/饱和度,并调整图层的透明度为50%
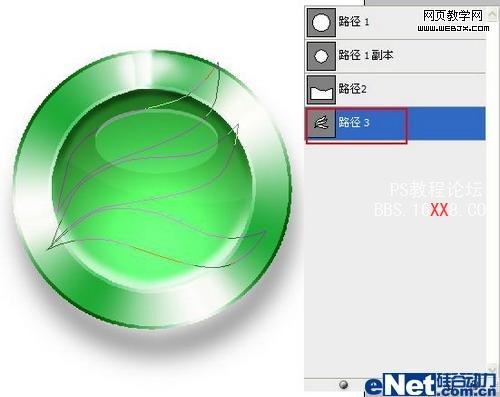
步骤37 打开路径面板,新建“路径3”使用“钢笔工具”绘制出如图所示形状
步骤38在图层顶层新建“图层8”,载入“路径3”的选区,使用嫩绿色进行填充
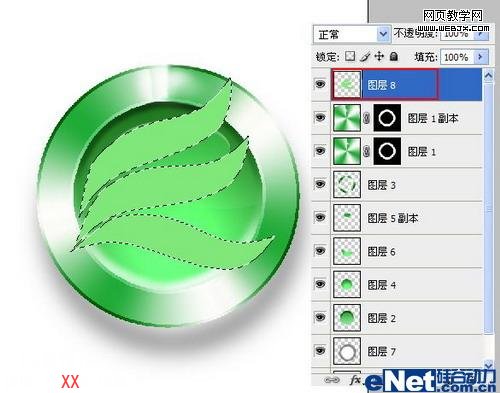
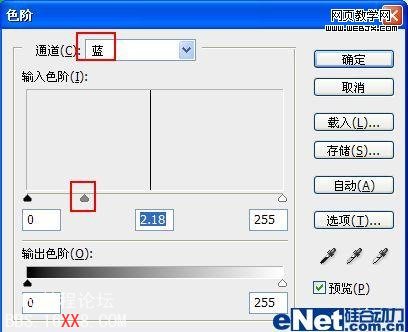
步骤39 保持选区,按动键盘上的方向键把选区向下移动一些,载入“路径3”的选区,选择》反向,图象》调整》色阶,把中间滑块向左拖动
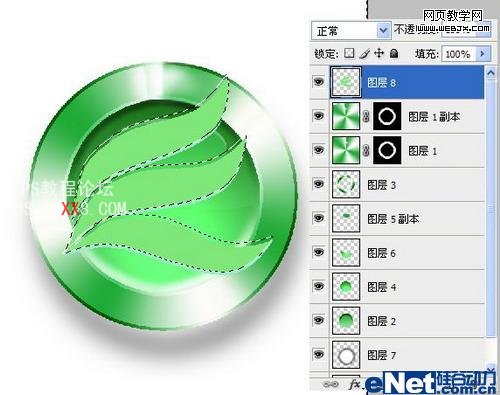
步骤40 载入“图层8”的选区,在“图层8”的下方新建“图层9”,使用黑色填充,编辑》自由变换,调整位置,作为叶片的阴影部分
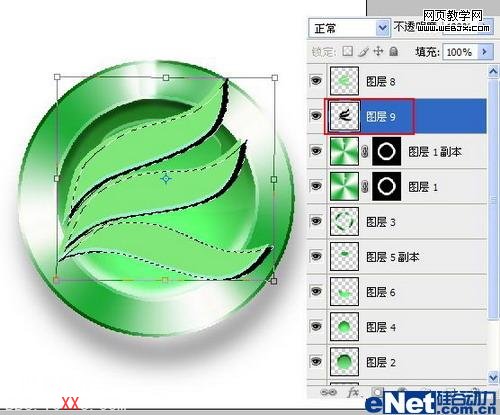
步骤41 对“图层9”执行滤镜》模糊》高斯模糊,设置模糊半径为5,并调整图层的透明度为40%左右
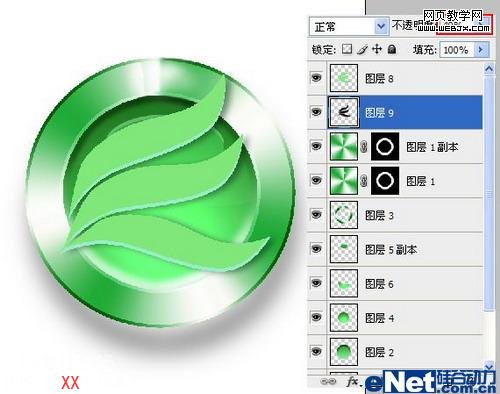
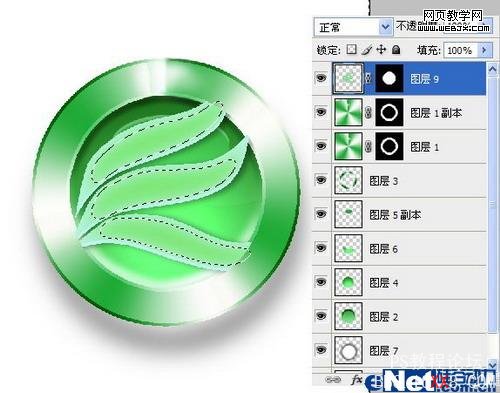
步骤42 合并“图层8”和“图层9”,载入“路径1副本”的选区,为合并后的“图层9”添加图层蒙板
步骤43 载入“图层9”的选区,执行选择》修改》收缩,设置收缩量为10,在执行选择》修改》羽化,羽化半径为10

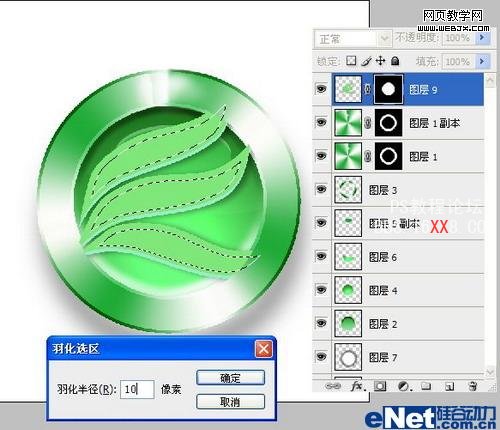
步骤44 保持选区 执行选择》反向 ,再图象》调整》色阶,把中间滑块向左拖动
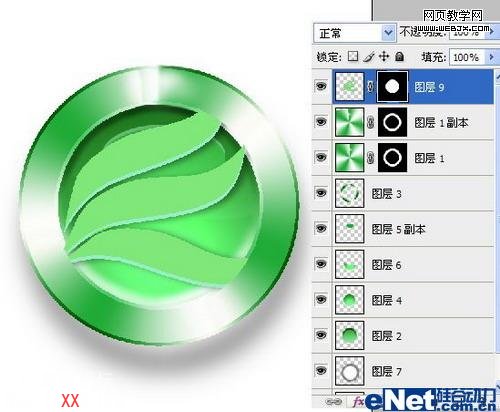
步骤45 把“图层9”的“图层混合模式”改为“柔光”,把“不透明度”改为50%左右
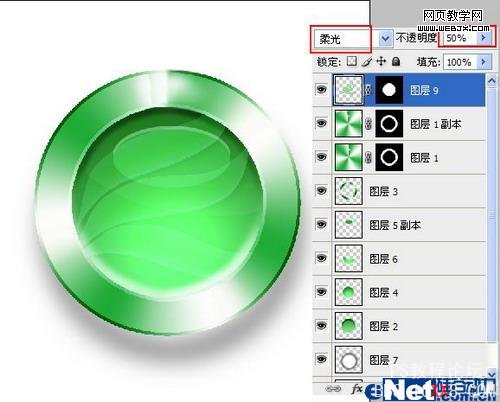
最后为制作好的水晶按钮添加一个漂亮的背景,就可以实现开篇的那种效果了。
学习 · 提示
相关教程