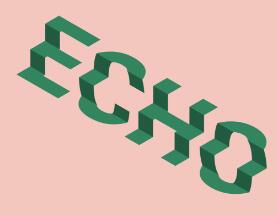
AI文字海报,通过PS制作水波效果的文字
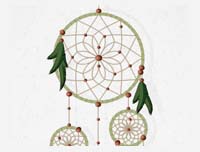
效果图:
操作步骤:
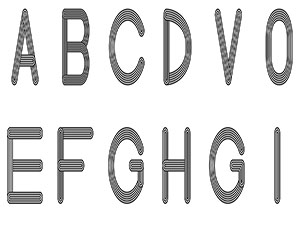
首先打开Ai,如图所示选择一个合适的字体,调整其大小,颜色可以先就用黑色的,后面我们再改变都可以:

如图所示画一个描边圆,大小刚好包住文字就可以了,描边的粗细看着效果来就好:

选中描边圆,鼠标右键执行变换-缩放,选择等比缩放,缩放的比例大家也看着效果来就好,注意不要缩放描边和效果,然后点击复制:

在对两个圆进行混合,混合的步数我觉得4就可以了:

当然你也可以如原图所示画一些圆圈或者圆点出来做装饰,过程中为了方便观察可以暂时降低一点文字的不透明度,记得编好组哦:

至此差不多就可以到PS里去处理了,把三个部分分别拖进PS里:

按住ctrl键鼠标单击圆环图层缩略图载入选区,然后ctrl+shift+i选择选区的反相以后。
给文字图层添加图层蒙版http://www.16xx8.com/tags/38847/,隐藏掉圆环图层,可以得到如图所示的效果:

给文字图层添加滤镜-扭曲-水波:

样式选择中心向外,样式以及数量的参数我这里给到了最大:

如果觉得效果不够强烈,可以再执行一次水波滤镜:

显示出圆环图层,按住ctrl鼠标单击圆环缩略图载入原图图层的选区,然后按住ctrl+shift鼠标点击文字图层的缩略图。
得到两个选区的差集以后,给圆环图层添加图层蒙版,得到如图所示的效果:

可以再用黑色的实边画笔,在圆环的图层蒙版上随机的擦掉一些:

同样可以给圆环图层也添加一个水波滤镜:

这个时候就可以给背景添加一个黑色的纯色填充图层,并且通过图层颜色叠加将文字等颜色变成白色:

你还可以再新建一个空白图层,用黑色实边的画笔在文字上适当的点一下进行修饰:

仔细观察觉得原图正中间有一个圆钮,所以我这里又在中间画了一个椭圆,添加了斜面与浮雕的图层样式:

最后码字排版导样机,老三样看看效果吧:
 搜索公众号photoshop教程论坛,免费领取自学福利
同学们一起来学习制作一下吧,相信你通过教程可以做的更好,一起通过教程来学习一下吧。
作者公众号:
学习 · 提示
相关教程