Photoshop做慢速快门拍摄字体效
来源:未知
作者:admin
学习:739人次
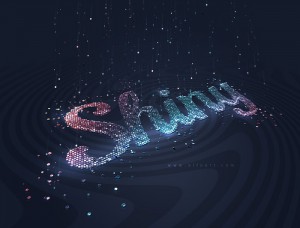
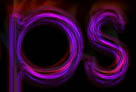
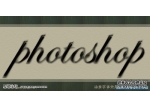
最终效果:
创建一个新文档,大小为1920 x 1200,之后设置渐变色:

创建一个新文档,大小为1920 x 1200,之后设置渐变色:


学习 · 提示
相关教程
关注大神微博加入>>


网友求助,请回答!