photoshop鼠绘教程:传说中的巨龙
来源:未知
作者:空来风
学习:347人次
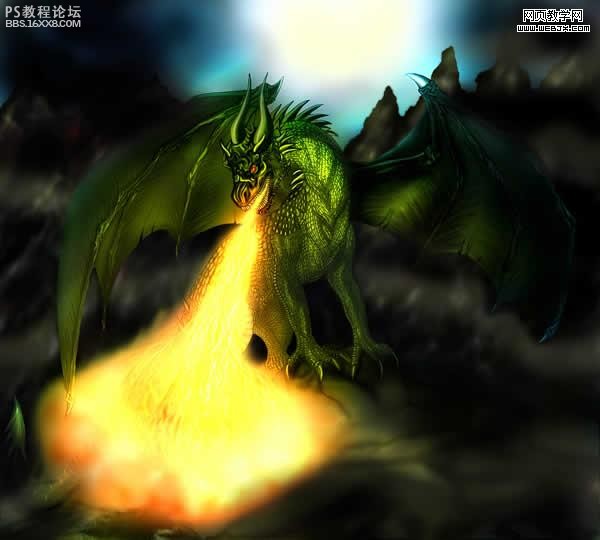
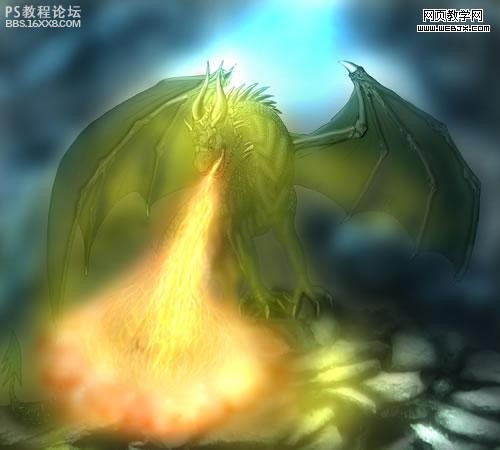
作者网页教学翻译先看最终效果:
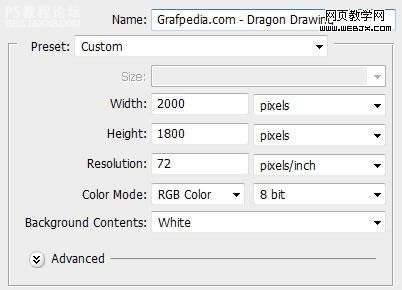
下面开始讲解了,首先我们启动photoshop,设置如下属性。
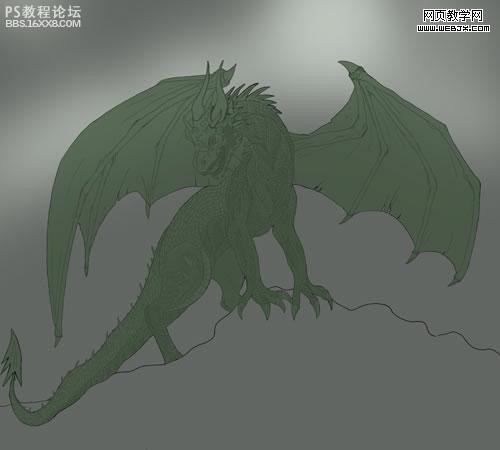
在这里我们设置一个暗一些的背景,使用画笔工具添加高光,效果如下

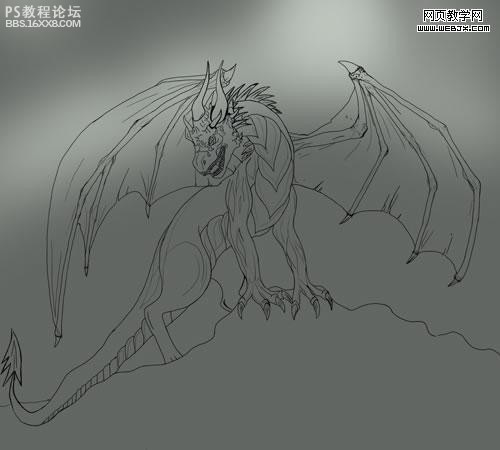
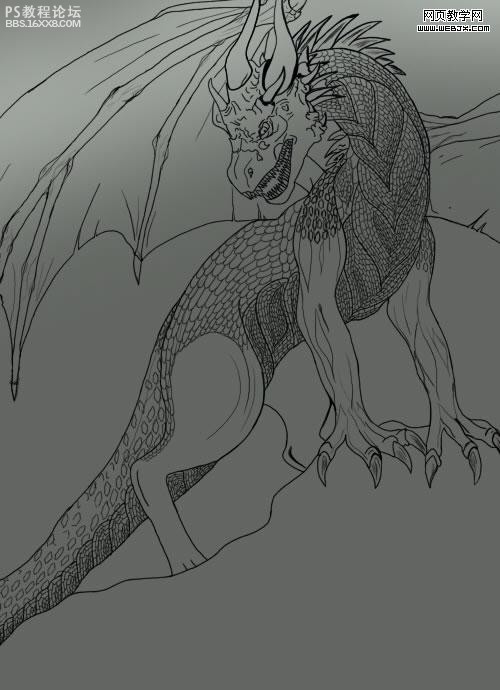
然后创建一个新图层,用画笔绘制一个素描龙,这个过程非常复杂的,在这里我大概用了1个小时的时间。
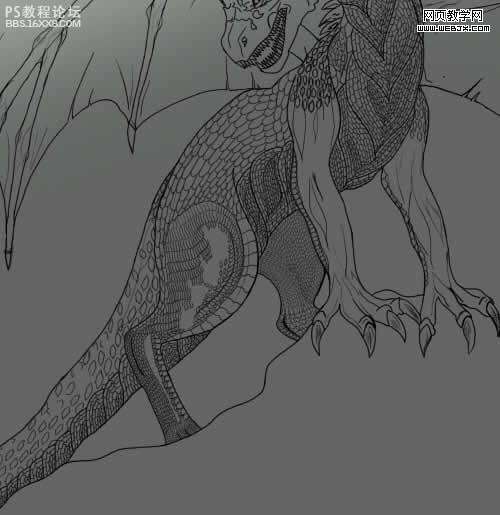
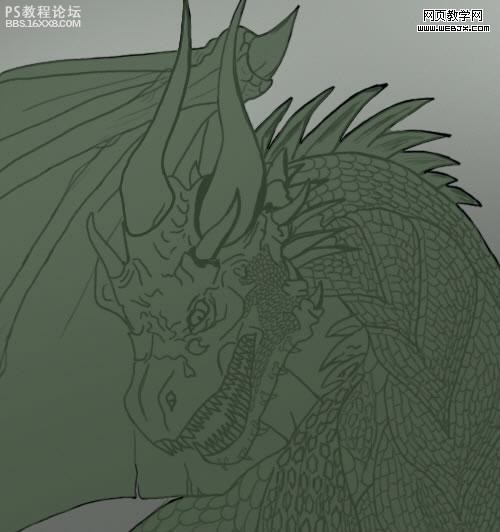
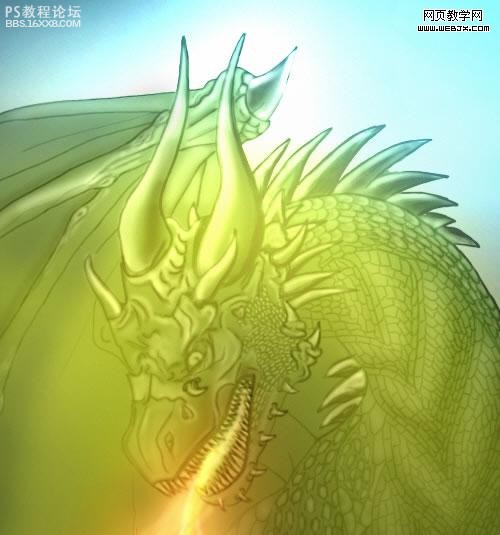
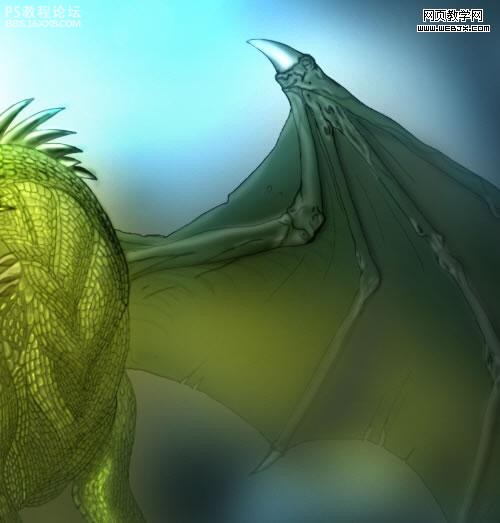
,创建新图层,为我们的巨龙添加鳞片。
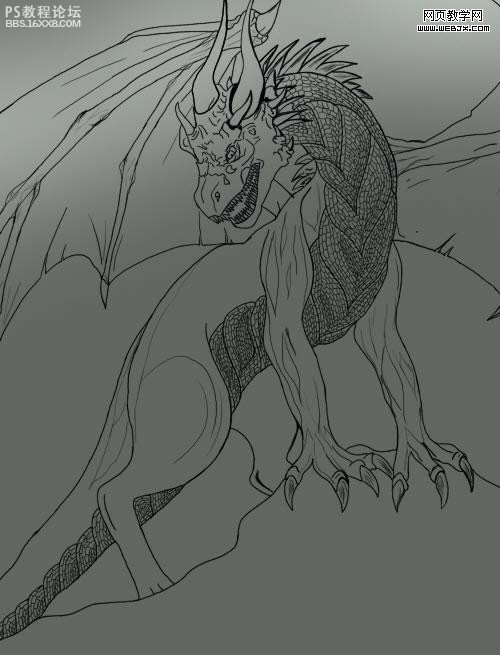
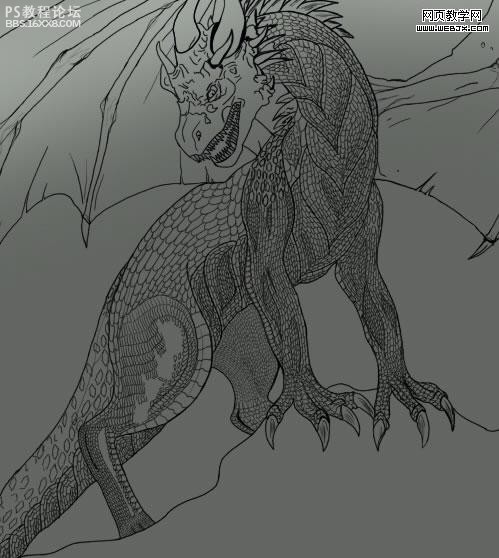
,下面我们给巨龙的身体添加一些号角

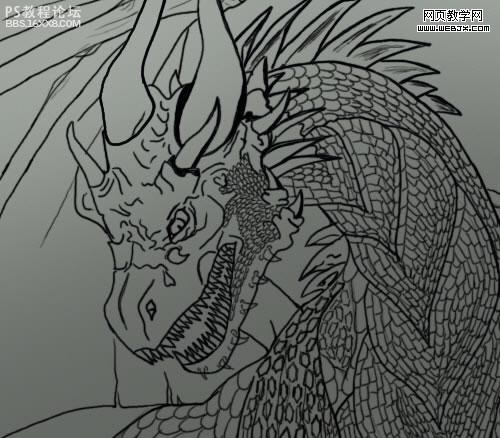
然后在头部添加一些鳞片。
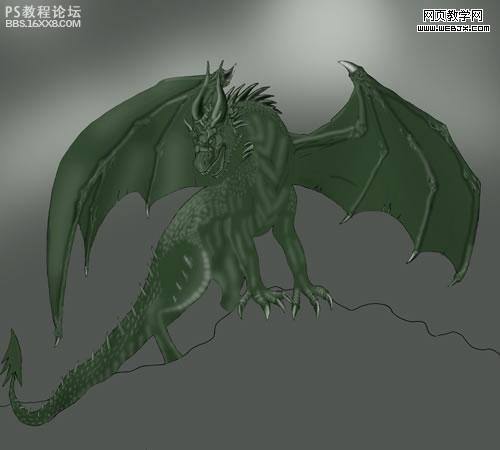
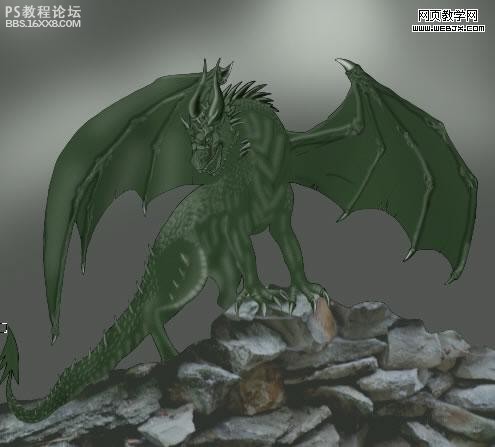
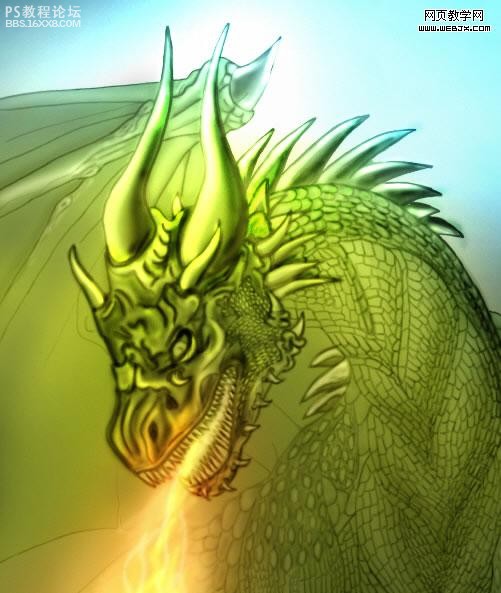
然后我们在巨龙和背景层中间添加一个图层,我们将绘制一个背景,为了绘制背景的时候能看到巨龙,我们把龙的图层不透明度调整到75%,然后绘制背景
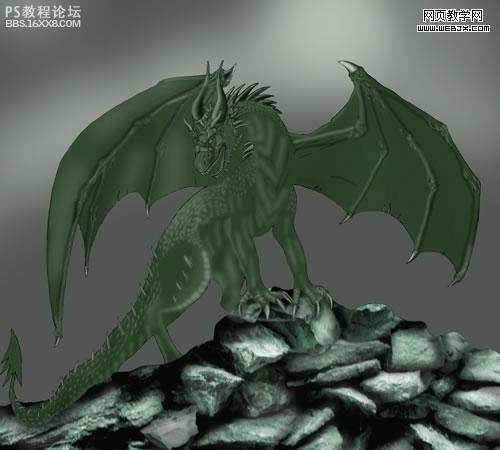
,复制该图层,然后用加深和减淡工具绘制一些光线和阴影。
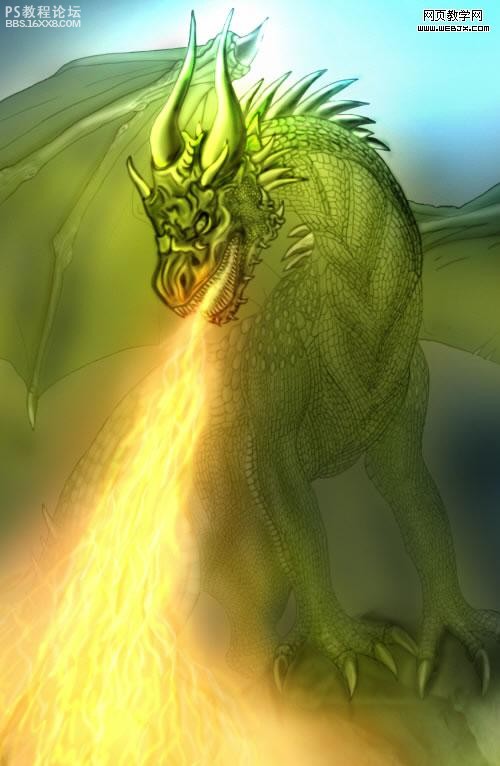
然后我们找到一堆岩石的素材,放到巨龙的脚下。
然后使用加深和减淡工具添加光线和阴影
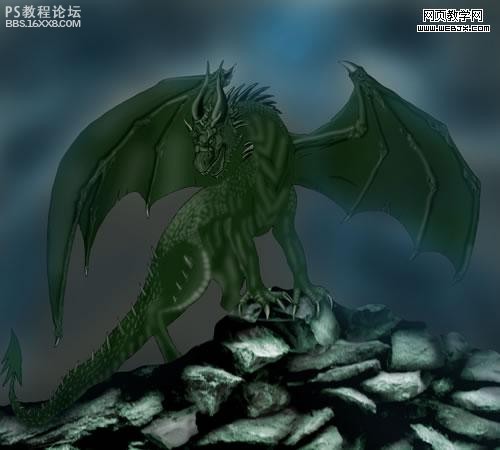
然后创建一个图层,我们使用笔刷工具绘制一个暗蓝色的背景。
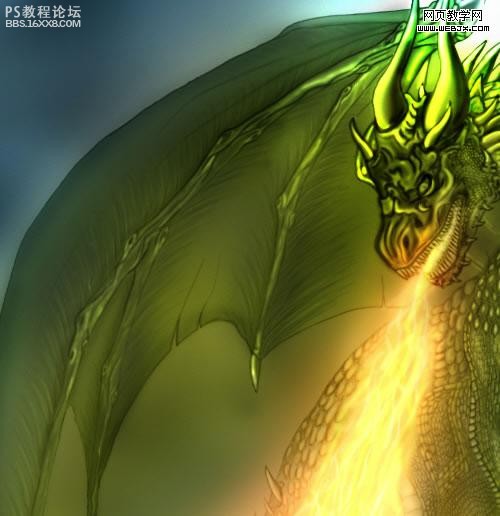
,下面创建一些火焰,我们创建一个图层,然后使用薄薄的笔刷绘制下面图案。
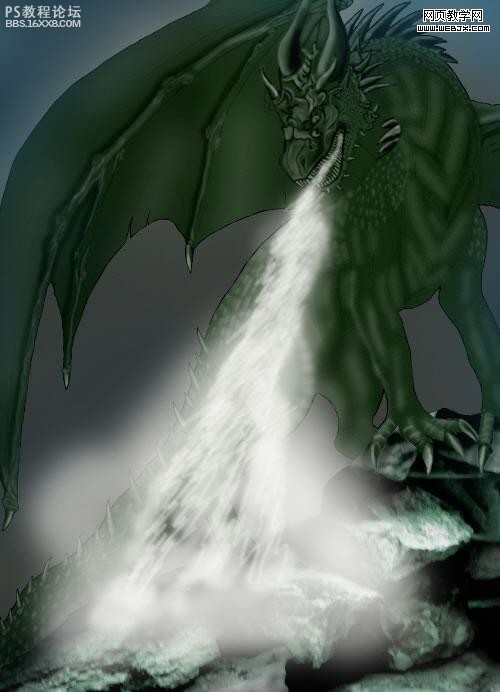
然后我们新建图层,绘制两种不同的橙色,效果如下。
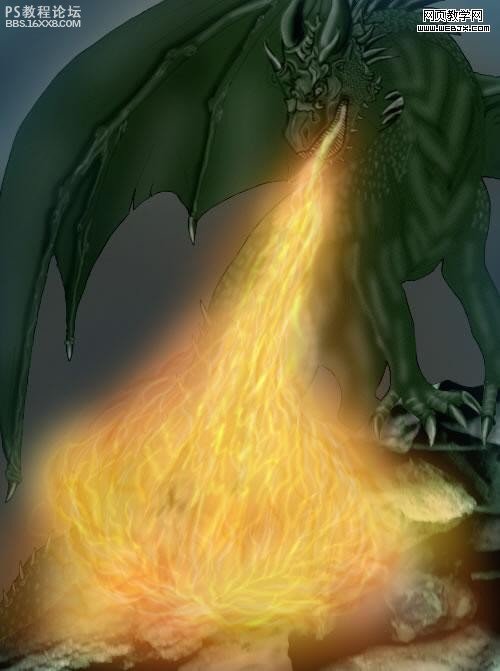
然后我们绘制更加细节的大的火焰。
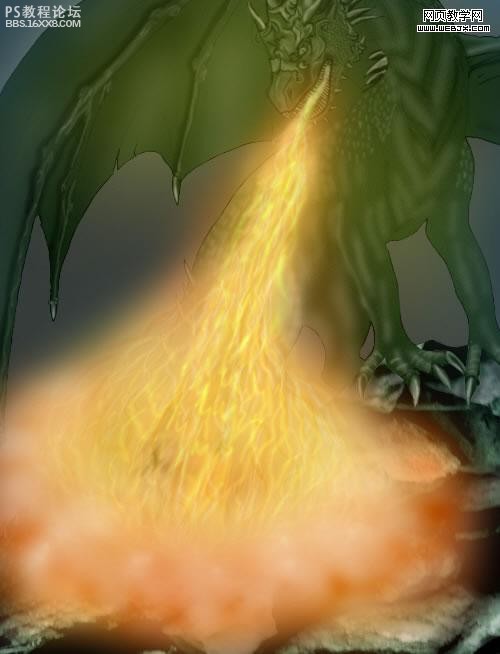
然后我们在巨龙图层上面添加一些反射出来的火焰
,然后我们添加一些光线和阴影,使用加深和减淡工具就可以了。
,这时的效果如下
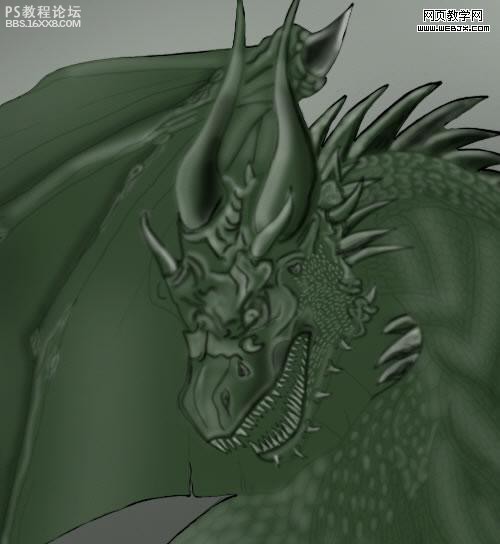
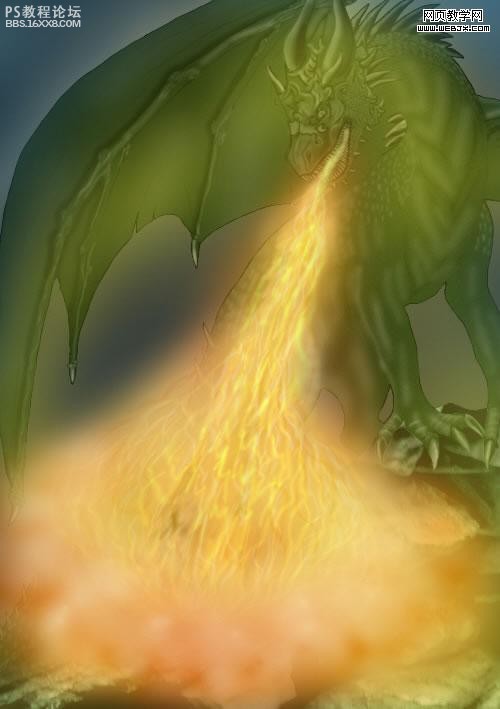
下面我们用加深和减淡工具在巨龙的鳞片上添加光线和阴影
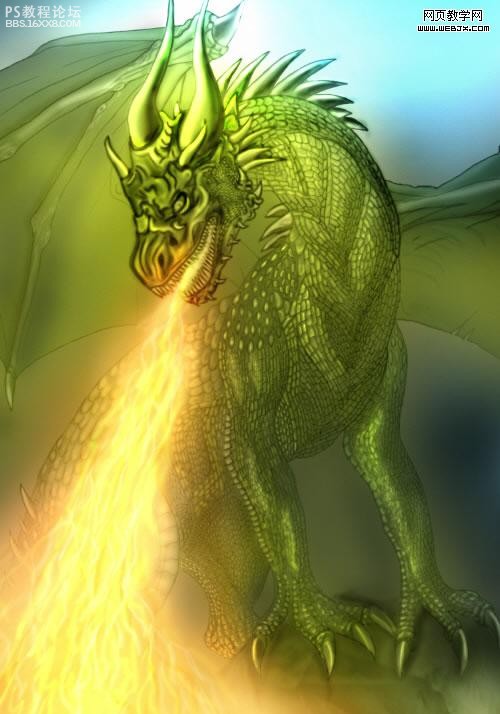
西面对龙的翅膀进行细节修饰
用加深工具添加一些细线
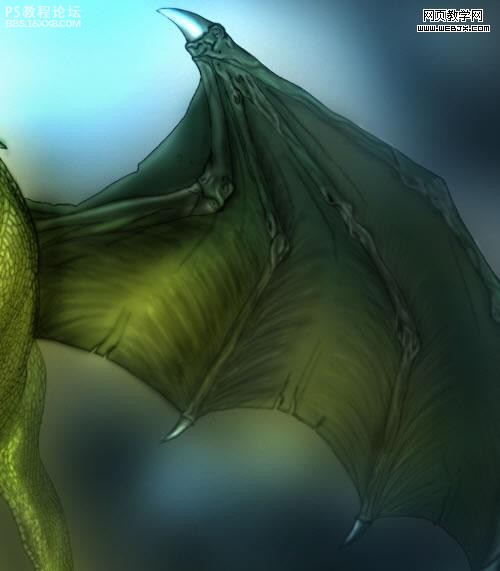
同样在其他翅膀上添加细线
, 在巨龙的身后我绘制了一些山的图形
下面开始讲解了,首先我们启动photoshop,设置如下属性。
在这里我们设置一个暗一些的背景,使用画笔工具添加高光,效果如下
然后创建一个新图层,用画笔绘制一个素描龙,这个过程非常复杂的,在这里我大概用了1个小时的时间。
,创建新图层,为我们的巨龙添加鳞片。
,下面我们给巨龙的身体添加一些号角
然后在头部添加一些鳞片。
然后我们在巨龙和背景层中间添加一个图层,我们将绘制一个背景,为了绘制背景的时候能看到巨龙,我们把龙的图层不透明度调整到75%,然后绘制背景
,复制该图层,然后用加深和减淡工具绘制一些光线和阴影。
然后我们找到一堆岩石的素材,放到巨龙的脚下。
然后使用加深和减淡工具添加光线和阴影
然后创建一个图层,我们使用笔刷工具绘制一个暗蓝色的背景。
,下面创建一些火焰,我们创建一个图层,然后使用薄薄的笔刷绘制下面图案。
然后我们新建图层,绘制两种不同的橙色,效果如下。
然后我们绘制更加细节的大的火焰。
然后我们在巨龙图层上面添加一些反射出来的火焰
,然后我们添加一些光线和阴影,使用加深和减淡工具就可以了。
,这时的效果如下
下面我们用加深和减淡工具在巨龙的鳞片上添加光线和阴影
西面对龙的翅膀进行细节修饰
用加深工具添加一些细线
同样在其他翅膀上添加细线
, 在巨龙的身后我绘制了一些山的图形
学习 · 提示
相关教程
关注大神微博加入>>


网友求助,请回答!