photoshop设计清凉壁纸(5)
来源:未知
作者:┆死┆
学习:6872人次
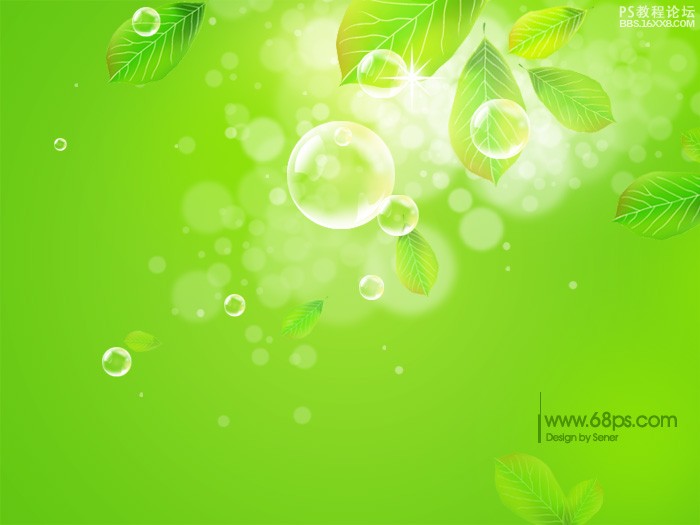
最终效果
1、新建一个1024 * 768 像素的文件,选择渐变工具,颜色设置如图1,由中心拉出图2所示的径向渐变。
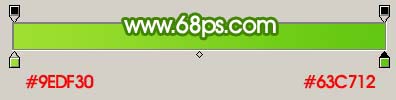
图1
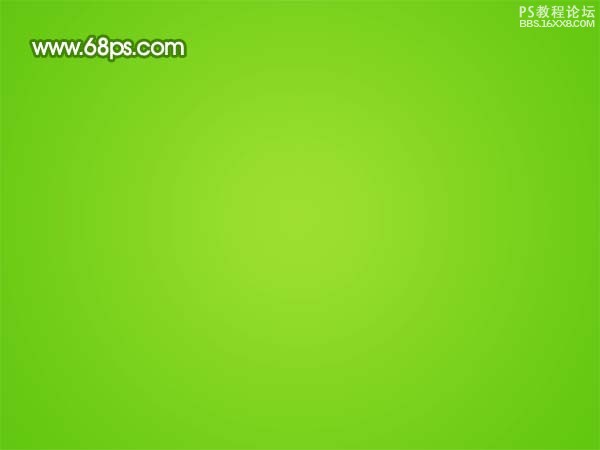
图2
, 2、新建一个图层,选择椭圆选框工具,按住Shift 键拉出图3所示的正圆,按Ctrl + Alt + D 羽化50个像素,然后填充颜色:#F2FC6E,效果如图4。
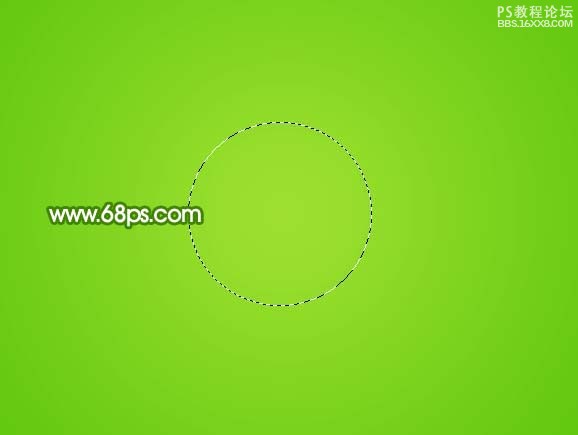
图3
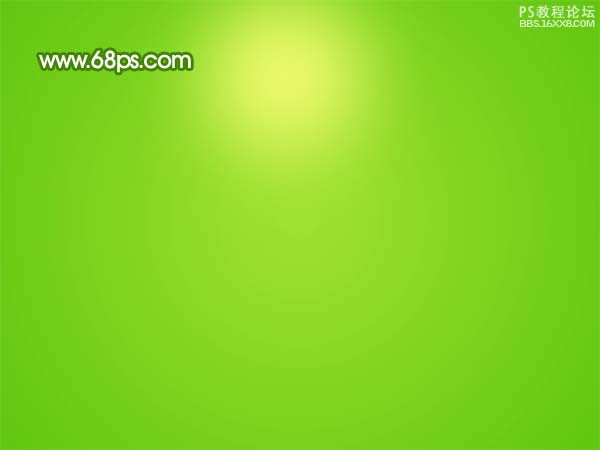
图4
3、同样的方法制作其它颜色的色块,效果如图5。
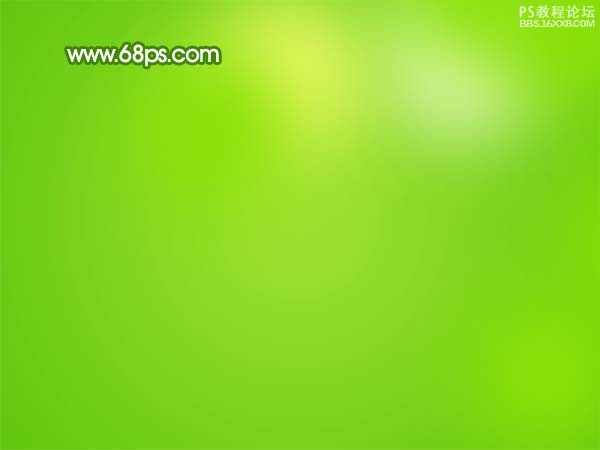
图5
4、新建一个图层,按住Shift 键拉一个较小的正圆,如图6。
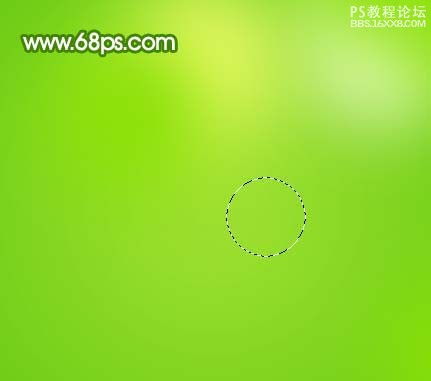
图6
5、按Ctrl + Alt + D 羽化5个像素后填充白色,取消选区后效果如图7,然后把图层不透明度改为:40%,效果如图8。
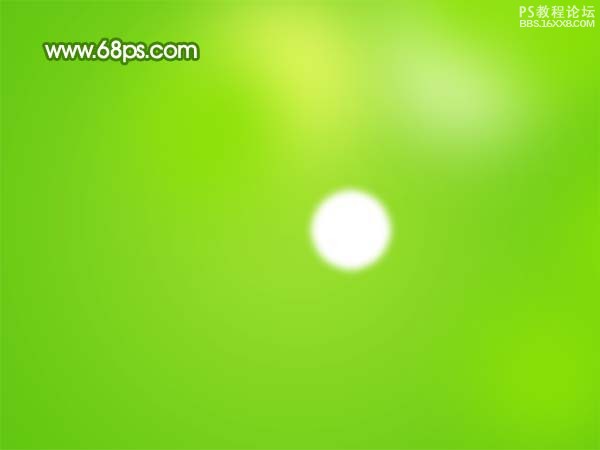
图7

图8
6、然后把做好的白色图形不停的复制并改变大小,如图9,10。

图9
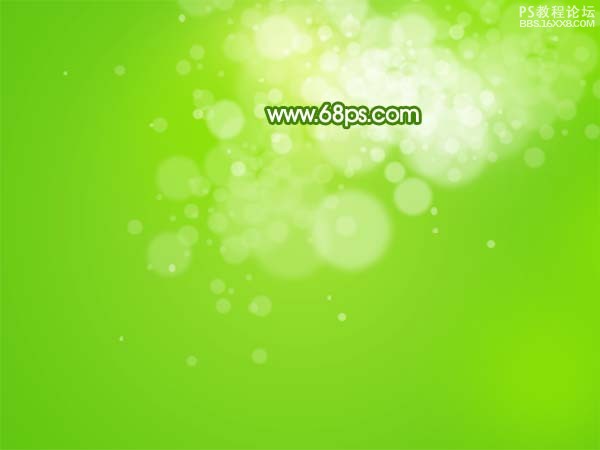
图10
7、打开下图所示的树叶素材,用魔术棒抠出来,拖进来,效果如图12。
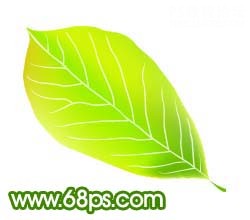
图11
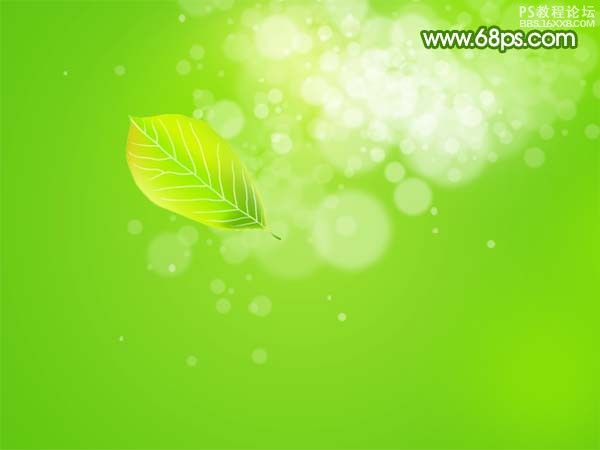
图12
8、把树叶多复制几份,适当调整好位置和大小,如图13,14。
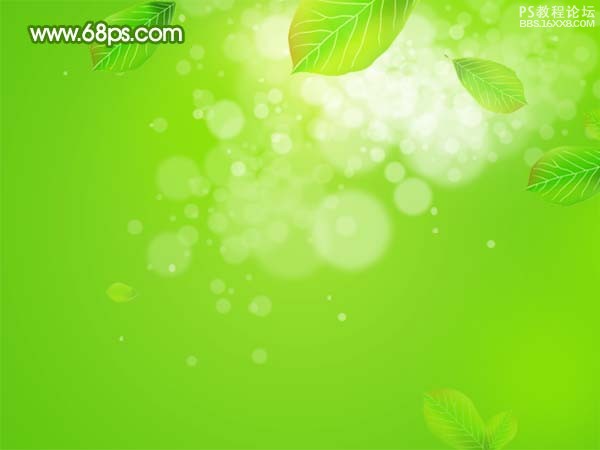
图13
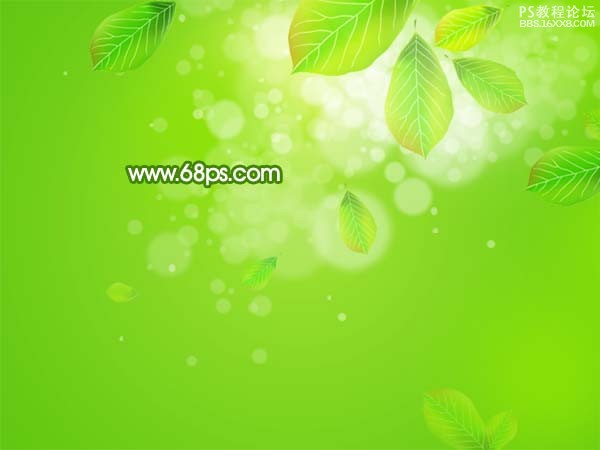
图14
9、打开图15所示的泡泡素材,拖进来,效果如图16。

图15
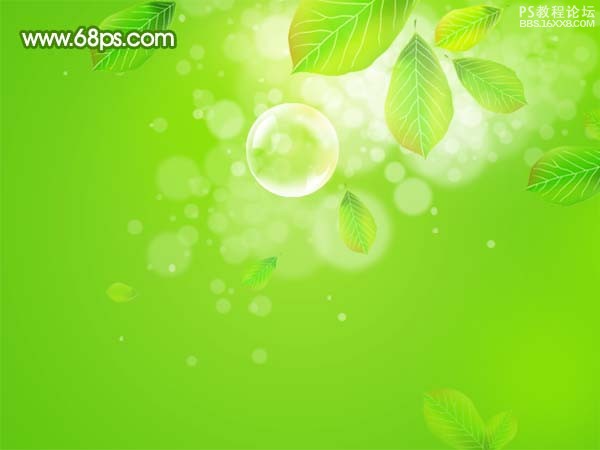
图16
, 10、把泡泡多复制几份,稍微调整好大小和位置,如图17。
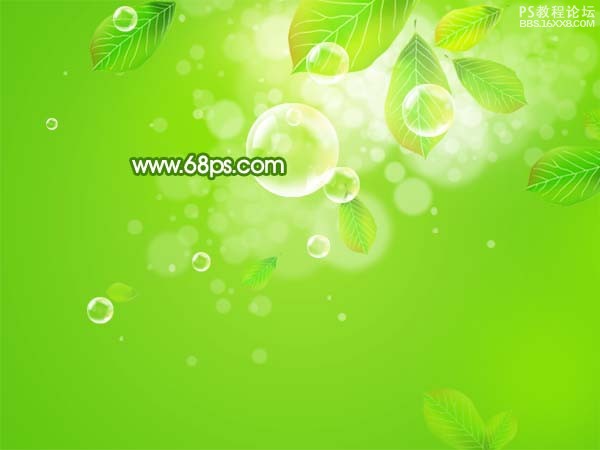
图17
11、新建一个图层,装饰一些星光笔刷,如图18。
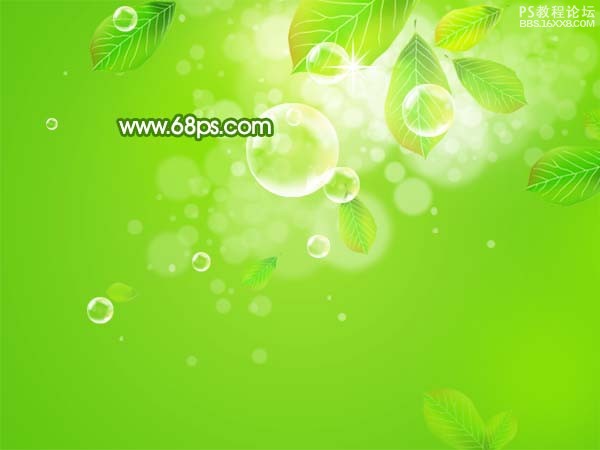
图18
, 12、新建一个图层,打上装饰文字。
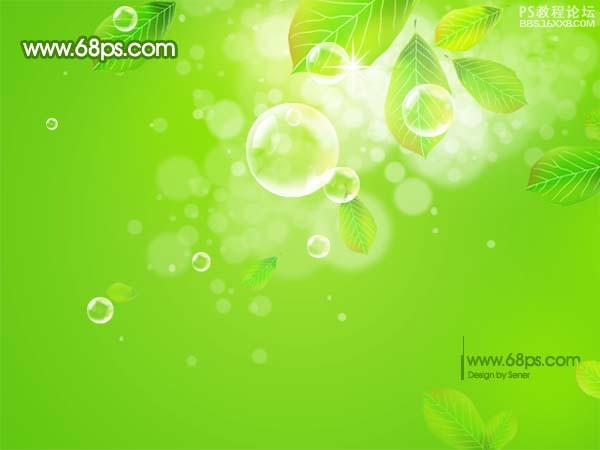
图19
13、最后整体调整下细节,完成最终效果。
图20
1、新建一个1024 * 768 像素的文件,选择渐变工具,颜色设置如图1,由中心拉出图2所示的径向渐变。
图1
图2
, 2、新建一个图层,选择椭圆选框工具,按住Shift 键拉出图3所示的正圆,按Ctrl + Alt + D 羽化50个像素,然后填充颜色:#F2FC6E,效果如图4。
图3
图4
3、同样的方法制作其它颜色的色块,效果如图5。
图5
4、新建一个图层,按住Shift 键拉一个较小的正圆,如图6。
图6
5、按Ctrl + Alt + D 羽化5个像素后填充白色,取消选区后效果如图7,然后把图层不透明度改为:40%,效果如图8。
图7
图8
6、然后把做好的白色图形不停的复制并改变大小,如图9,10。
图9
图10
7、打开下图所示的树叶素材,用魔术棒抠出来,拖进来,效果如图12。
图11
图12
8、把树叶多复制几份,适当调整好位置和大小,如图13,14。
图13
图14
9、打开图15所示的泡泡素材,拖进来,效果如图16。
图15
图16
, 10、把泡泡多复制几份,稍微调整好大小和位置,如图17。
图17
11、新建一个图层,装饰一些星光笔刷,如图18。
图18
, 12、新建一个图层,打上装饰文字。
图19
13、最后整体调整下细节,完成最终效果。
图20
学习 · 提示
- 发评论 | 交作业 -
最新评论
oucha2011-10-28 03:54
受教 <给力> <给力>本文来自:ps教程论坛(bbs.16xx8.com)详细出处参考:http://bbs.16xx8.com/thread-79594-1-1.html <给力>本文来自:ps教程论坛(bbs.16xx8.com)详细出处参考:http://bbs.16xx8.com/thread-79594-1-1.html
回复
相关教程
关注大神微博加入>>


网友求助,请回答!