ps打造美女炫丽抽象线条海报效果教程
来源:ENET
作者:草原夜色
学习:4906人次
教程中,我将带你制作抽象壁纸。本教程中主要给大家展示自定义画笔来制作线条。
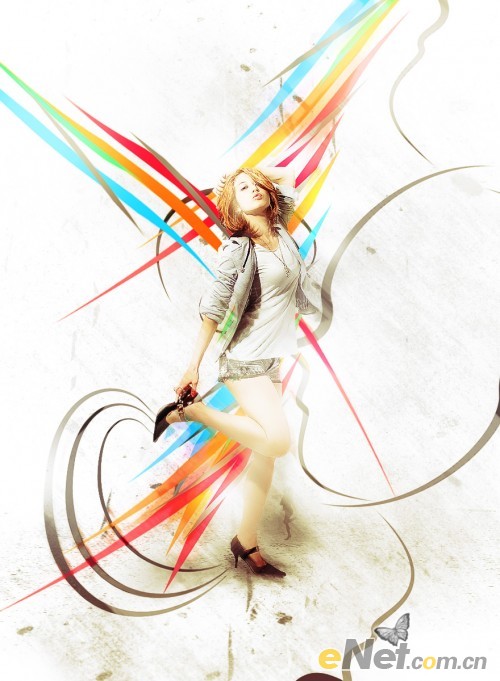
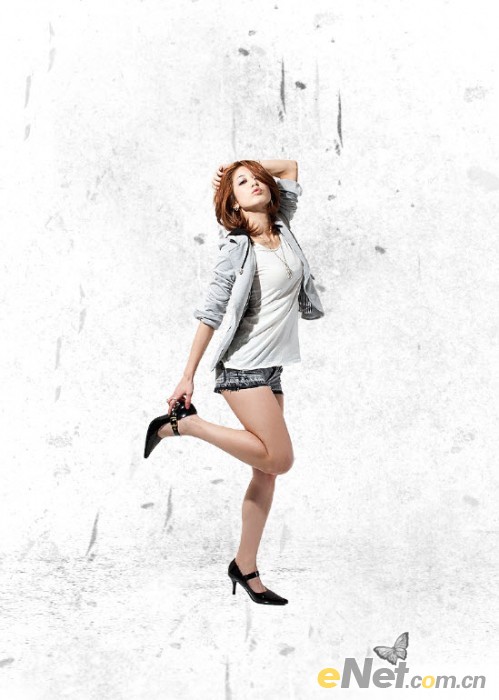
先看一下教程最终效果:
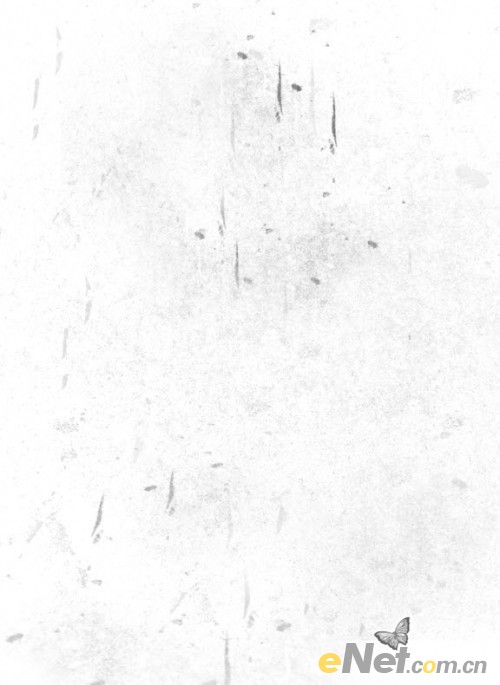
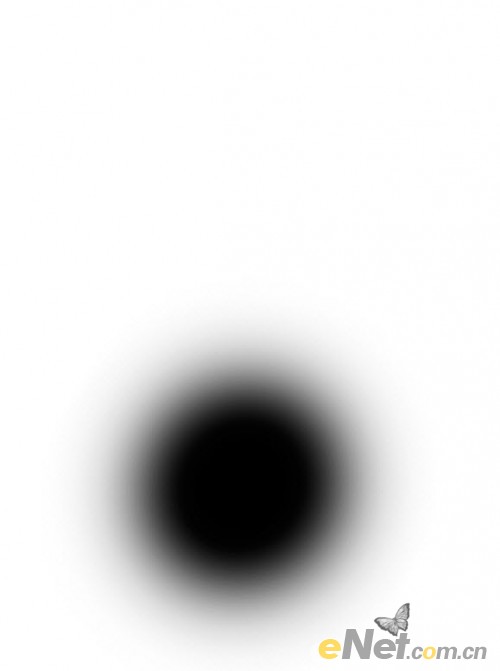
1.创建一个背景为白色的新文件,大小800*1200,然后创建一个新层,用灰尘笔刷,设置不透明度为40%,在画布上绘制一个纹理。

这里必须记住,用不同的刷子组合,并设置不同的透明度来绘制纹理
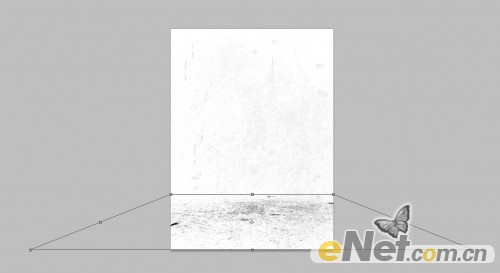
绘制好以后,使用“自用变换工具”调整如图大小
设置此层的不透明度为50%
2.将人物素材加载到画布,摆放在如图位置
给此人物层添加调整层,用“添加新的填充或调整图层”选择下面两个按图设置
色阶
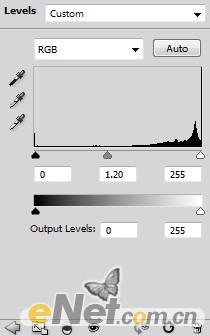
在色阶图层的图层蒙版上在人物的腿上进行涂抹,
曲线
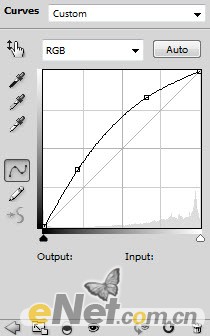
在曲线图层的蒙版,在人物头部上涂抹
学习 · 提示
相关教程
关注大神微博加入>>


网友求助,请回答!