Photoshop制作精致的灰色圆形质感按钮(16)
来源:腾龙视觉
作者:不详
学习:441人次
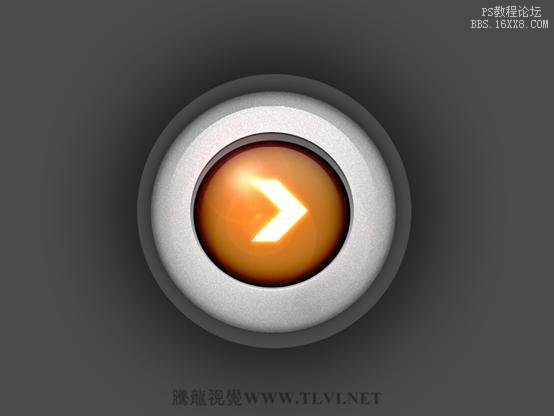
本教程介绍较为精致的圆形按钮的制作方法,由于图层较多,制作的时候需要注意好图层的顺序。另外按钮以水质质感为主,需要用图层样式控制好光感。
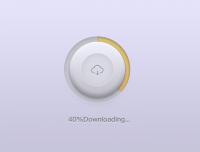
最终效果
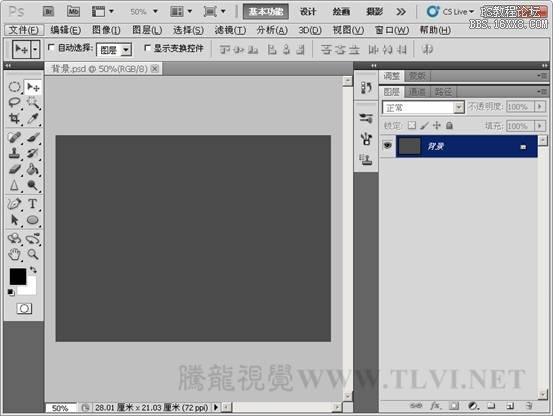
 1、新建一个大小适当的文档,背景填充灰色。
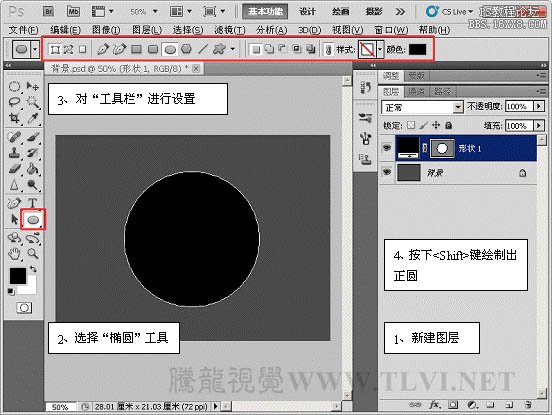
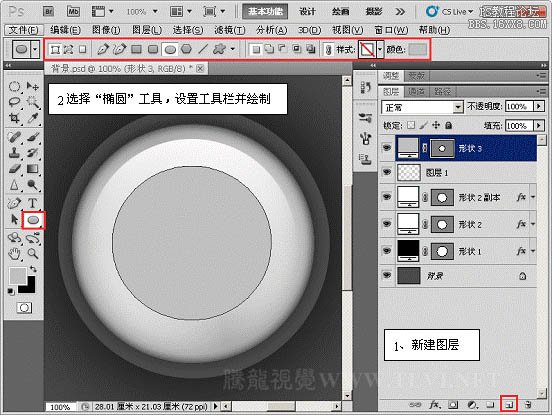
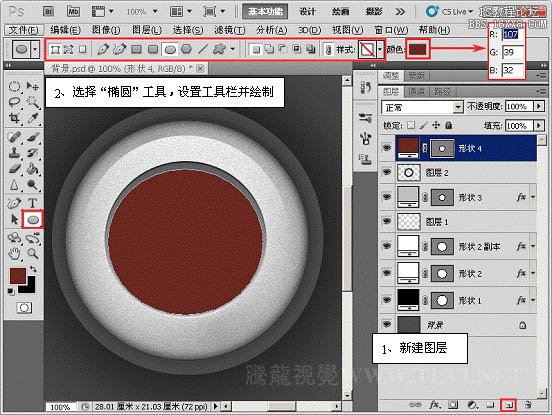
2、新建图层,选择“椭圆”工具进行绘制。
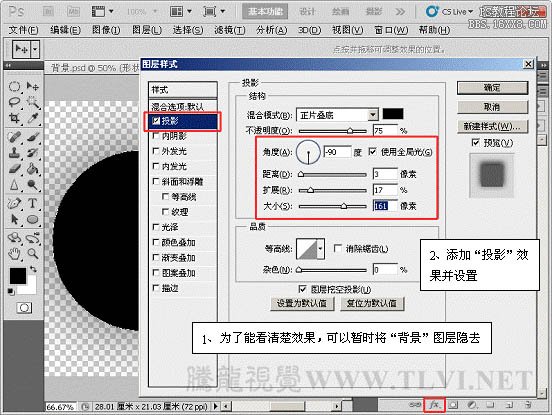
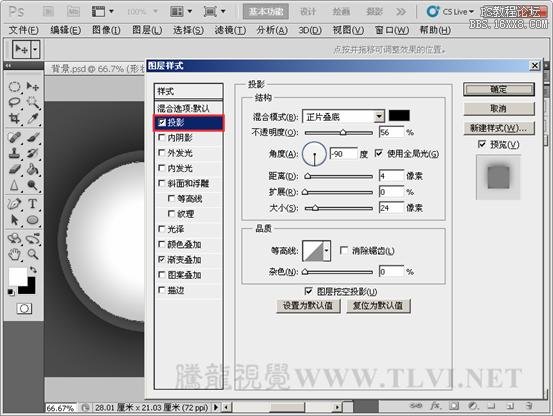
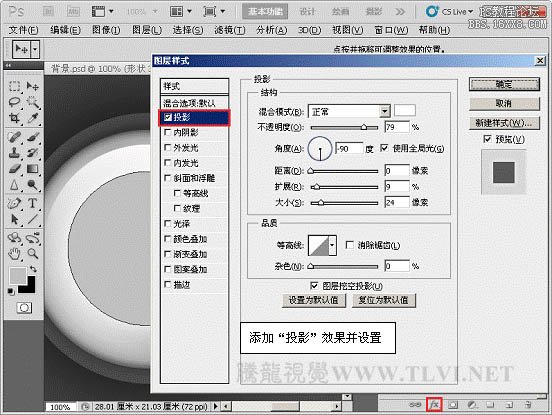
3、为“形状 1”添加图层样式“投影”效果。
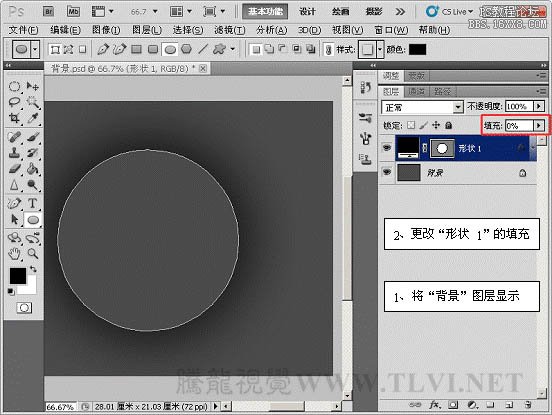
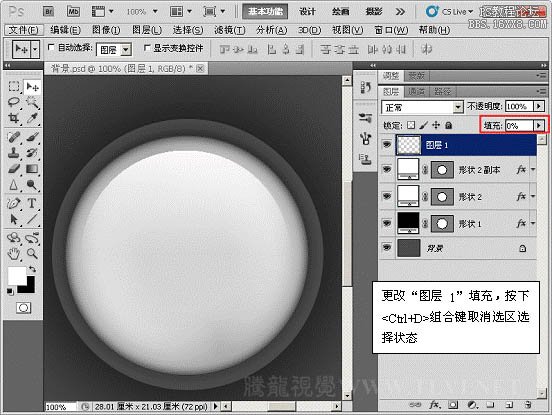
 4、更改“形状
1”的填充为“0%”。
4、更改“形状
1”的填充为“0%”。
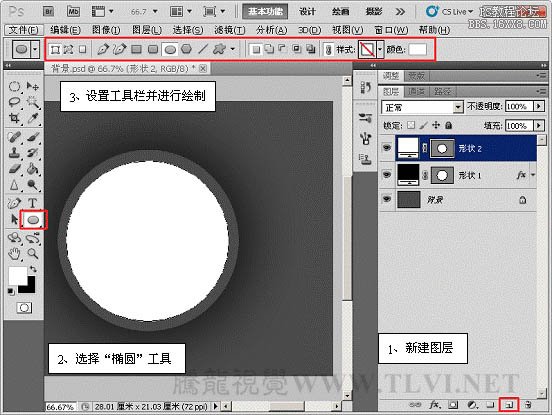
5、新建图层,使用“椭圆”工具进行绘制。
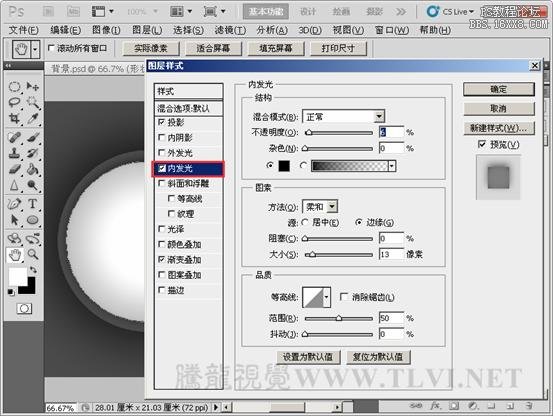
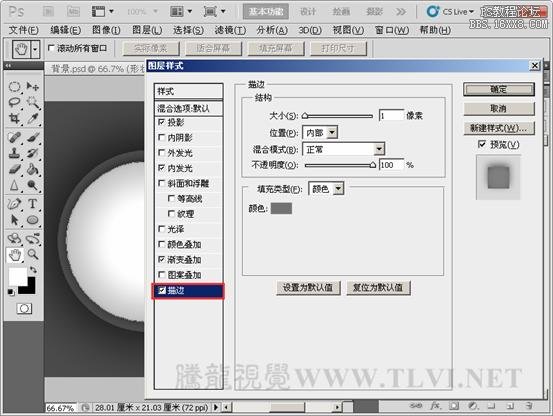
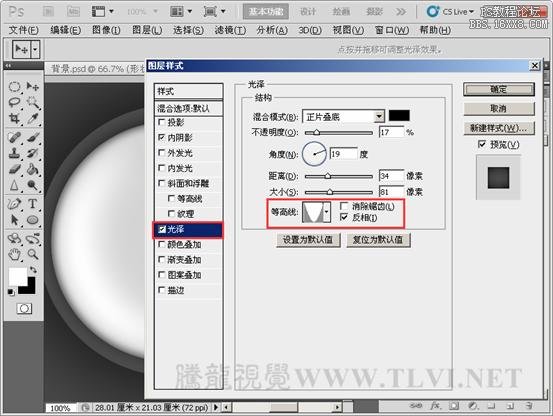
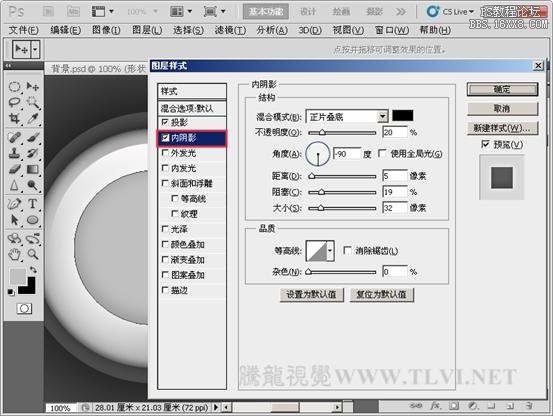
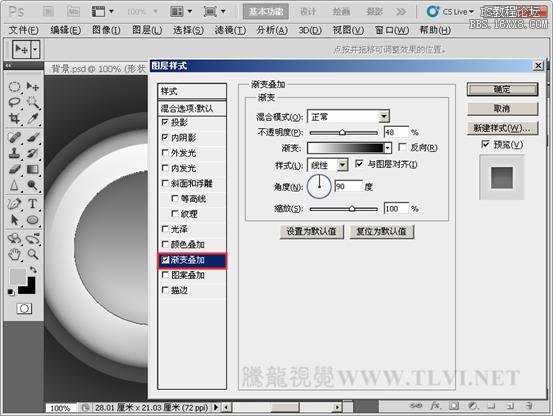
 6、为“形状
2”添加图层样式效果。
6、为“形状
2”添加图层样式效果。
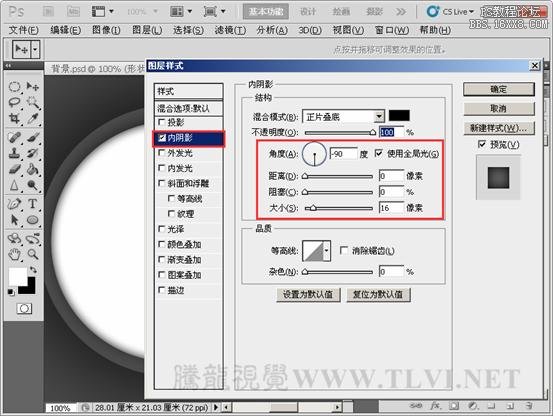
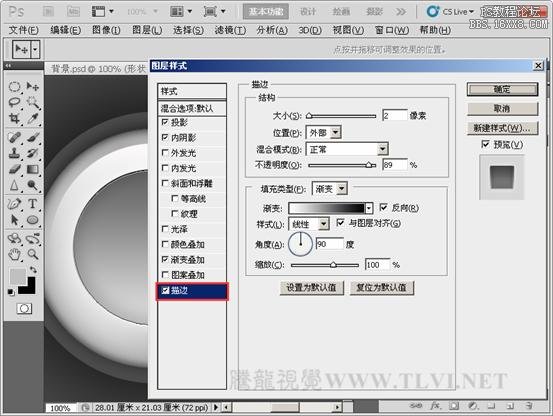
 7、复制“形状
2”,重新设置其图层样式。
7、复制“形状
2”,重新设置其图层样式。
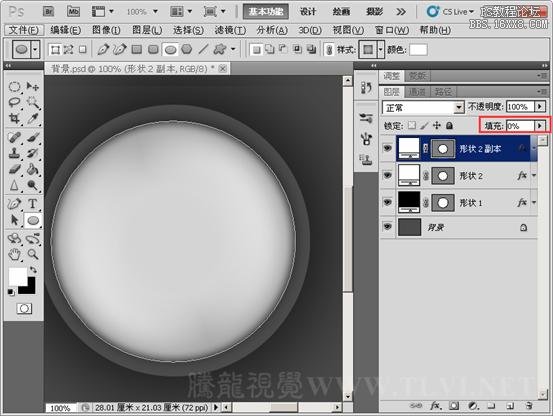
8、更改“形状 2 副本”的填充为“0%”。
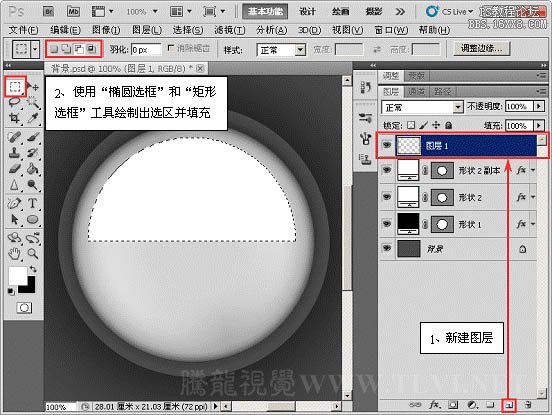
9、新建图层,使用“选框”工具绘制出半圆选区并填充白色。
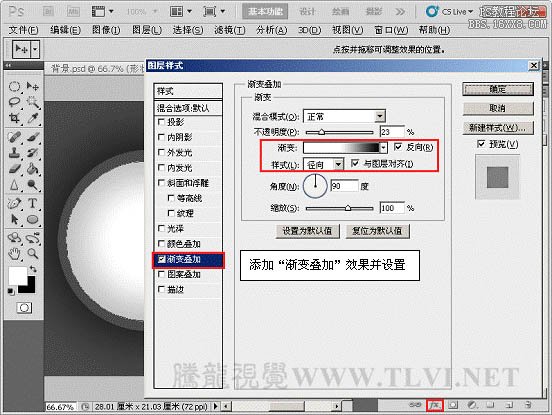
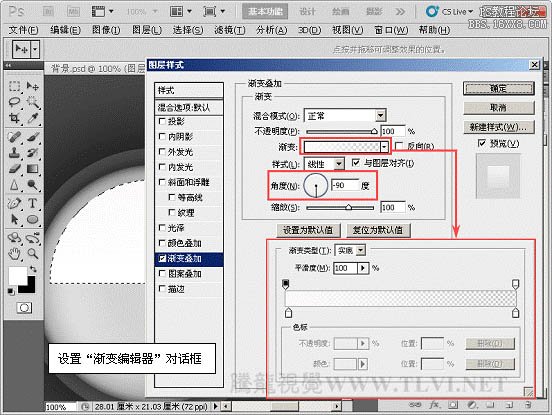
 10、为“图层
1”添加图层样式“渐变叠加”效果。
10、为“图层
1”添加图层样式“渐变叠加”效果。
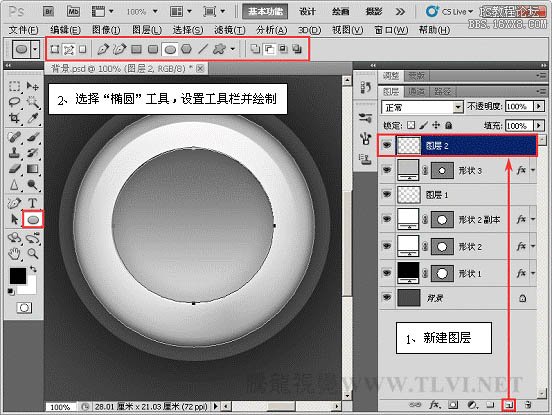
11、新建图层,使用“椭圆”工具绘制。
 12、为“形状
3”添加“投影”图层样式并设置。
12、为“形状
3”添加“投影”图层样式并设置。
 13、新建图层,选择“椭圆”工具进行绘制。
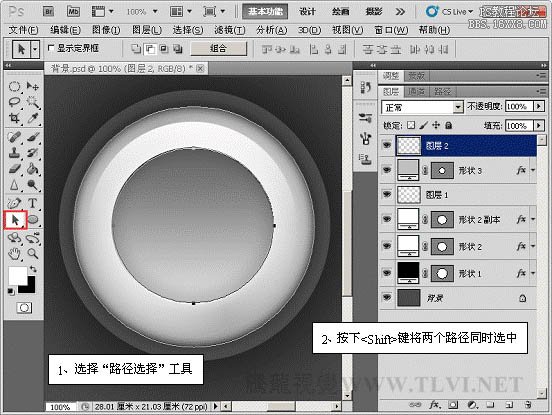
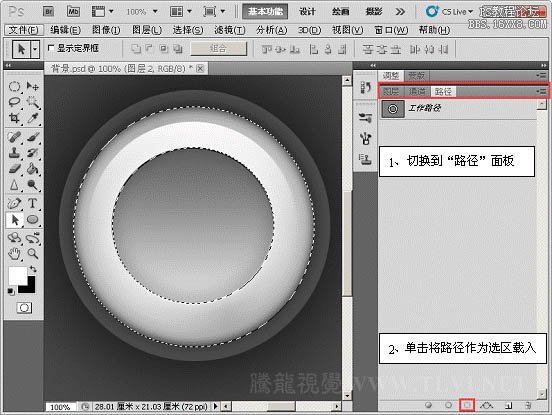
14、切换到“路径”面板,将路径作为选区载入。
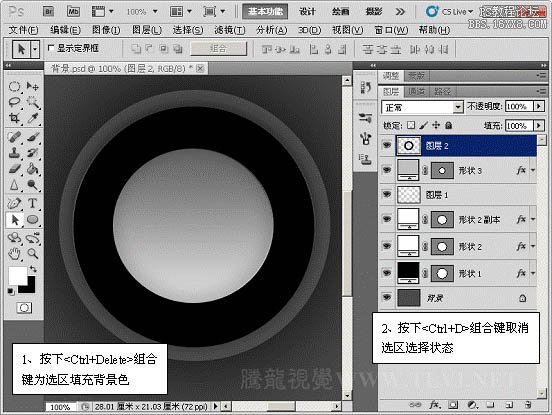
15、返回到“图层”面板,为选区填充黑色,取消选区选择状态。
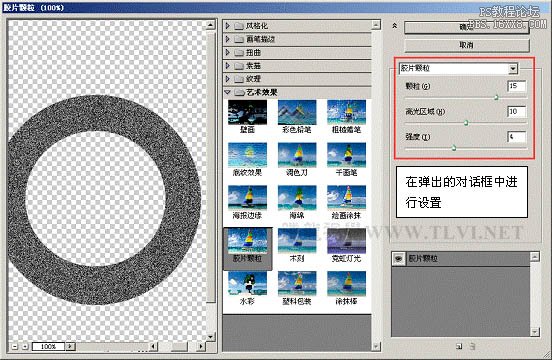
 16、执行“滤镜”→“艺术效果”→“胶片颗粒”命令。
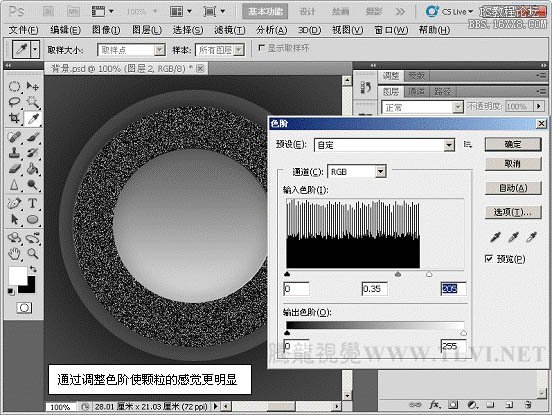
17、执行“图像”→“调整”→“色阶”命令。
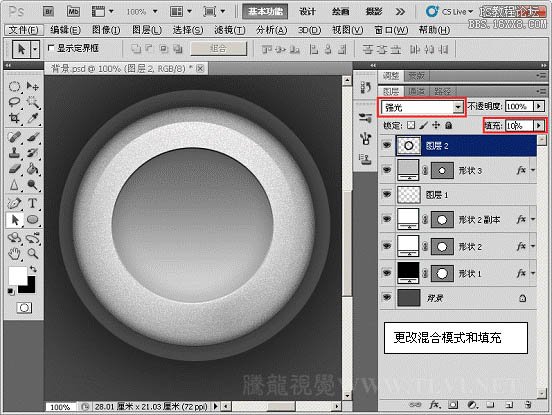
18、设置“图层 2”混合模式为“强光”,填充为“10%”。
19、新建图层,使用“椭圆”工具进行绘制。
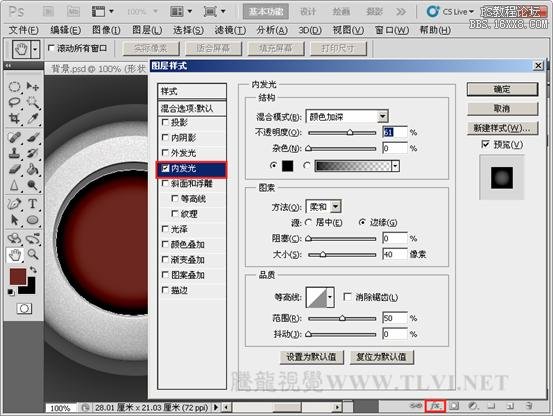
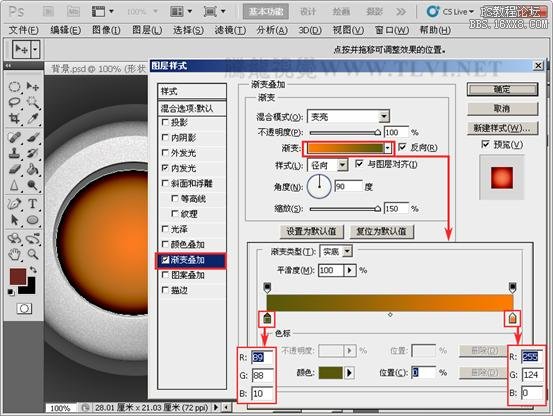
 20、为“形状
4”添加图层样式。
20、为“形状
4”添加图层样式。
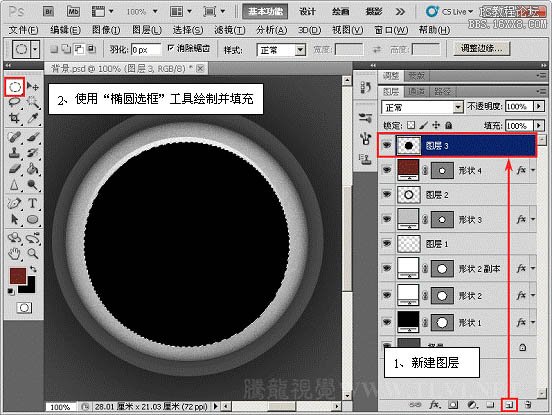
21、新建图层,使用“椭圆选框”工具绘制选区并填充黑色。
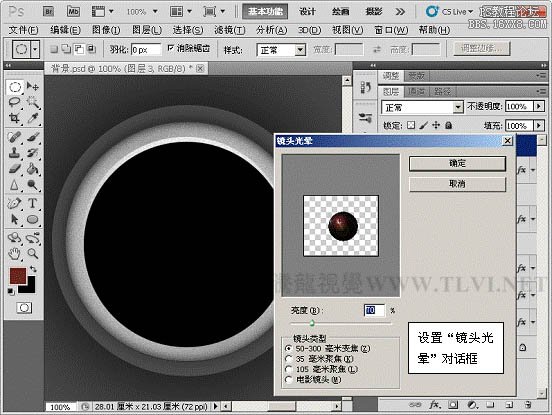
22、取消选区选择状态。执行“滤镜”→“渲染”→“镜头光晕”命令。
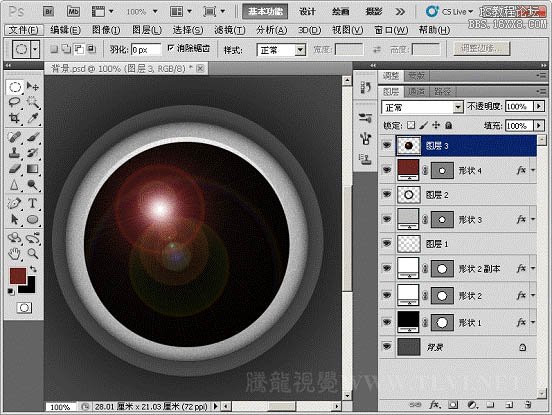 23、设置“图层
3”的混合模式为“线性减淡(添加)”,填充为“50%”。
23、设置“图层
3”的混合模式为“线性减淡(添加)”,填充为“50%”。

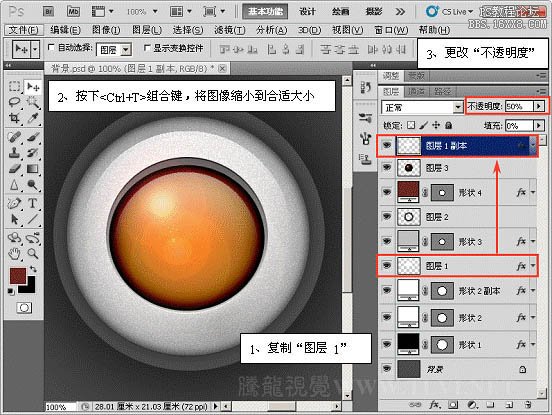
24、复制“图层 1”,改变“图层 1 副本”的大小并更改其不透明度为“50%”。
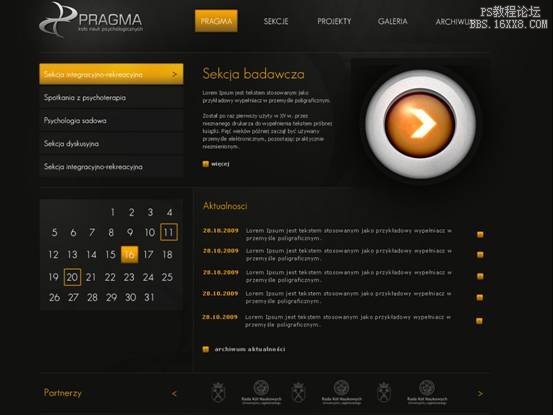
25、加入一些标志装饰,完成最终效果。
最终效果
1、新建一个大小适当的文档,背景填充灰色。
2、新建图层,选择“椭圆”工具进行绘制。
3、为“形状 1”添加图层样式“投影”效果。
4、更改“形状
1”的填充为“0%”。
5、新建图层,使用“椭圆”工具进行绘制。
6、为“形状
2”添加图层样式效果。
7、复制“形状
2”,重新设置其图层样式。
8、更改“形状 2 副本”的填充为“0%”。
9、新建图层,使用“选框”工具绘制出半圆选区并填充白色。
10、为“图层
1”添加图层样式“渐变叠加”效果。
11、新建图层,使用“椭圆”工具绘制。
12、为“形状
3”添加“投影”图层样式并设置。
13、新建图层,选择“椭圆”工具进行绘制。
14、切换到“路径”面板,将路径作为选区载入。
15、返回到“图层”面板,为选区填充黑色,取消选区选择状态。
16、执行“滤镜”→“艺术效果”→“胶片颗粒”命令。
17、执行“图像”→“调整”→“色阶”命令。
18、设置“图层 2”混合模式为“强光”,填充为“10%”。
19、新建图层,使用“椭圆”工具进行绘制。
20、为“形状
4”添加图层样式。
21、新建图层,使用“椭圆选框”工具绘制选区并填充黑色。
22、取消选区选择状态。执行“滤镜”→“渲染”→“镜头光晕”命令。
23、设置“图层
3”的混合模式为“线性减淡(添加)”,填充为“50%”。
24、复制“图层 1”,改变“图层 1 副本”的大小并更改其不透明度为“50%”。
25、加入一些标志装饰,完成最终效果。
学习 · 提示
相关教程
关注大神微博加入>>


网友求助,请回答!