Photoshop打造商场广告POP文字
来源:不详
作者:佚名
学习:1034人次
发表于 2007-10-21 10:16 Photoshop打造商场广告POP文字作者:王伟光 来源:eNet硅谷动力
POP是英文point of purchase的缩写,意为“卖点广告”其主要商业用途是刺激引导消费和活跃卖场气氛。POP主要应用于超市卖场,目前各大型超市卖场多采用印刷成统一模板后由美工根据要求填写文字内容,以满足玲琅满目的货品柜面不同的使用要求。下面我们就来制作一款POP文字……
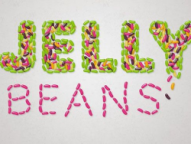
先看一下最终效果:


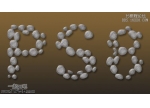
6、新建一层,选择工具箱中的“自定形状工具”,选择图案在文件中建立路径并转换为选区,如图29所示。


POP是英文point of purchase的缩写,意为“卖点广告”其主要商业用途是刺激引导消费和活跃卖场气氛。POP主要应用于超市卖场,目前各大型超市卖场多采用印刷成统一模板后由美工根据要求填写文字内容,以满足玲琅满目的货品柜面不同的使用要求。下面我们就来制作一款POP文字……
先看一下最终效果:
制作工具:Photoshop CS
制作过程:
1、新建一个文件,然后选择工具箱中的“文字工具”,在图像窗口中输入文字,字体设置为Arial Black,图像效果如图01所示。
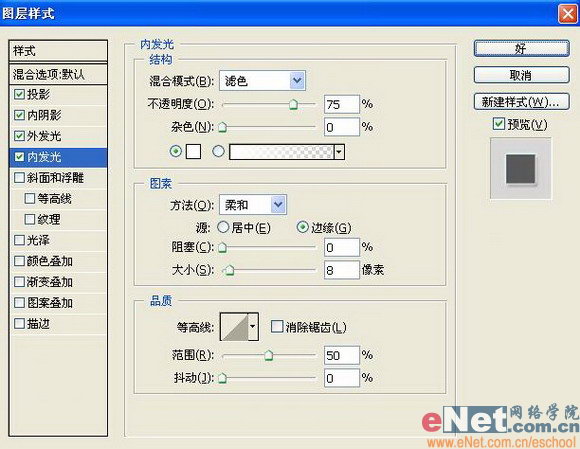
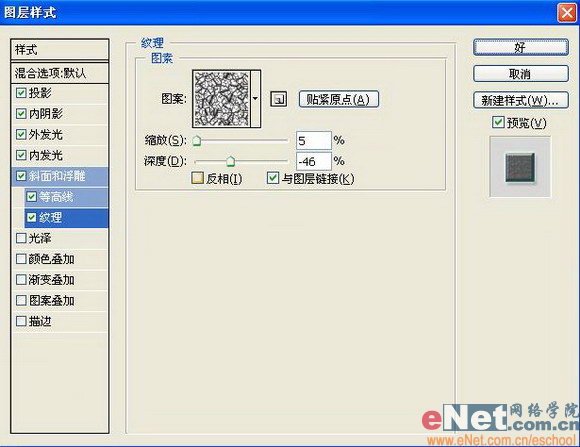
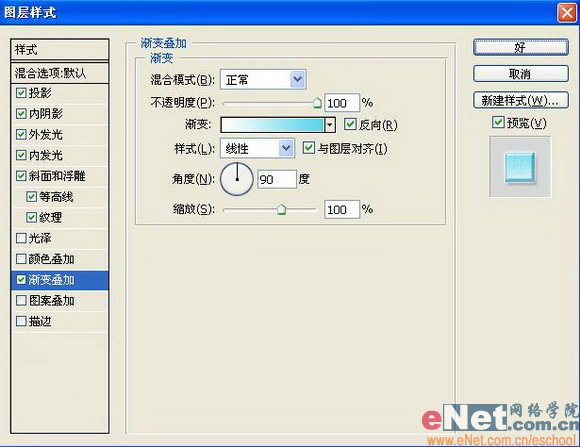
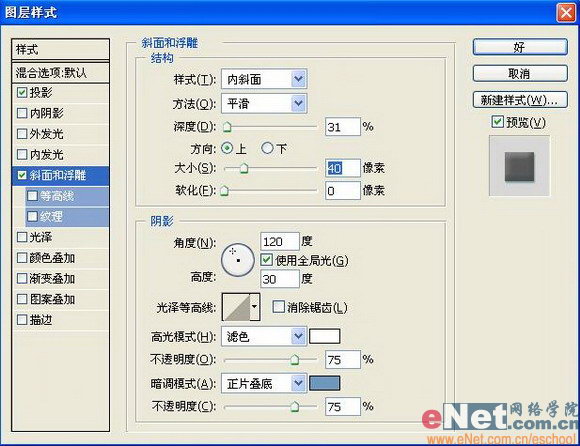
2、双击文字图层,打开图层样式对话框,分别设置“投影”“外发光”“内发光”“斜面和浮雕”“渐变叠加”图层样式,设置参数如图02-08所示,图像效果如图09所示。 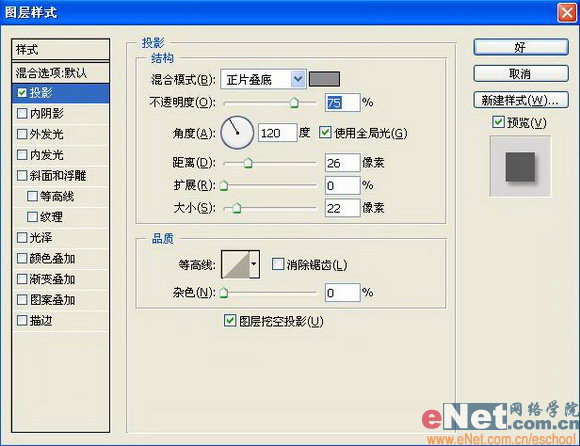
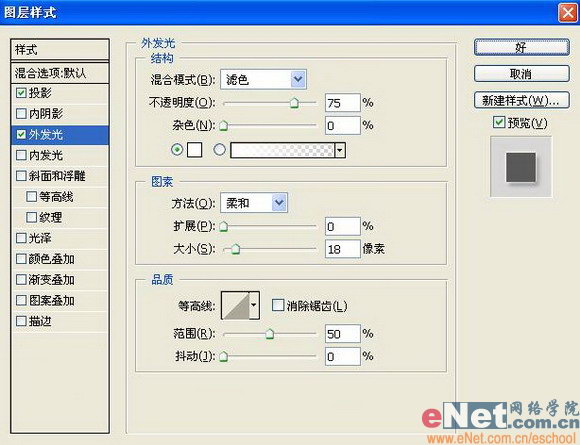
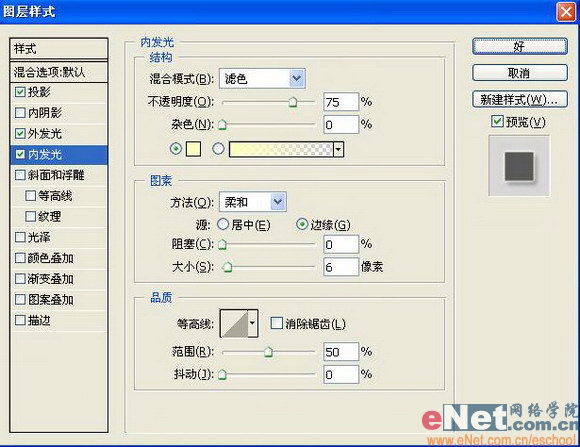

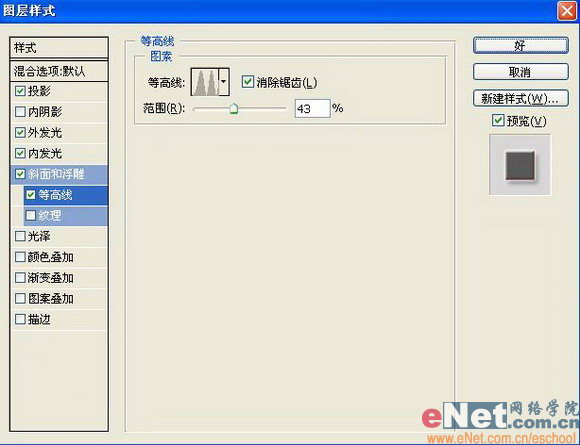


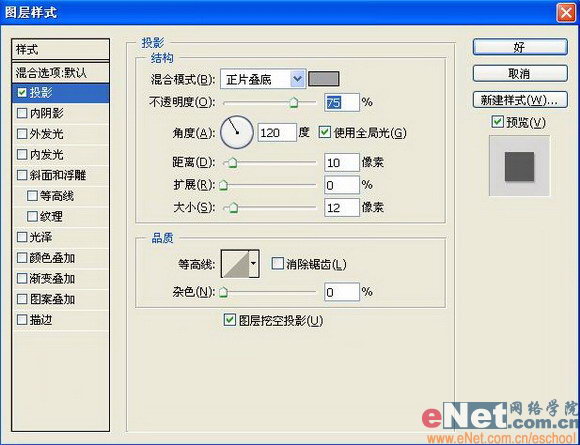
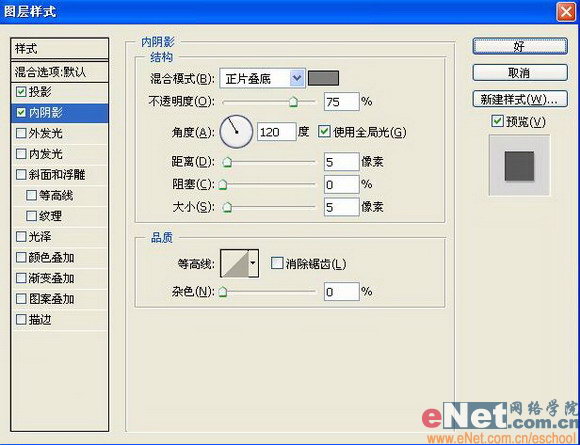
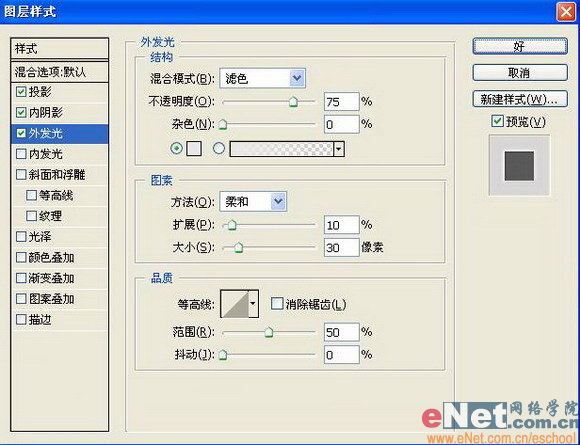
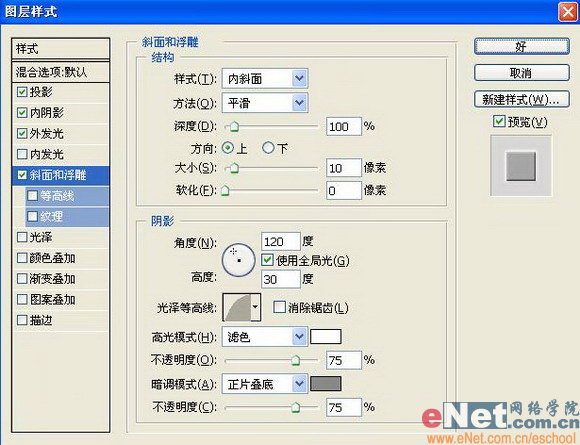
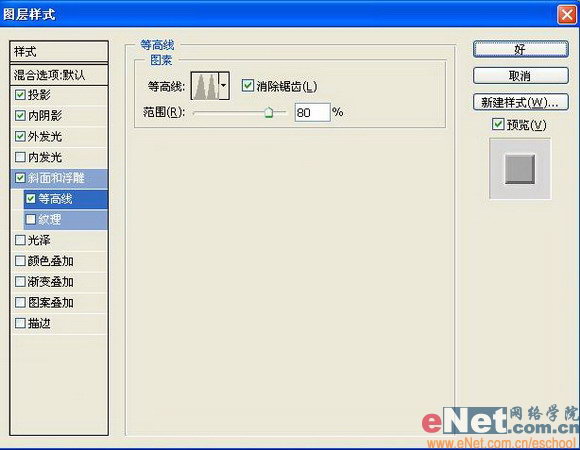
4、双击文字图层,打开图层样式对话框,分别设置“投影”“内阴影”“外发光”“内发光”“斜面和浮雕”“渐变叠加”图层样式,设置参数如图11-18所示,图像效果如图19所示。 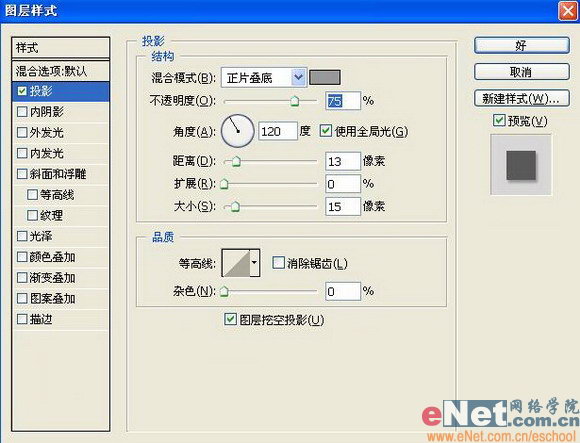


6、新建一层,选择工具箱中的“自定形状工具”,选择图案在文件中建立路径并转换为选区,如图29所示。
7、选择工具箱中的“渐变工具”,填充渐变色,效果如图30所示。
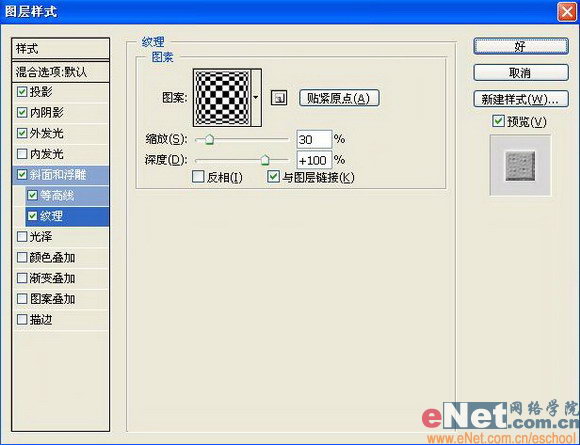
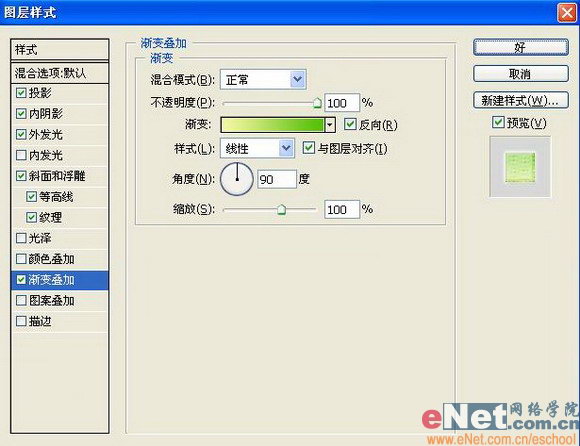
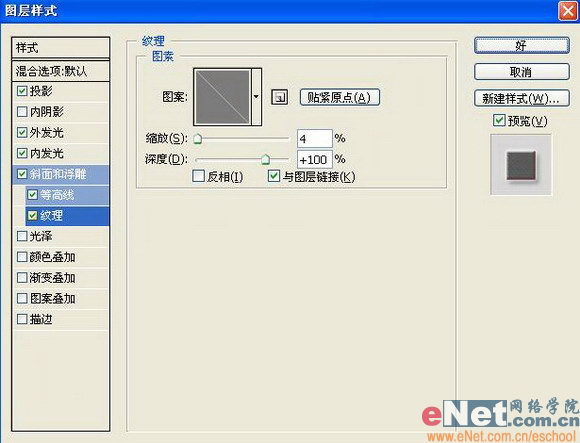
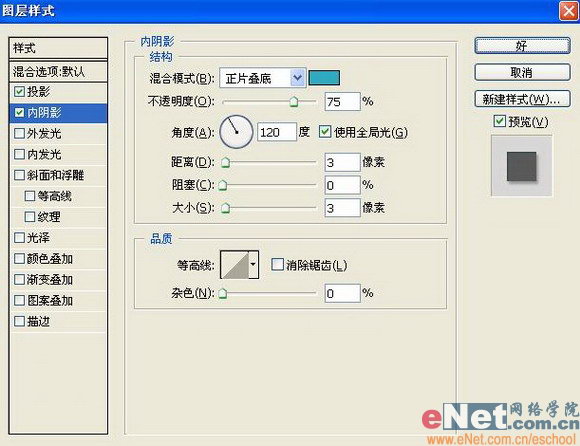
8、双击该图层,添加图层样式,设置参数如图31-32所示,图像效果如图33所示。 

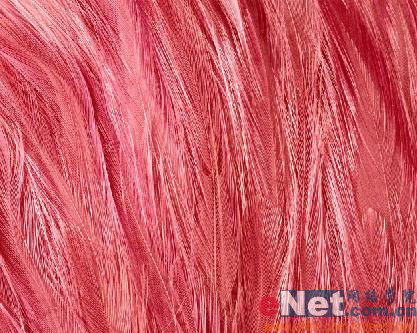
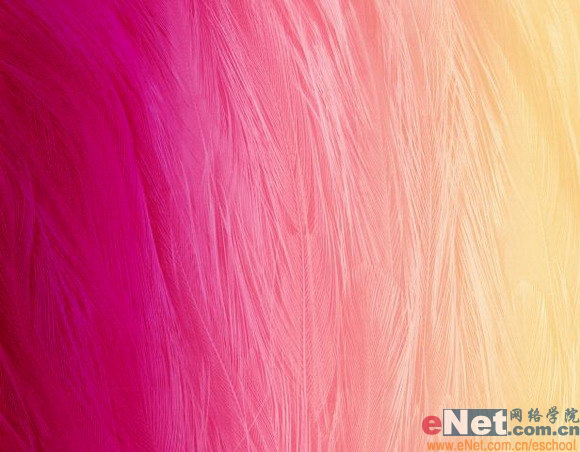
10、打开一幅素材图片,效果如图35所示。将其拖入渐变图层的上方,然后设置该层的图层混合模式为“柔光”,图像效果如图36所示。
11、改变文字的角度和位置,添加装饰元素,最终图像效果如图37所示,还可以改变渐变色换一种效果如图38所示。
学习 · 提示
相关教程
关注大神微博加入>>


网友求助,请回答!