photoshop教程:把MM处理成森林之王的眼睛(2)
来源:
作者:
学习:1101人次
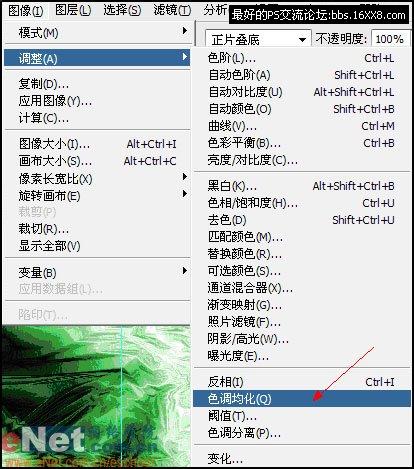
4,使用图象---调整---色调均化
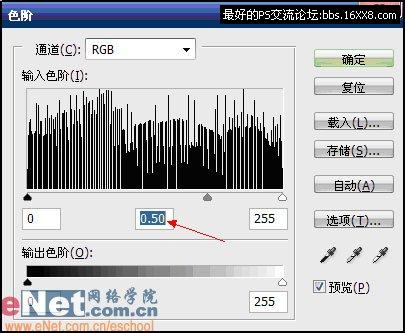
5,色阶调整 将中间灰调为0.5。
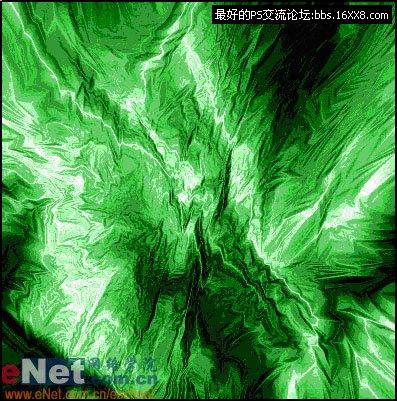
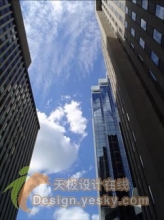
6,打开素材1 将它去色(快捷键是Ctrl+Shift+U)另存为格式为 photoshop(*.PSD,PDD) 文件名为待用文件的文件。
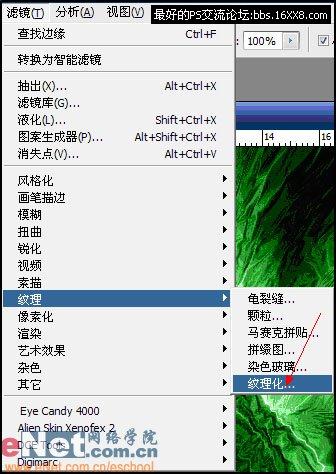
7,关闭素材1文件,回到已经做好的背景文件,对该图层复制1份。对副本图层 使用滤镜---纹理---纹理化,设置参数如下图所示。
点击小三角---载入纹理
 选择前面已经作好的待用文件纹理参数设置如下
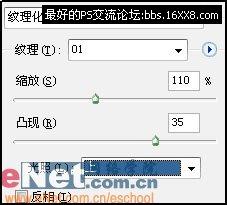
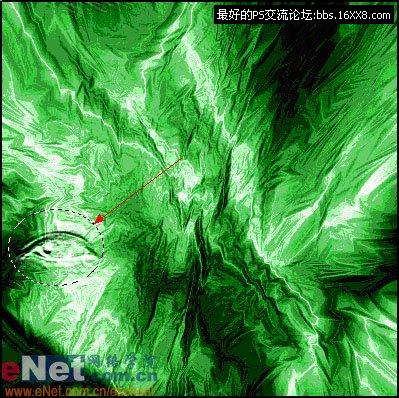
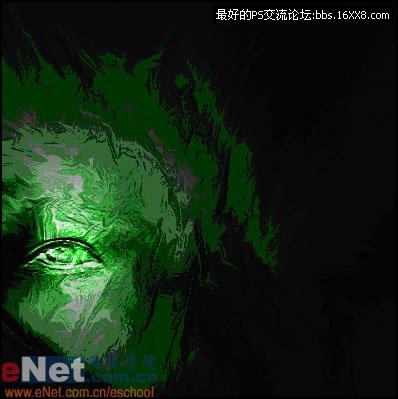
8,用椭圆选框工具选取左眼,并羽化该选区(羽化值为15)快捷键 是Ctrl+Alt+D,然后反选(快捷键是Ctrl+Shift+I),按Delete键删除。
[table][/table]
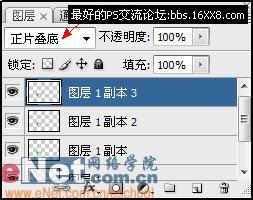
将眼睛图层复制份,将混合模式为正片叠底,再复制两份加强效果(快捷键是Ctrl+J)
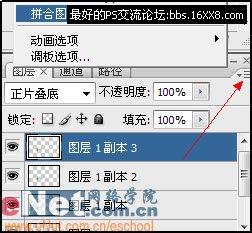
9,拼合所有图层..(点击图层面板中的小三角 )
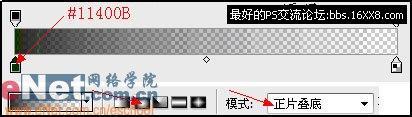
10,使用渐变给图象加上暗调。
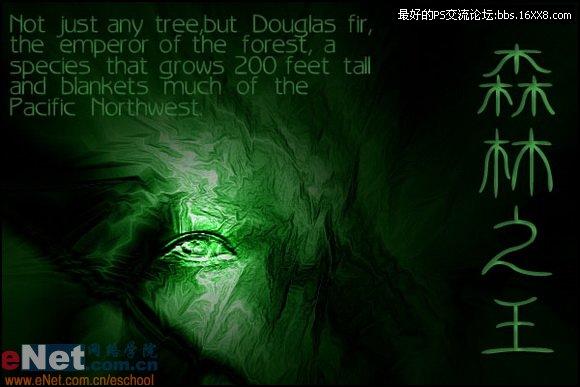
11,最后加上文字,最终效果如下
搜索更多相关主题的帖子: ps效果教程 photoshop教程
学习 · 提示
相关教程
关注大神微博加入>>


网友求助,请回答!