Photoshop教程:打造漂亮的圣诞蜡烛
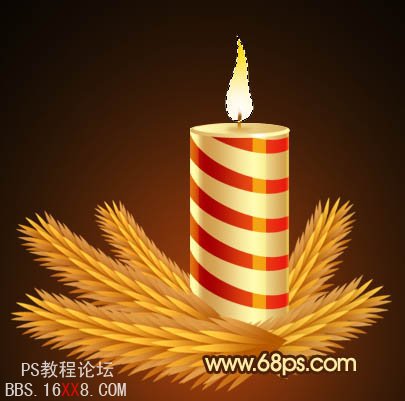
本教程较深简单的圣诞喜庆蜡烛的制作方法。蜡烛的主色为金色,制作的时候只需要用选区工具做出蜡烛的形状,然后拉上金色渐变色。周围再加上了一些圣诞装饰元素及火焰即可。
最终效果

<点小图查看大图>
1、新建一个1024 * 768像素的文档,选择渐变工具颜色设置如图1,由中心向边角拉出图2所示的径向渐变。
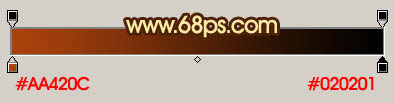
<图1>

<图2>
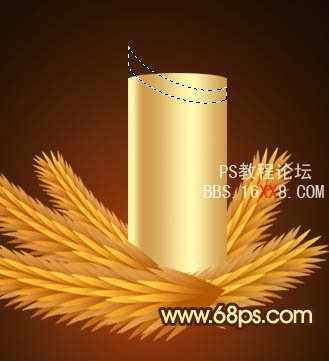
2、新建一个图层,用钢笔工具勾出图3所示的选区,选择渐变工具,颜色设置如图4,拉出图5所示的线性渐变。

<图3>

<图4>
<图5>
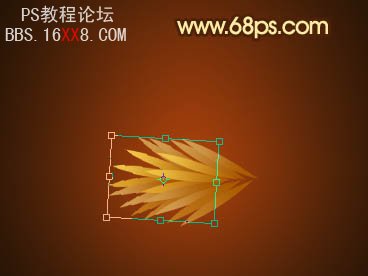
3、把做好图形复制一层,按Ctrl + T 稍微变换一下角度,确定后再适当调整一下颜色,然后再复制几层,组成图7所示的图形。

<图6>

<图7>
4、把刚才做好的叶子图层合并,然后适当调整角度和大小,再按照一定的弧度多复制一些,组成一条树枝,过程如图8,9。
<图8>

<图9>
5、把构成树枝的几个图层合并,然后在当前图层下面新建一个图层,用钢笔勾出图10所示的选区,填充颜色:#AA5B00,效果如图11。

<图10>

<图11>
6、把做好的树枝多复制几层,构成下图所示的效果。

<图12>
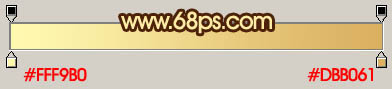
7、在树枝图层上面新建一个图层,用钢笔勾出图13所示的选区,选择渐变工具,颜色设置如图14,拉出图15所示的线性渐变。

<图13>
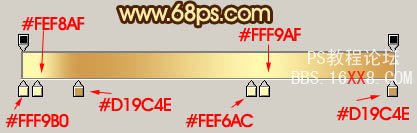
<图14>

<图15>
8、新建一个图层,用钢笔工具勾出图16所示的选区填充红色,然后把得到图形多复制几层,如图17。然后把这这个红色图层合并。
<图16>

<图17>
9、锁定图层后,选择渐变工具,颜色设置如图18,由左至右拉出线性渐变,确定后把蜡烛以外的部分删除,效果如图19。
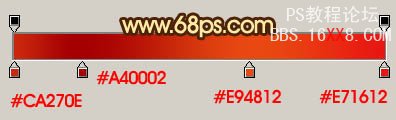
<图18>

<图19>
10、新建一个图层,用矩形选框工具拉出图20所示的选区,填充颜色:#FDD601,图层混合模式改为“颜色减淡”,不透明度改为:40%,效果如图21。同样的方法再制作另外几条高光,效果如图22。

<图20>

<图21>

<图22>
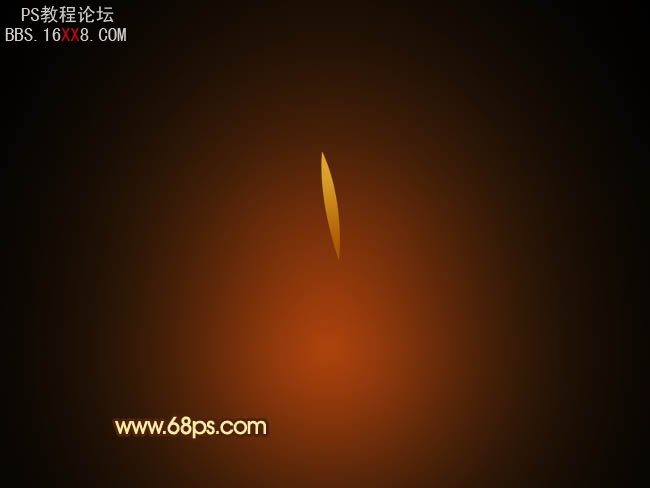
11、新建一个图层,用椭圆选框工具拉出图23所示的选区,拉上图24所示的线性渐变。确定后新建一个图层,用椭圆选框工具拉一个稍微的椭圆选区,同样拉上图24所示的线性渐变,效果如图25。

<图23>
<图24>

<图25>
12、新建一个图层,同上的方法再制作火焰部分,效果如下图。
<图26>
13、把做好的蜡烛复制一份,适当调整位置和大小,效果如下图。

<图27>
14、加上一个蝴蝶结,效果如下图。

<图28>
最后加上投影,修饰一下细节,完成最终效果。