逼真的镏金字特效
来源:不详
作者:佚名
学习:2598人次
逼真的镏金字特效 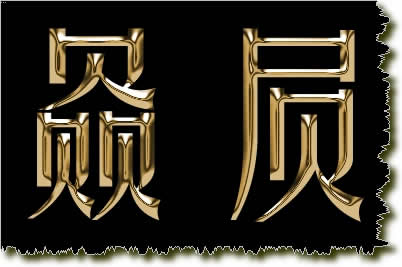


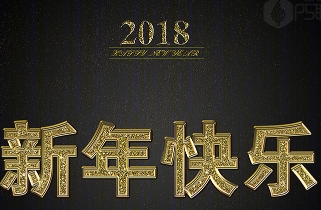
本例中我们用Photoshop滤镜打造逼真的镏金字特效。
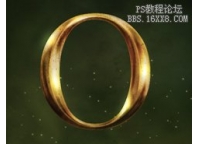
最终效果如下。
1.新建一个文件,这里用了Photoshop的默认大小,大家按自己需要设置图像尺寸。
2.输入浅灰色文字,这里输入“赑屃” 两字。
网页教学网:“赑屃” 是龙的九个儿子之一,是个大力士,常在庙里驼石碑,据说摸一摸它能带给你福气。
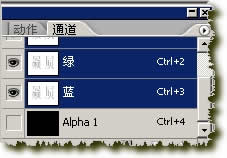
3.按住ctrl点击文字图层得到文字选区。
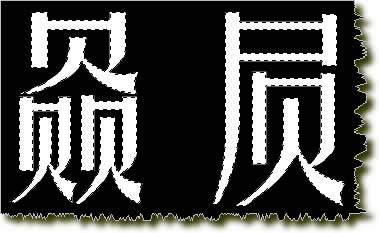
4.保持选区状态进入通道面板,新建一个通道alpha1。
5.用白色填充alpha1通道。
6.对alpha1通道使用半径5.0的高斯模糊。
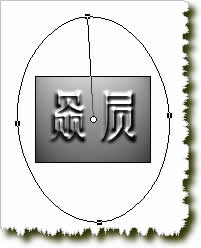
7.回到文字图层,对其进行了滤镜-光照效果-纹理通道选alpha1通道凸起90左右。
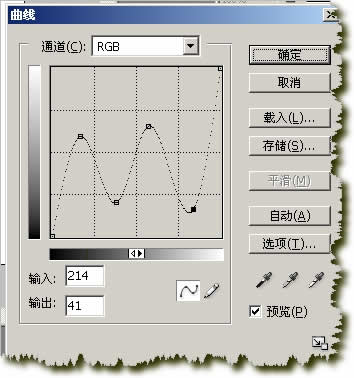
8.调整曲线增加反差。
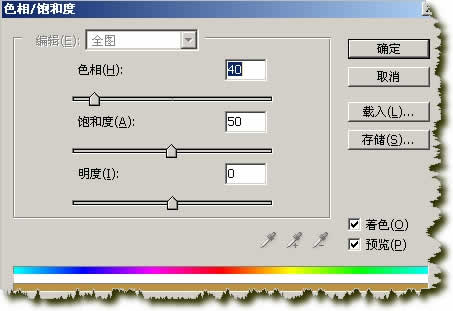
9.背景填充上你喜欢的颜色,同时调整文字的色相饱和度得到最终效果。
注意:所有参数无需一定和我的一样,大家可以自己试试看得到更好的效果。同理我们可以制作出各种金属的图案和花纹。
学习 · 提示
相关教程
关注大神微博加入>>


网友求助,请回答!