用Photoshop轻松打造精致MP4播放器
来源:不详
作者:佚名
学习:629人次
发表于 2007-8-30 08:21 用Photoshop轻松打造精致MP4播放器作者:王伟光 来源:eNet硅谷动力 PS教程论坛:http://bbs.16xx8.com
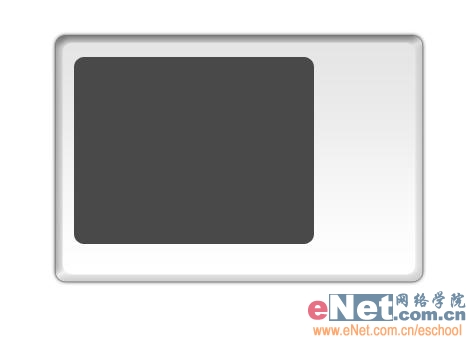
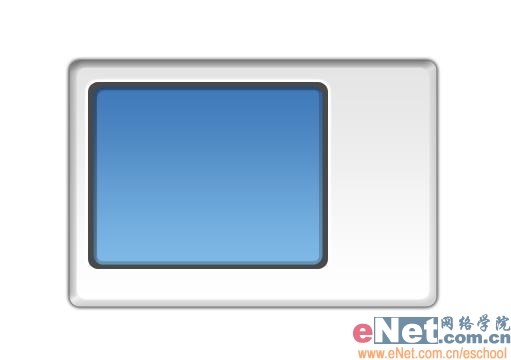
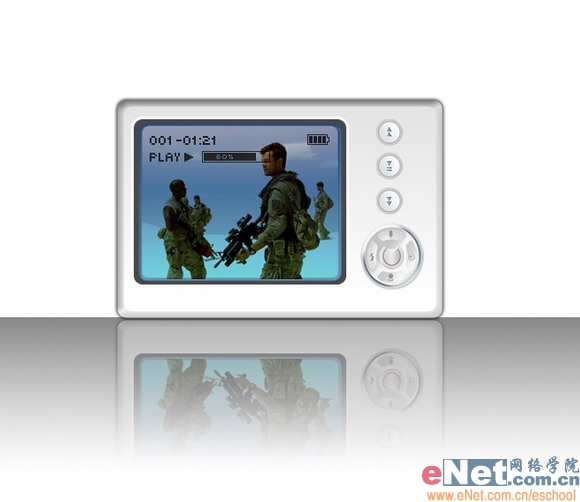
先看一下效果:
 3、选择图层01,单击图层面板有上端的扩展按钮,选择“复制图层”命令,打开复制图层对话框,将复制的图层命名为图层02。
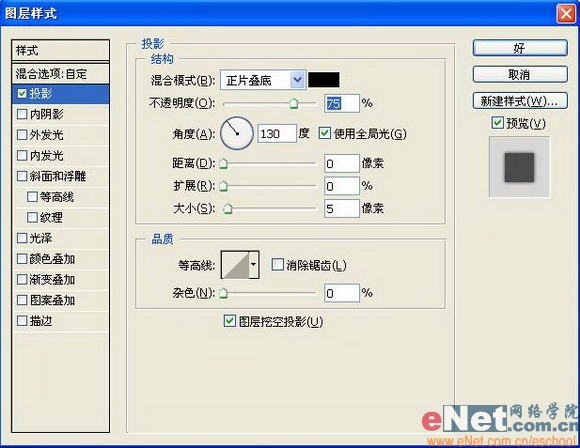
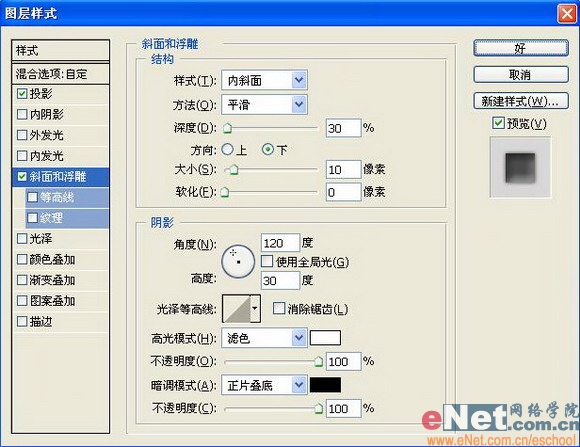
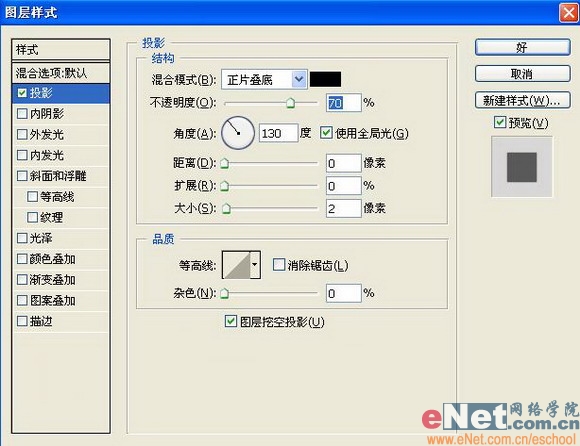
4、双击图层02打开图层样式对话框,在图层样式对话框中选择“投影”,设置如图06,选择“斜面和浮雕”,设置参数如图07所示,将渐变叠加取消,图像效果如图08所示。
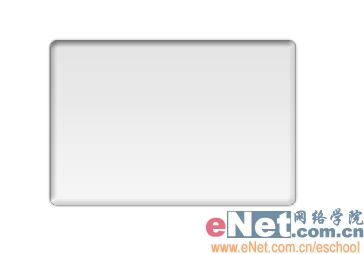
5、设置图层02的图层混合模式为“正片叠底”,图像效果如图09所示。
6、复制图层01,生成的图层命名为图层03,并将图层03移至图层的最上方。
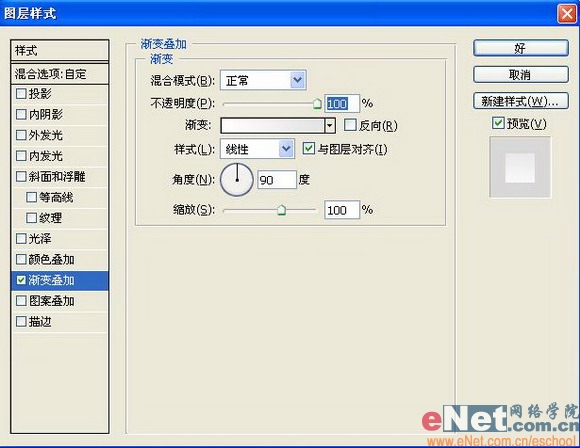
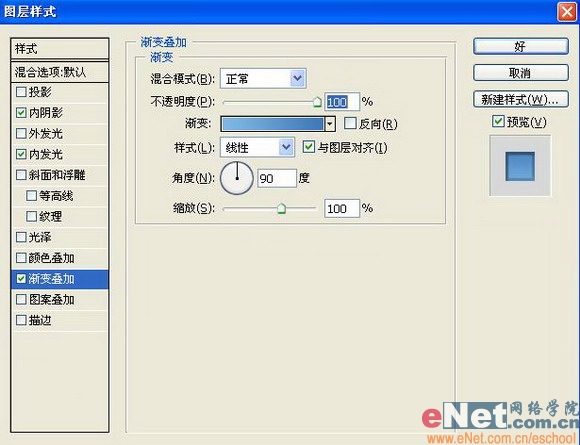
7、双击图层03,打开图层样式对话框,将“投影”“斜面和浮雕”样式取消。选择“渐变叠加”,如图10所示。设置图层03的图层混合模式为“正片叠底”。
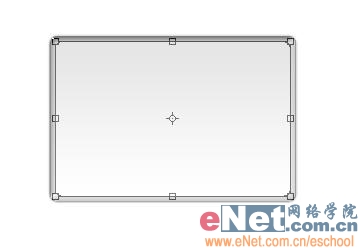
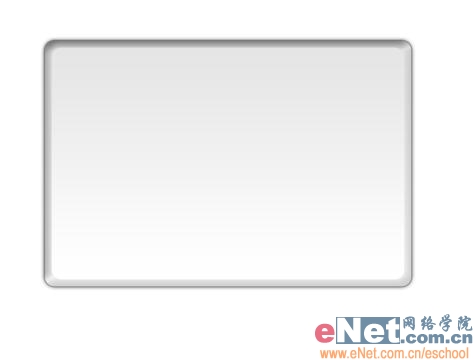
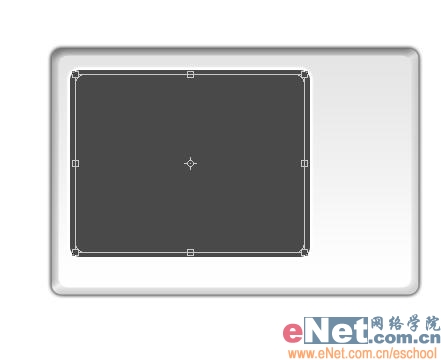
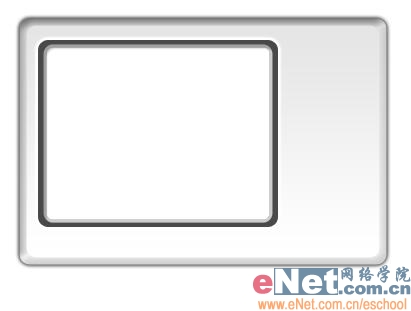
8、按Ctrl T键,将对象缩小,效果如图11所示,按Enter键确认后效果如图12所示。
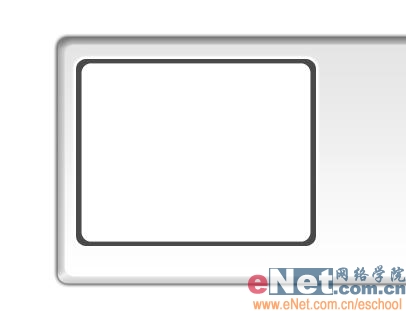
 9、在工具箱中选择“圆角矩形工具”,设置颜色RGB为73、73、73,绘制圆角矩形效果如图13所示,命名该图层为S01。
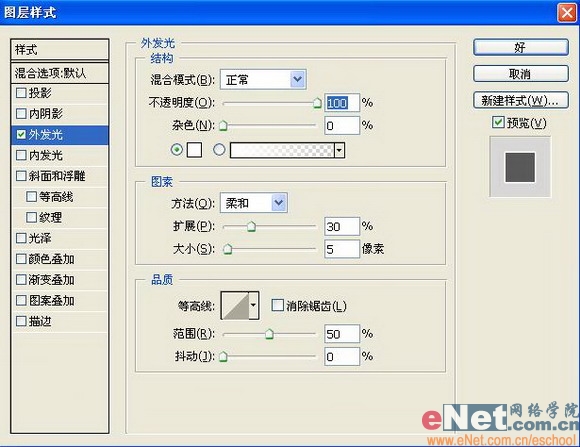
10、双击S01图层,打开图层样式对话框,选择“外发光”样式,设置参数如图14所示,然后Ctrl T键,缩小对象,图像效果如图15所示。
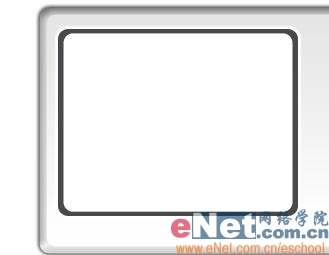
11、双击S02图层的图层缩览图,更改为白色后确认大小和位置,效果如图16所示。
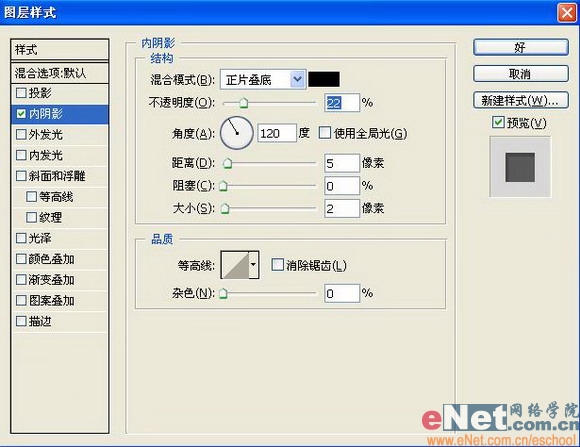
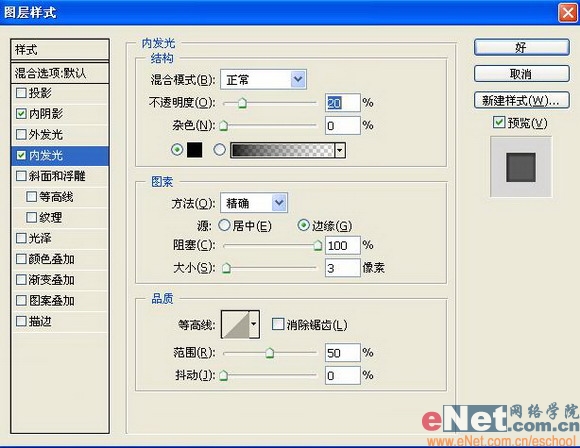
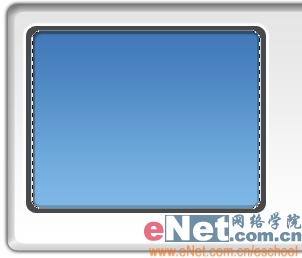
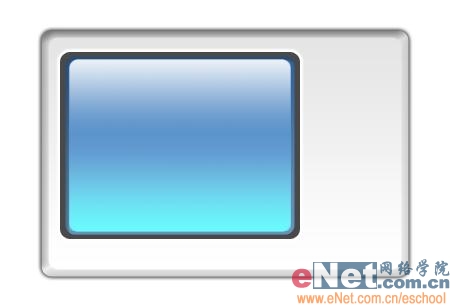
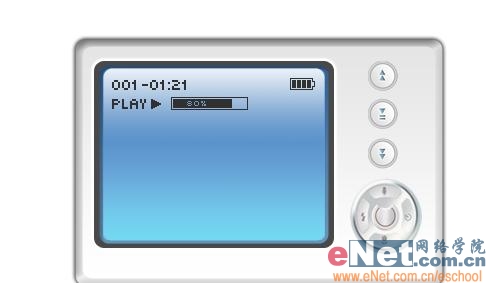
 12、双击S02图层,打开图层样式对话框,选择“内阴影”,设置参数如图17所示。选择“内发光”样式,设置参数如图18所示,图像效果如图19所示。选择“渐变叠加”样式,设置参数如图20所示,其中渐变颜色的RGB分别为125、184、230和65、121、185,图像效果如图21所示。

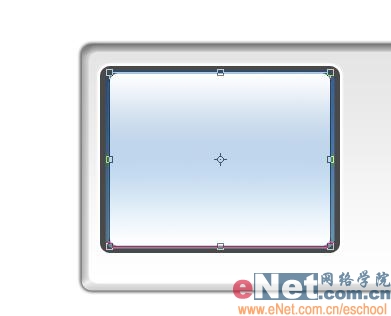
 13、新建图层,命名为图层A。然后选择图层A,按住Ctrl键单击S02图层,载入选区,效果如图22所示。
14、用白色填充选区,效果如图23所示。
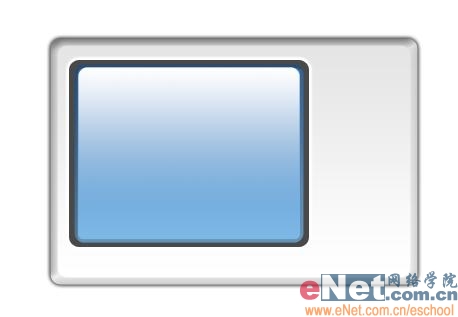
15、按Ctrl T键,稍微缩小对象,然后给图层A添加图层蒙版,设置前景色和背景色为默认颜色,在窗口中拖动鼠标,图像效果如图24所示。
16、复制图层A为图层B,选择“编辑”“变换”“垂直翻转”命令,将图像移动到下方,效果如图25所示。
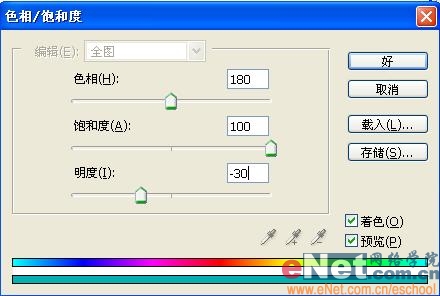
17、选择菜单栏中的“图像”“调整”“色相/饱和度”命令,打开色相/饱和度对话框设置参数如图26所示,图像效果如图27所示。
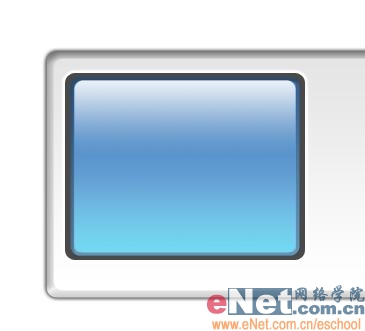
 18、将图层B的图层不透明度设置为50%,图像效果如图28所示。
19、将制作好的按钮和文字拖入图像中放到适当的位置,效果如图29所示。
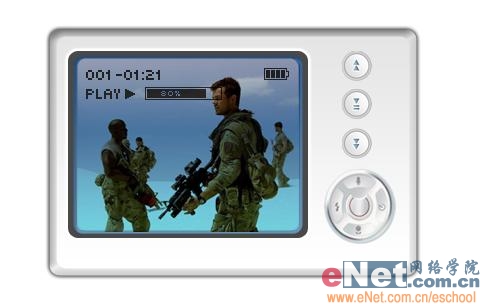
20、打开一幅自己喜欢的图片,裁切到合适的大小,放到位置如图30所示。设置该图层的图层混合模式为“正片叠底”,图像效果如图31所示。

21、制作投影后最终效果如图32所示。
先看一下效果:
制作工具:Photoshop CS
制作过程:
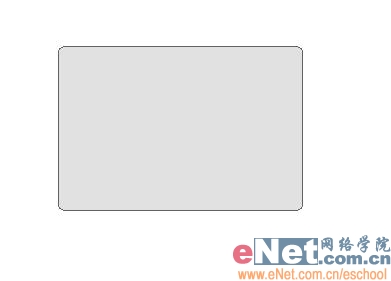
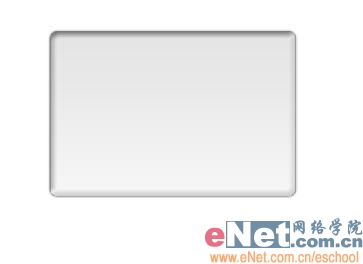
1、新建一个文件,选择工具箱中的“圆角矩形工具”,设置半径为10,颜色RGB分别为225、225、225,在窗口中绘制如图01所示的圆角矩形,将生成的图层命名为图层01。
2、双击图层01打开图层样式对话框,在弹出的图层样式对话框中选择“投影”“斜面和浮雕”“渐变叠加”样式,设置参数如图02-04所示,其中渐变叠加的颜色为RGB255、255、255和RGB236、236、236。图像效果如图05所示。


3、选择图层01,单击图层面板有上端的扩展按钮,选择“复制图层”命令,打开复制图层对话框,将复制的图层命名为图层02。 4、双击图层02打开图层样式对话框,在图层样式对话框中选择“投影”,设置如图06,选择“斜面和浮雕”,设置参数如图07所示,将渐变叠加取消,图像效果如图08所示。
6、复制图层01,生成的图层命名为图层03,并将图层03移至图层的最上方。
7、双击图层03,打开图层样式对话框,将“投影”“斜面和浮雕”样式取消。选择“渐变叠加”,如图10所示。设置图层03的图层混合模式为“正片叠底”。
8、按Ctrl T键,将对象缩小,效果如图11所示,按Enter键确认后效果如图12所示。
9、在工具箱中选择“圆角矩形工具”,设置颜色RGB为73、73、73,绘制圆角矩形效果如图13所示,命名该图层为S01。 11、双击S02图层的图层缩览图,更改为白色后确认大小和位置,效果如图16所示。
12、双击S02图层,打开图层样式对话框,选择“内阴影”,设置参数如图17所示。选择“内发光”样式,设置参数如图18所示,图像效果如图19所示。选择“渐变叠加”样式,设置参数如图20所示,其中渐变颜色的RGB分别为125、184、230和65、121、185,图像效果如图21所示。 13、新建图层,命名为图层A。然后选择图层A,按住Ctrl键单击S02图层,载入选区,效果如图22所示。 14、用白色填充选区,效果如图23所示。
16、复制图层A为图层B,选择“编辑”“变换”“垂直翻转”命令,将图像移动到下方,效果如图25所示。
18、将图层B的图层不透明度设置为50%,图像效果如图28所示。 19、将制作好的按钮和文字拖入图像中放到适当的位置,效果如图29所示。
学习 · 提示
相关教程
关注大神微博加入>>


网友求助,请回答!