Photoshop教程:设计雪人雪景圣诞节贺卡
来源:未知
作者:bbs.16xx8.com
学习:993人次
作者:webdesign 译 出处:设计前沿
从零开始学习制作圣诞主题壁纸,教程详细及容易上手
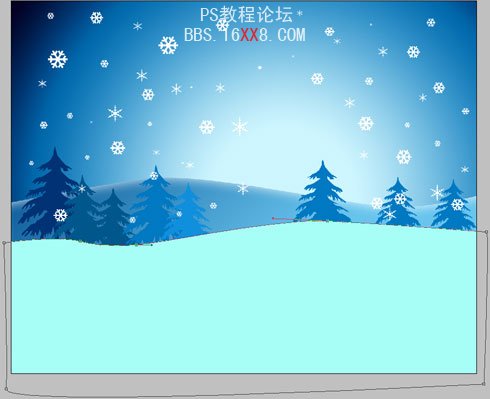
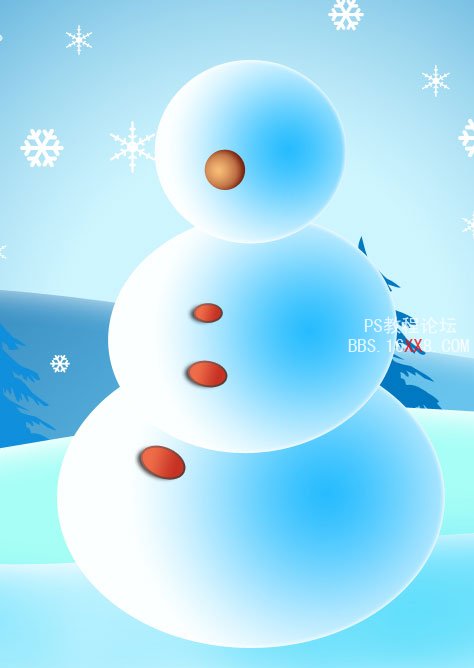
最终预览效果:

创建一个新文件(“文件>新建),1280 × 1024像素分辨率和72。
.现在我们应使用矩形工具(u)画一个背景图为白色的文档
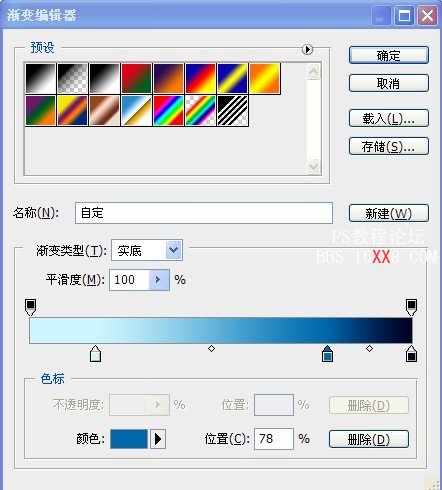
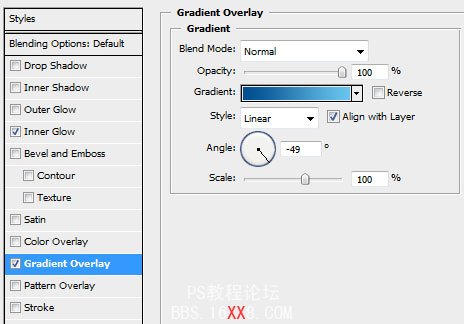
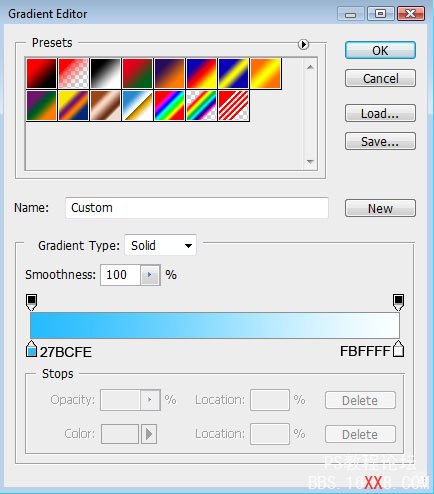
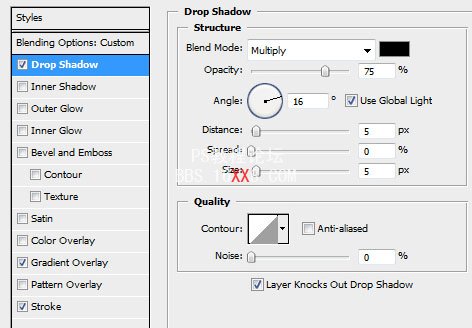
按Ctrl+J复制一个图层。点开 图层->图层样式->渐变叠加面板 如下设置
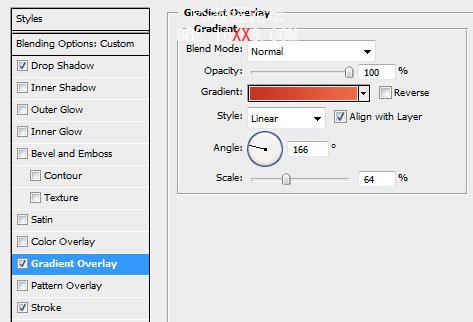
混合选项“>渐变叠加

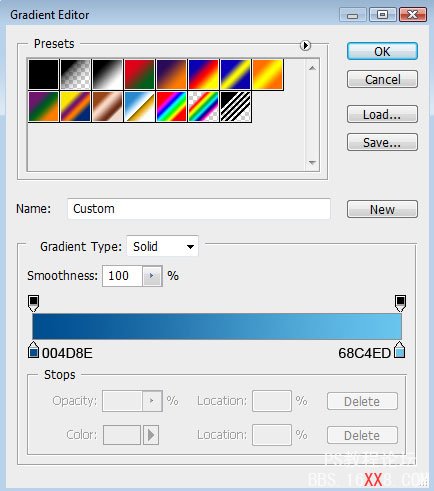
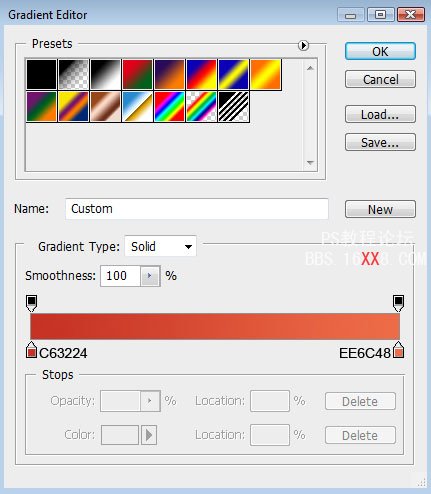
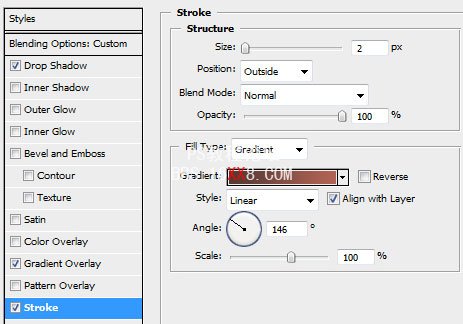
渐变叠加参数设置如下图:

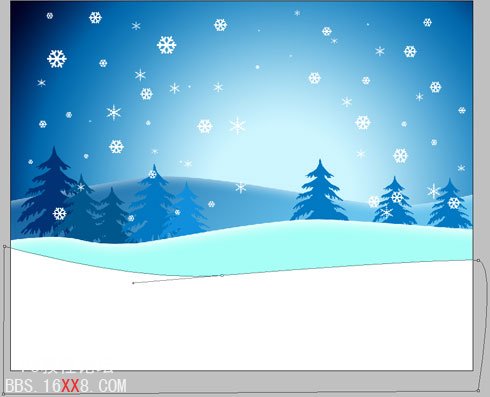
接下来,我们将制作雪丘陵,采用钢笔工具和变形转换工具.
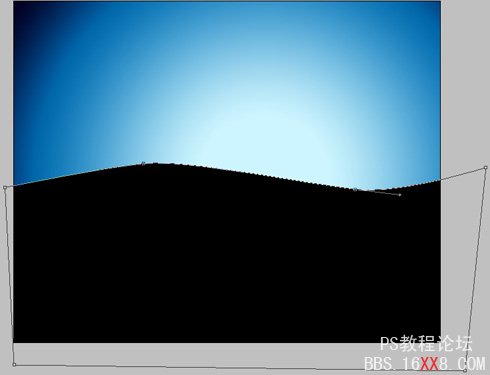
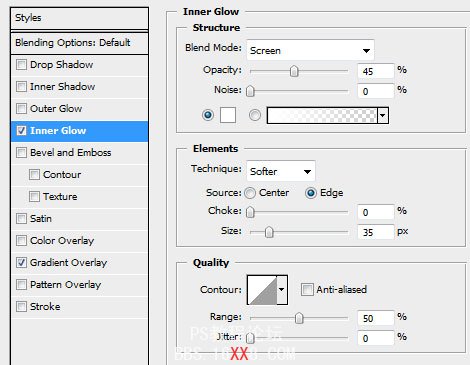
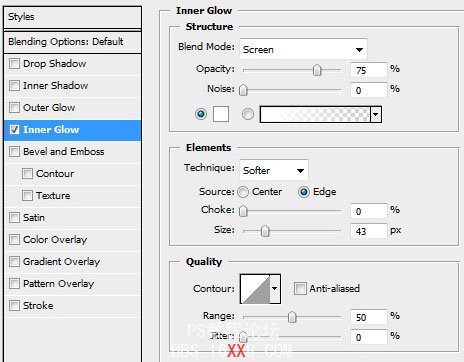
雪丘陵层的参数:混合选项>内发光
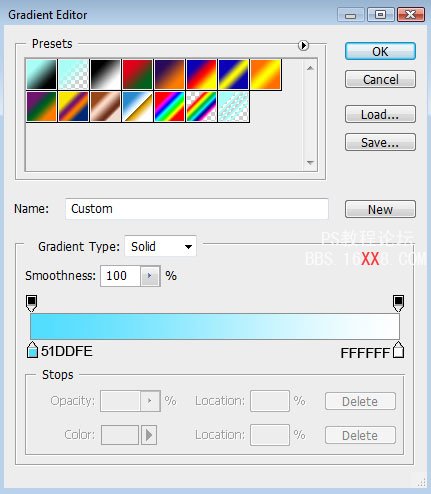
混合选项>渐变叠加
渐变叠加
参数:

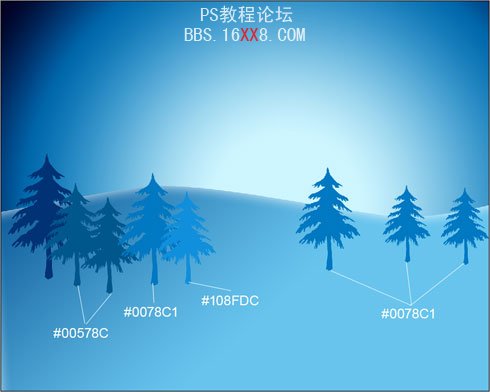
接下来,选择自定义形状工具(U)和选择一个棵树的形状,着色#003274
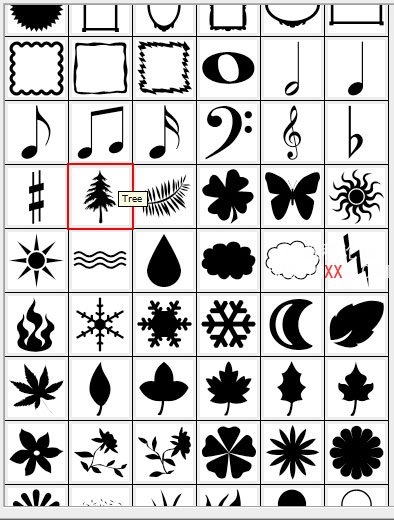

再弄七棵树的轮廓副本,选择自由变换选项来改变树的大小,将它们以同样的方式显示如下
使用自定义形状工具(ü),让我们做一些雪花,做成不同的大小形状的雪花如下图:


继续做雪山,选择同样的钢笔工具(P)和转换点工具,颜色#A7FEF6
这个雪山层的参数:混合选项>内发光

用钢笔工具画出如下图模样:
混合选项>渐变叠加

渐变叠加参数:

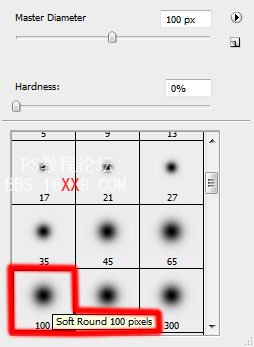
创建一个新的层.在新的层用笔刷工具画出如下图的阴影,将不透明度设置为20%:

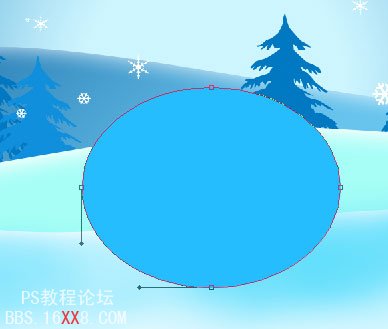
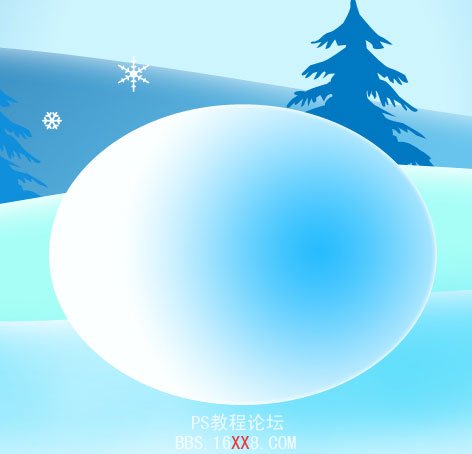
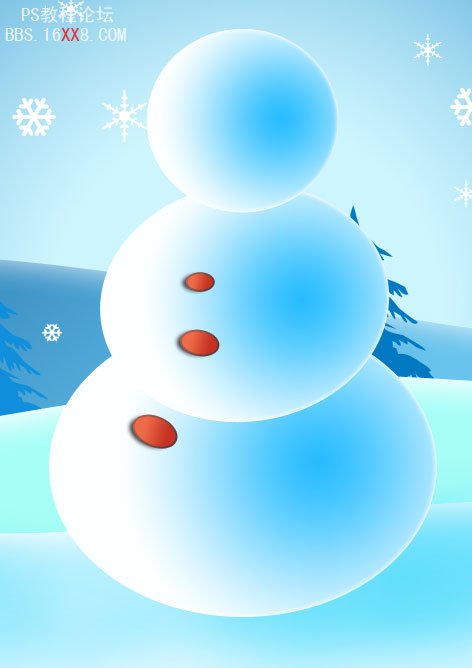
接下来,我们将运用椭圆工具(U)和做一个雪球保存为雪人新层.
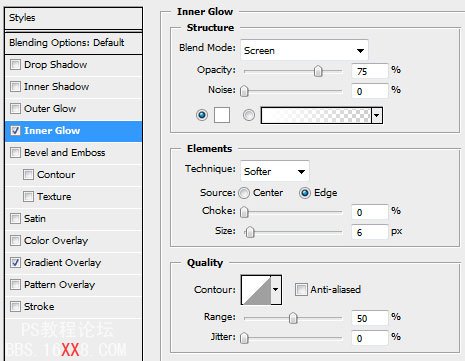
雪人层的参数:混合选项>内发光:
混合选项>渐变叠加
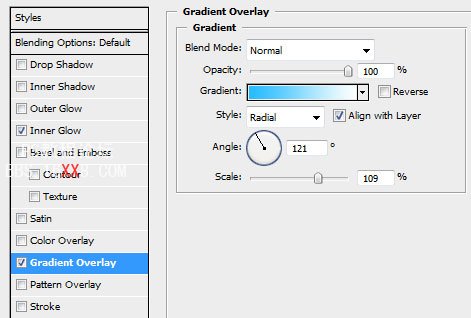
渐变参数:
设置参数后的效果图如下:
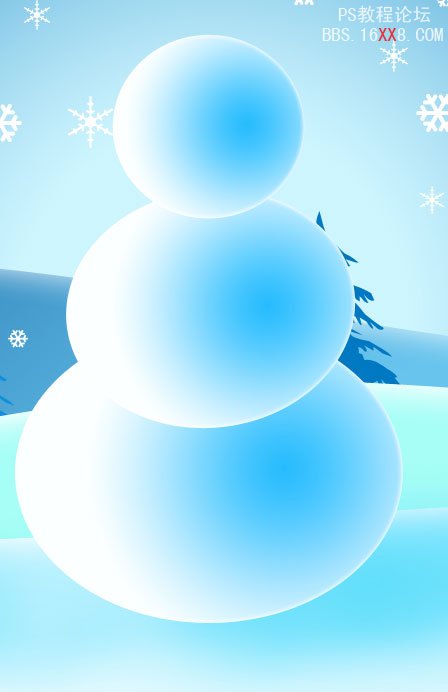
将上面的雪人层复制两个.再用自由变换选项工具将这两个层大小做成如下图所示.
运用椭圆工具(ü),做一个雪人上的按钮:
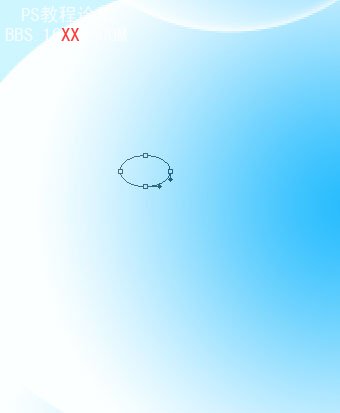
按钮层的参数:填充0%
混合选项“>阴影
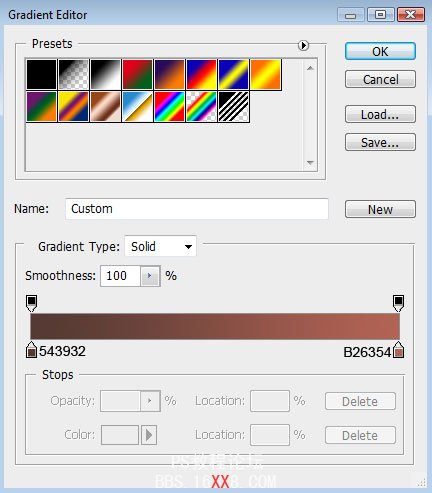
混合选项>渐变叠加
渐变参数:
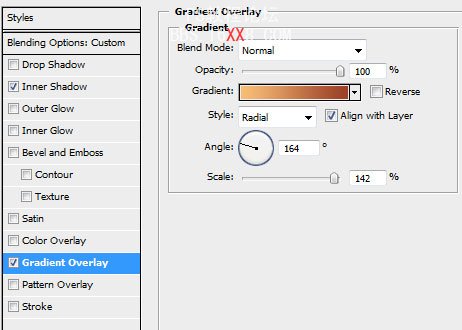
混合选项>渐变叠加
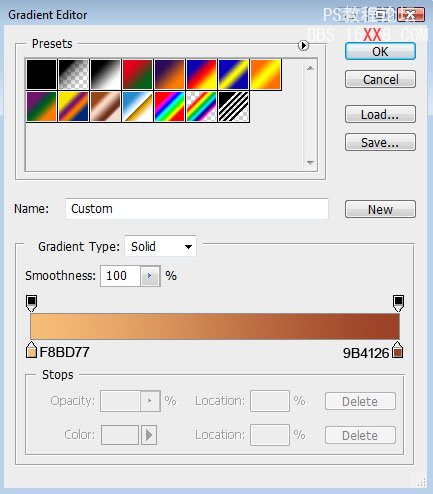
渐变叠加参数
:

根据上面的按钮复制两个相同的.然后用变形工具做成如下图所示:
用椭圆工具制作雪人的鼻子:

层的参数:填充0%
混合选项“>内阴影

混合选项>渐变叠加
渐变叠加的参数:
创建一个新图层,使用笔刷工具.画一个眼睛和嘴巴颜色为黑色.
.
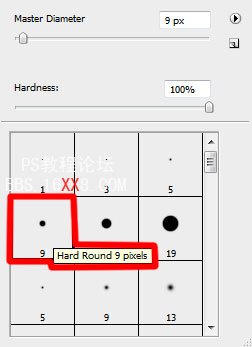

使用直线工具.做一个树枝状的用来做雪人的胳膊.颜色同样也用黑色.
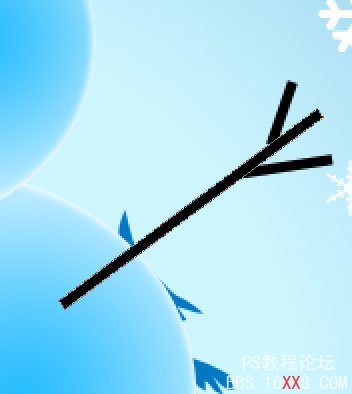
胳膊图层复制一个.用变换工具水平翻转胳膊图层.再把图层拉小一点.然后放到雪人的左边.如下图:


最后完成图.!
学习 · 提示
相关教程
关注大神微博加入>>


网友求助,请回答!