ps绘画金色牡丹花纹图案(4)
来源:PS联盟
作者:Sener
学习:748人次
6、背后的细小花瓣及小花瓣的制作方法同上,同样是对称图形,只需要作出一半的花瓣即可。过程如图12 - 13。


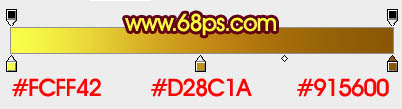
7、现在再制作花纹部分:新建一个图层,用钢笔勾出一片花纹选区如图14,拉出图15所示的线性渐变。

7、现在再制作花纹部分:新建一个图层,用钢笔勾出一片花纹选区如图14,拉出图15所示的线性渐变。
学习 · 提示
相关教程
关注大神微博加入>>


网友求助,请回答!